Choose Connection Options
Below are step-by-step instructions for updating the customer-facing support portal connection options.
- From the /login administrative interface, go to Public Portals > Public Sites.

- You can create multiple public sites. To add a site, click Add. To edit an existing site, click Edit.
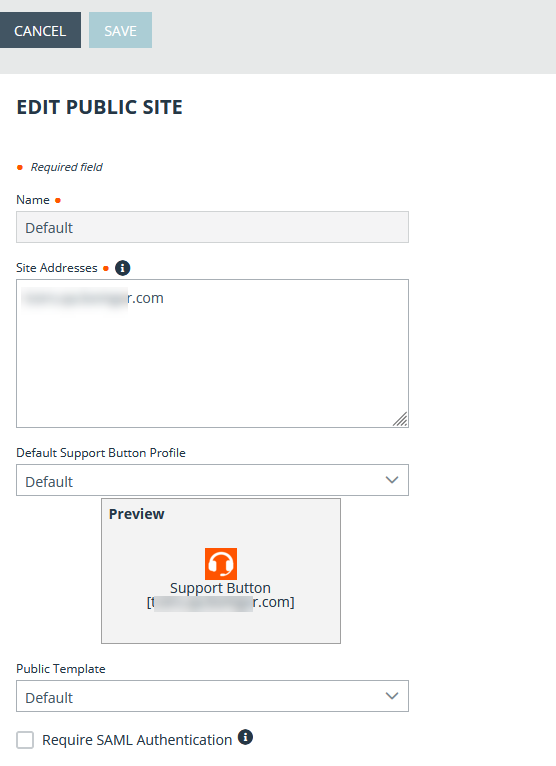
- Specify a name for the site, as well as any DNS or IP addresses that your customers will use to access this specific site.
- Select the default Support Button profile to use with this site and the HTML template to use.
- Additionally, select whether this site should require SAML authentication or not and display customer notices or not.
Also, note that a Support Button cannot be deployed from a session that was started from a SAML authenticated public portal and a Support Button cannot be used to start a session with a public portal that requires SAML authentication.

- Choose which session start options you want available: a list of available representatives, a list of active presentations, a field for submitting one-time session keys, and a form to submit issue descriptions. Enable the options you want available and disable the others. In this example, only the issue submission survey is enabled.
- The issue submission survey can display either a list of issues or a list of available representatives. In this example, the issue list is enabled, and issues are displayed for all configured teams. You can manage which issues will display on the selected public site. You can also create up to 30 custom fields to display in the issue form.
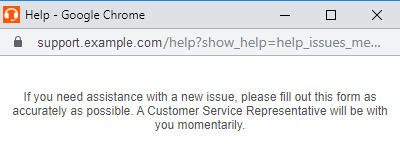
- Modify the help text to make the instructions specific to your support site and customer base.
- Start Session Using Click-To-Chat is enabled by default. Sessions begin with browser-based chat, not requiring customers to download or install the full BeyondTrust customer client. This is the recommended way to start sessions. If it becomes apparent that the full support tools are needed, such as controlling the customer's system through screen sharing, the representative can always prompt the customer to download the full customer client.
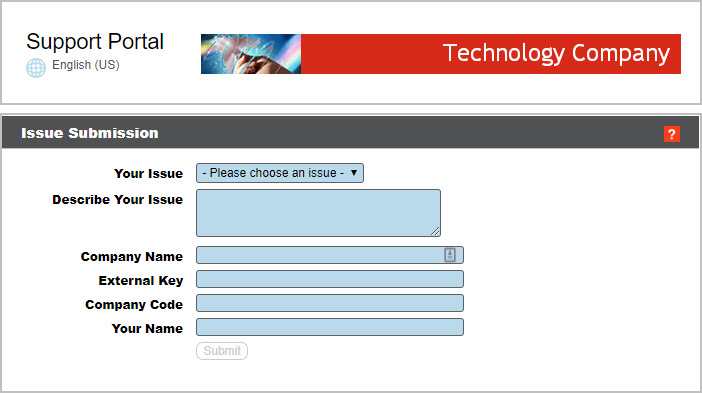
The customized customer support portal is depicted in the image shown here.
An example of the help text is shown here.
For more information, please see the following: