Toolset
Support Session Overview and Tools
Session Tools

|
Click the menu icon at the top left of the session window to open session controls for your session. You can also right-click the session tab to see session controls. Several of these controls have dedicated icons elsewhere in the interface and are described below (Elevate, Transfer, Invite, Remove Participant, Deploy Support Button, Deploy Jump Client, Custom Links, Close). From the menu, select Detach Session Tab to separate the session from the console, or click the session tab and drag it away from the main window. The menu icon remains with your session even if you detach the session tab, allowing you to position the session tab anywhere, such as on a separate monitor, and retain session tool access. Reattach the session using the Attach Session Tab selection in the menu, or simply by clicking the X to close the detached window. Additionally, from the menu, select Locate Sidebar to find the sidebar for the session, which can be helpful if you have several detached session sidebars (see below) scattered on your screen. You can also rename the session or revert the name to the default. |
|

|

|
Collapse the sidebar to maximize your session workspace. To pin the sidebar again, hover over the collapsed sidebar arrow and click the Pin Sidebar icon. |

|

|
Click this icon to detach the sidebar. Once detached, the sidebar can be positioned anywhere on your desktop or placed on a separate monitor. The sidebar also can be resized according to your needs, or resize the panes in the sidebar for more viewing space. Click on the Attach Sidebar icon to reattach the sidebar. When the sidebar is detached, the Home icon is enabled (see below). |

|
This Home icon is enabled whenever the sidebar is detached. In the case where you might have several sessions going on at the same time and several detached sidebars on your screen, clicking on a sidebar's Home icon brings up the associated session, saving time and avoiding confusion when trying to identify which sidebar goes with which session. | |
|
|

|
It is possible to reposition the different widget sections displayed on the sidebar, like the chat window, the session info pane, etc. When hovering over the title bar of a section, the cursor turns into a closed hand, allowing you to drag and reposition that section on the sidebar. |
|
|
Elevate a click-to-chat session to the full customer client, or elevate the customer client to have administrative rights by clicking the shield button. Select Prompt Customer to request admin credentials from the remote user. If you possess administrative credentials to the remote computer, select Specific User to supply an administrative username and password, yourself. Elevating the customer client enables switching user accounts, deploying Jump Clients in service mode, and controlling protected windows and UAC dialog boxes. Elevation does not change the user context of the active user and is not the same as logging out the active user and logging back in as an administrator. Elevation to admin rights is currently available only for Windows and Mac computers. Administrators can set the customer client to automatically request elevation at session initiation on Windows systems. |
|
|
Should you decide someone else is better suited to handle a session, transfer control of that session to another team or user. Remain as a participant or close your tab to leave the session with its new owner. Once you have transferred the session to a new owner, your Transfer, Share, and Remove icons become gray, and you are no longer able to perform these actions, as you are no longer the session owner. The session persists until the new owner of the session closes the session. |
||
|
Invite another user to participate in a shared session. You maintain ownership of the session but can receive input from one or more teammates or an external user. You can also request an access sponsor to perform certain actions on your behalf. |
||
|
The session owner can remove another user from a shared session. Additionally, you can disconnect the customer but remain in the session tab to add notes or review the last captured system information. |
||
|
|
If permitted, install a Support Button on the remote desktop or remove a previously installed Support Button. The customer can click the Support Button to start a support session quickly and easily. | |
|
|
If permitted, install a Jump Client on the remote computer, enabling you or your teammates to access that system later without end-user initiation. Uninstall the client if you no longer need unattended access to that system. To set details, including password, comments, group, and so forth, select Customize. |
|
|
Open a web browser on your computer to any sites defined by your administrator. This button can be configured to include detailed information about the session, the end customer, and/or the BeyondTrust user who is opening the custom link. If, for instance, the external key matches the unique identifier of a case in your customer relationship management system, clicking this button could pull up the associated case in the external system. |
||

|
When a compatible iOS device is detected, the Special Actions icon appears, allowing the representative to push iOS screen sharing instructions to the device. |
|
|
Close your session tab entirely. If you have ownership of the session, you can either uninstall the customer client from the remote machine or leave the customer in queue for another representative to resume the session. You can close the session from the sidebar, the session menu, or the session tab. |


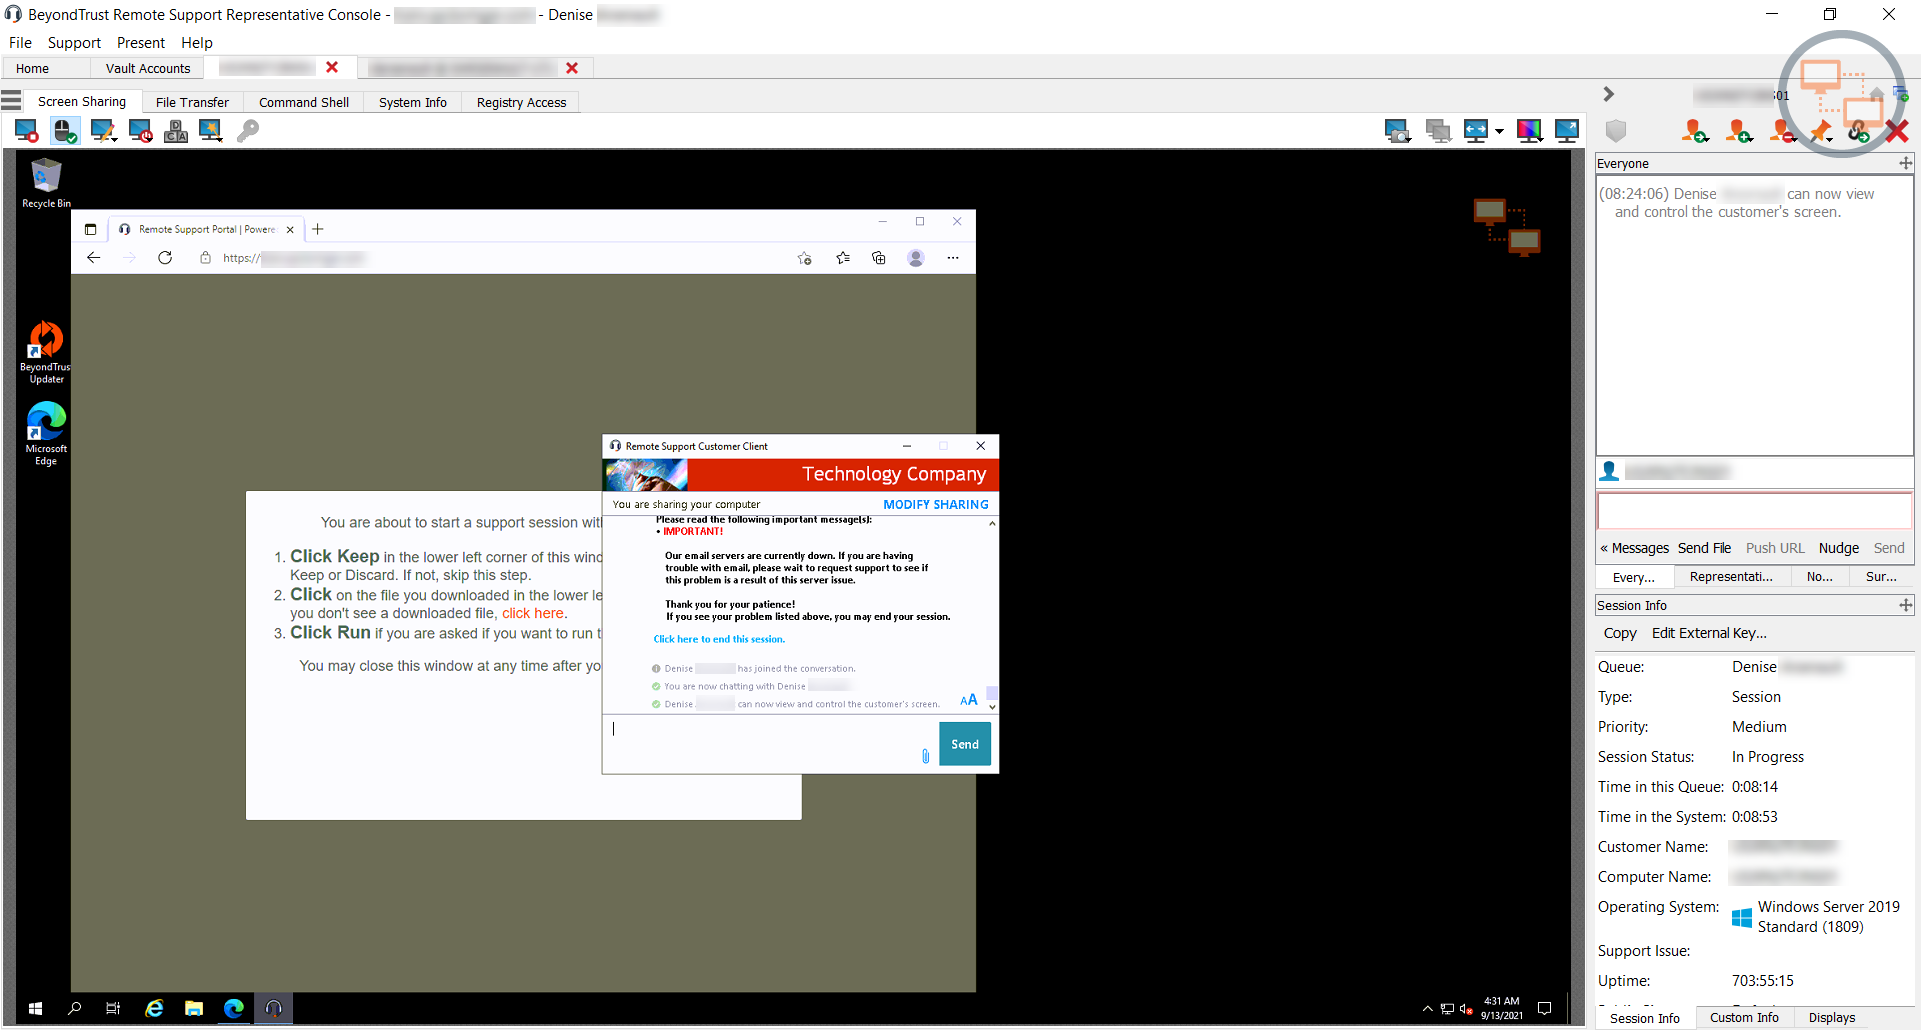
At the bottom right of the session window is information about the remote system along with any other information the customer may have provided in the issue submission form. This can include the following:
- Type: The session type.
- Priority: The priority level (Low, Medium (default), or High) of the request, depending on the support issues defined by your BeyondTrust administrator.
- Queue: The Personal queue of the representative who owns the session.
- Session Status: Waiting (no rep has joined), In Progress (rep and customer have joined), or Customer Absent (rep has joined but customer has left).
- Customer Name: This is either the name entered by the customer when starting the session, the username of the logged-in user, the hostname of the customer machine (for pushed and pinned sessions), or service (for elevated sessions).
- Computer Name: The hostname of the customer's machine as reported in System Settings.
- Platform: The operating system of the customer’s machine
- Support Issue: If an issue was selected, this reports the name of the issue the customer selected.
- Time in the System: This tracks the amount of time from the moment the session entered its first queue.
- Public Site: Typically, this is listed as Default; however, if non-default sites are present, other sites may be available.
- Required Skills: Skills associated with the specific issue selected by the customer. Skills are created and associated with issues by the BeyondTrust administrator from the BeyondTrust /login interface.
- IP Address: The public and/or private IP address of the customer’s local system.
If your administrator has enabled the XML API, you may designate an external key for use in session reports. Any custom session attributes enabled by your administrator will appear in a Custom Info tab. Click Copy to copy all information to your clipboard.
Another option that your administrator may choose to enable is the ability to log out the Windows user automatically or lock the remote computer when the session closes. When you have been working on an unattended system, for example, locking the computer is recommended to prevent unauthorized users from viewing private information. Set the action to take from the dropdown at the bottom of the pane.
For more information on iOS screen sharing, please see Screen Share with the iOS Device.