Configure CA Service Desk for Integration with BeyondTrust Remote Support
You must purchase this integration separately for both your Remote Support software and your CA Service Desk solution. For more information, contact BeyondTrust's Sales team.
Before beginning the installation, please ensure you have backed up your CA Service Desk primary and secondary servers.
Create New Tables
- Open the Web Screen Painter and log in as an administrator.
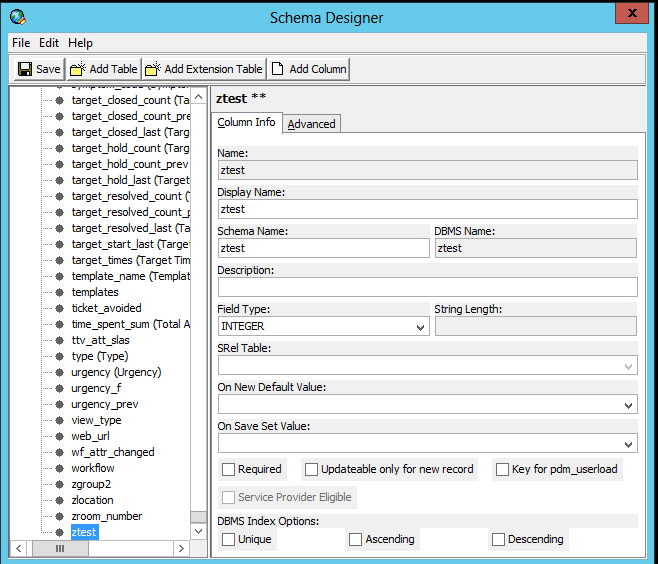
- From within the Web Screen Painter, open Tools > Schema Designer.
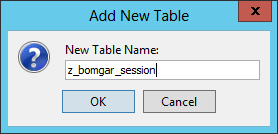
- Select Add Table, and create a table named z_bomgar_session.
- Click OK.
- The table info should now be displayed. Fill in the form with the following information:
- Name: z_bomgar_session
- Display Name: BeyondTrust Session
- Schema Name: z_bomgar_session
- Description: Fac_Attr_Entry z_bomgar_session
- Default Display Field: bgr_session_id
- Foreign Key Field: id
- Click Save.

- After creating and saving the table with the required basic information, click Add Column to add the following columns to the table:
| Schema Name | Display Name | Field Type | SREL Table or Length | Required |
|---|---|---|---|---|
| analyst | analyst | SREL | SREL Table: cnt | No |
| bgr_session_id | bgr_session_id | String | 100 | Yes |
| cr_persid | cr_persid | SREL | SREL Table: cr | Yes |
| end_date_time | end_date_time | Date | n/a | Yes |
| recording_url | recording_url | String | 1000 | No |
| session_duration | session_duration | Duration | n/a | No |
| start_date_time | start_date_time | Date | n/a | No |
| support_session_detail | support_session_detail | String | 30000 | Yes |
- Once all columns have been created, select File > Save and Publish. When prompted to continue, click Yes.
- Once again, select Add Table, and create a table named zbgr_connection_type.
- Click OK.
- The table info should now be displayed. Fill in the form with the following information:
- Name: zbgr_connection_type
- Display Name: BeyondTrust Connection Type
- Schema Name: zbgr_connection_type
- Description: Fac_Attr_Entry zbgr_connection_type
- Default Display Field: connection_name
- Foreign Key Field: id
- Click Save.
- After creating and saving the table with the required basic information, click Add Column to add the following columns to the table:
| Schema Name | Display Name | Field Type | SREL Table or Length | Required |
|---|---|---|---|---|
| connection_name | Connection_name | String | 100 | Yes |
| default_connection_type | Default_connection_type | Integer | n/a | No |
| delete_flag | SRel_Attr_Entry zbgr_connection_type.delete_flag | SREL | SREL Table: Actbool | No |
| Description | Description | String | 250 | Yes |
| zjumpoint_required | Zjumpoint_required | SREL | SREL Table: bool (Boolean) | No |
- Once all columns have been created, select File > Save and Publish. When prompted to continue, click Yes.
- Navigate to the nr table within Schema Designer.
- Select Add Column and add the following fields to this table:
| Schema Name | Display Name | Field Type | SREL Table or Length | Required |
|---|---|---|---|---|
| zbgr_conn_type | zbgr_conn_type | SREL | SREL Table: zbgr_connection_type | No |
| zbgr_jpoint | zbgr_jpoint | String | 200 | No |
- Once all columns have been created, select File > Save and Publish. When prompted to continue, click Yes.
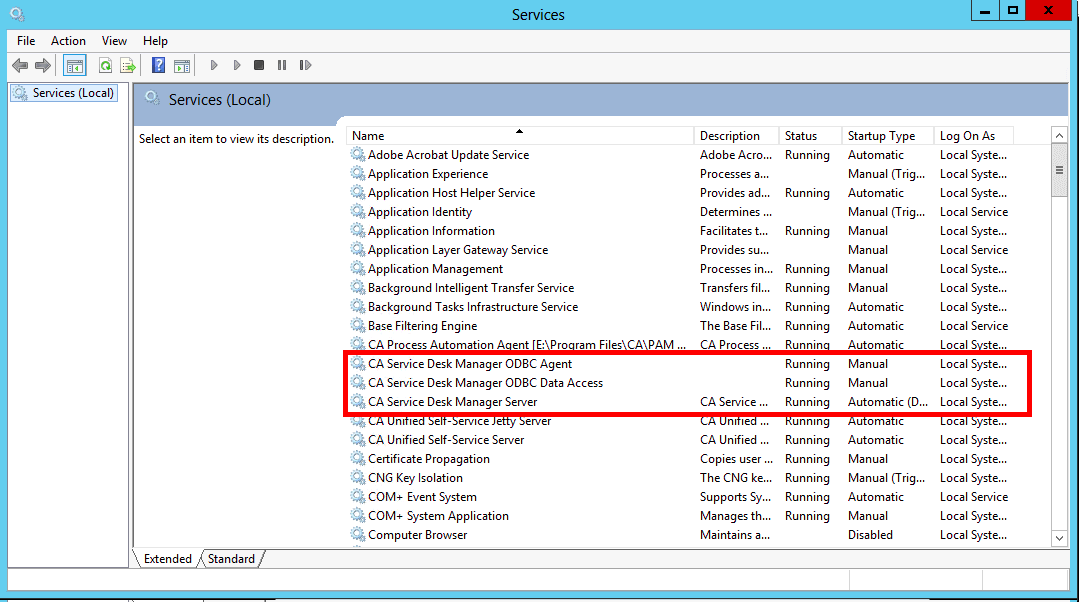
- Ensure all users are out of the system, and then shut down CA Service Desk services on all servers.
- Open an administrive command prompt window and run the command pdm_publish.
Implement Web Customizations
- If not already stopped, stop CA Service Desk services.
- Browse to the directory where CA Service Desk is installed (e.g., C:\Program Files (x86)\CA\Service Desk Manager).
- Copy the components package (CA_Service_Management_Integration_Components.zip) to the primary server and extract the contents to \patches.
The patches folder is not created during CA Service Desk installation and may need to be manually created.
- Locate detail_in.htmpl in .\patches\CA_Service_Management_Integration_Components\CA_ServiceDesk_FrontEnd_Code\site\mods\www\htmpl\web\analyst and open the file in a text editor such as Notepad.
- Open detail_in.htmpl in .\site\mods\www\htmpl\web\analyst in a text editor.
If you have not previously customized your Analyst Incident interface, you will not find a detail_in.htmpl file located in .\site\mods\www\htmpl\web\analysts. In this case, you need to copy the detail_in.htmpl file from .\bopcfg\www\htmpl\web\analyst to .site\mods\www\htmpl\web\analyst.
- Within the first file, from the patches folder, there are six code snippets that must be copied to the corresponding location in the second file. These snippets are surrounded by lines which read <!-- Integral Customization -- Start --> and <!-- Integral Customization -- End -->. Copy the code between those lines and paste them in the same locations in the second file.
Do NOT copy the "Start" and "End" lines.
- Save the file when complete.
If you have multiple Analyst type form groups, make sure to apply the changes to each detail_in.htmpl form located in each respective Analyst type form group. An Analyst type form group is any sub-folder underneath .\site\mods\www\htmpl\web\analyst.
- Copy the following files from .\patches\CA_Service_Management_Integration_Components\CA_ServiceDesk_FrontEnd_Code\site\mods\www\htmpl\web\analyst to .\site\mods\www\htmpl\web\analyst:
- detail_z_bomgar_session.htmpl
- detail_zbgr_connection_type.htmpl
- list_z_bomgar_session.htmpl
- list_zbgr_connection_type.htmpl
- Repeat steps 4-7 above but for cmdb_detail.htmpl in .\patches\CA_Service_Management_Integration_Components\CA_ServiceDesk_FrontEnd_Code\site\mods\www\htmpl\web\analyst as the source file and .site\mods\www\htmpl\web\employee as the destination. There should be two snippets that must be copied and placed in the destination file.
- Repeat steps 4-7 above but for nr_cmdb_har_worx_tab.htmpl in .patches\CA_Service_Management_Integration_Components\CA_ServiceDesk_FrontEnd_Code\site\mods\www\htmpl\web\analyst as the source file and .site\mods\www\htmpl\web\employee as the destination. There should be one snippet that must be copied and placed in the destination file.
- Repeat steps 4-7 above but for detail_in.htmpl in .\patches\CA_Service_Management_Integration_Components\CA_ServiceDesk_FrontEnd_Code\site\mods\www\htmpl\web\employee as the source file and .\site\mods\www\htmpl\web\employee as the destination. There should be three snippets that must be copied and placed in the destination file.
- Copy start_session.js from .\patches\CA_Service_Management_Integration_Components\CA_ServiceDesk_FrontEnd_Code\site\mods\www\wwwroot\scripts.
- Copy Bomgar.png from .\patches\CA_Service_Management_Integration_Components\CA_ServiceDesk_FrontEnd_Code\site\mods\www\wwwroot\img to .\site\mods\www\wwwroot\img.
- Open .\ns.env in a text editor and add the following line: @NX_bomgar_HOST=<BeyondTrust_Host> where <BeyondTrust_Host> is the hostname of your BeyondTrust site (e.g., support.example.com).
- Start the CA Service Desk Manager services.
- Open an administraive command prompt window, change directories to .\patches\CA_Service_Management_Integration_Components\CA_ServiceDesk_FrontEnd_Code, and run the command to load data into the zbgr_connection_type table: Pdm_load -i f zbgr_connection_type.txt.
- Verify that all files copied in this section have been copied to each primary and secondary server. Log into each primary and secondary CA Service Desk server and verify that the web changes in this section have been replicated in the following files in these locations:
- .\site\mods\www\htmpl\web\analyst
- detail_in.htmpl
- detail_z_bomgar_session.htmpl
- detail_zbgr_connection_type.htmpl
- list_z_bomgar_session.htmpl
- list_zbgr_connection_type.htmpl
- .\site\mods\www\htmpl\web\employee
- detail_in.htmpl
- .\site\mods\www\wwwroot\scripts
- start_session.js
- .\site\mods\www\wwwroot\img
- Bomgar.png
- .\site\mods\www\htmpl\web\analyst
If any file does not exist in these locations on each primary and secondary server, copy the files from the server you made changes on to the primary/secondary servers in the above locations.
Add Web UI Elements
- Log into CA Service Desk as an administrator.
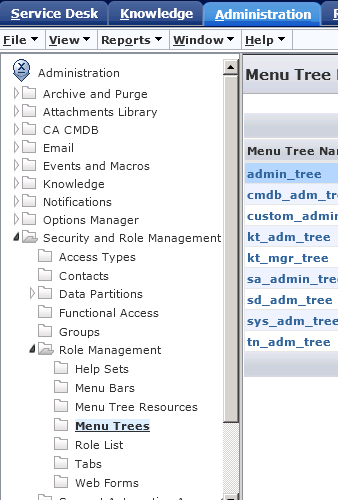
- Go to Administration > Security and Role Management > Role Management > Menu Trees.
- Within the Menu Trees list, select admin_tree.

If your admin tree is already customized, skip steps 4-6 and select your custom admin tree.
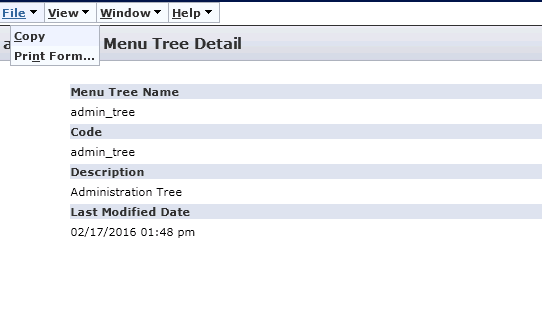
- Select File > Copy.
- Fill in the following values:
- Menu Tree Name: custom_admin_tree
- Code: cat
- Internal: No
- Description: Administration Tree
- Fill in the following values:
- Menu Tree Name: custom_admin_tree
- Code: cat
- Internal: No
- Description: Administration Tree
- Click Save.

- Select Customize Menu.
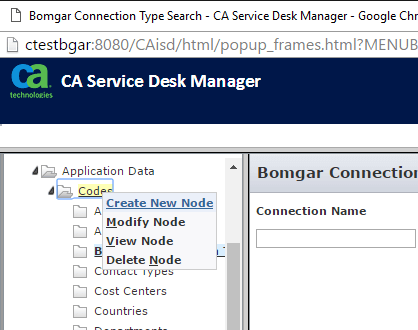
- Within ServiceDesk > Application Data > Codes, right-click Codes and click Create New Node.
- Create a new node with the following information:
- Node Name: BeyondTrust Connection Type
- Resource: BeyondTrust Connection Type
If you do not have a BeyondTrust Connection Type resource, follow step 11 to create one. Otherwise, skip to step 12 once you have saved the record.
- Click Save.
- Click Save.
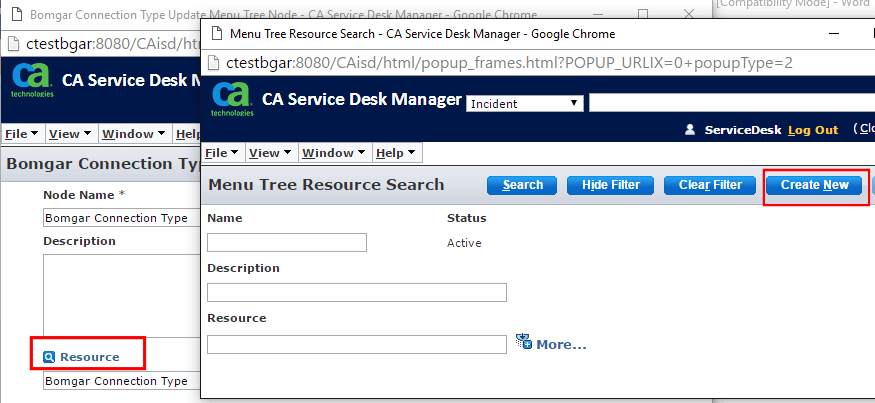
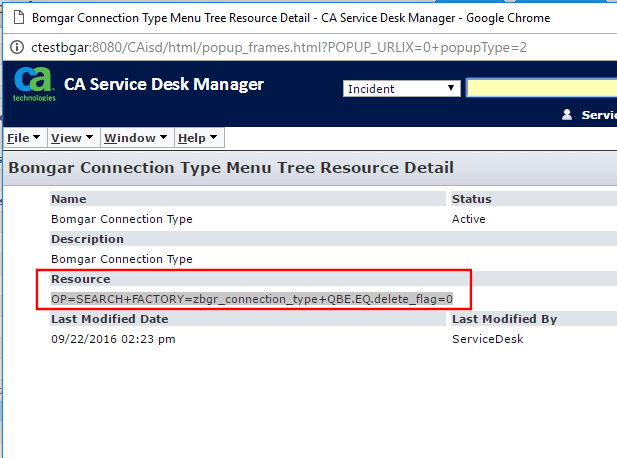
- To create a new resource, click the blue Resource link, and select the Create New button from the displayed screen. Fill in the following information to create the BeyondTrust Connection Type resource:
- Name: BeyondTrust Connection Type
- Description: BeyondTrust Connection Type
- Resource: OP=SEARCH+FACTORY=zbgr_connection_type+QBE.EQ.delete_flag=0
- Go to Administrator > Security and Role Management > Role Management > Tabs.
- Click on Administration tab with full menu.
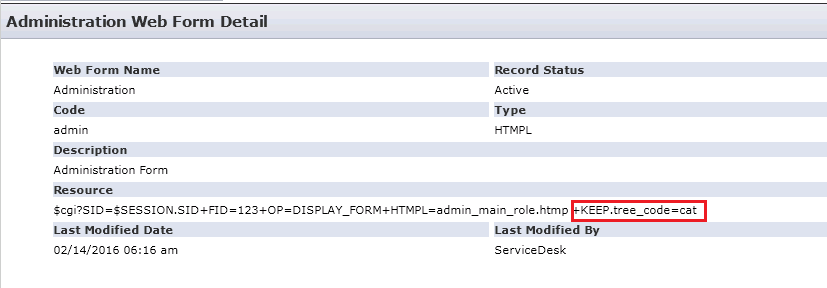
- Select the Administration link from the starting page and edit the Administration Web Form.
- Modify the Resource section to add the following to the end of the existing value: +KEEP.tree_code=cat.
- Restart the CA Service Desk services.