Elevate Rights in the Customer Client from the iOS Representative Console
When a session starts in click-to-chat mode, only chat is available. If you wish to have access to more robust support features such as screen sharing, you must elevate the customer client.
Similarly, if the downloaded customer client is running in user mode, you may not have the depth of access you need. You can elevate the customer client to run with administrative rights, as a system service. Elevating the customer client enables switching user accounts, deploying Jump Clients in service mode, and controlling protected windows and UAC dialog boxes. Elevation does not change the user context of the active user and is not the same as logging out the active user and logging back in as an administrator.
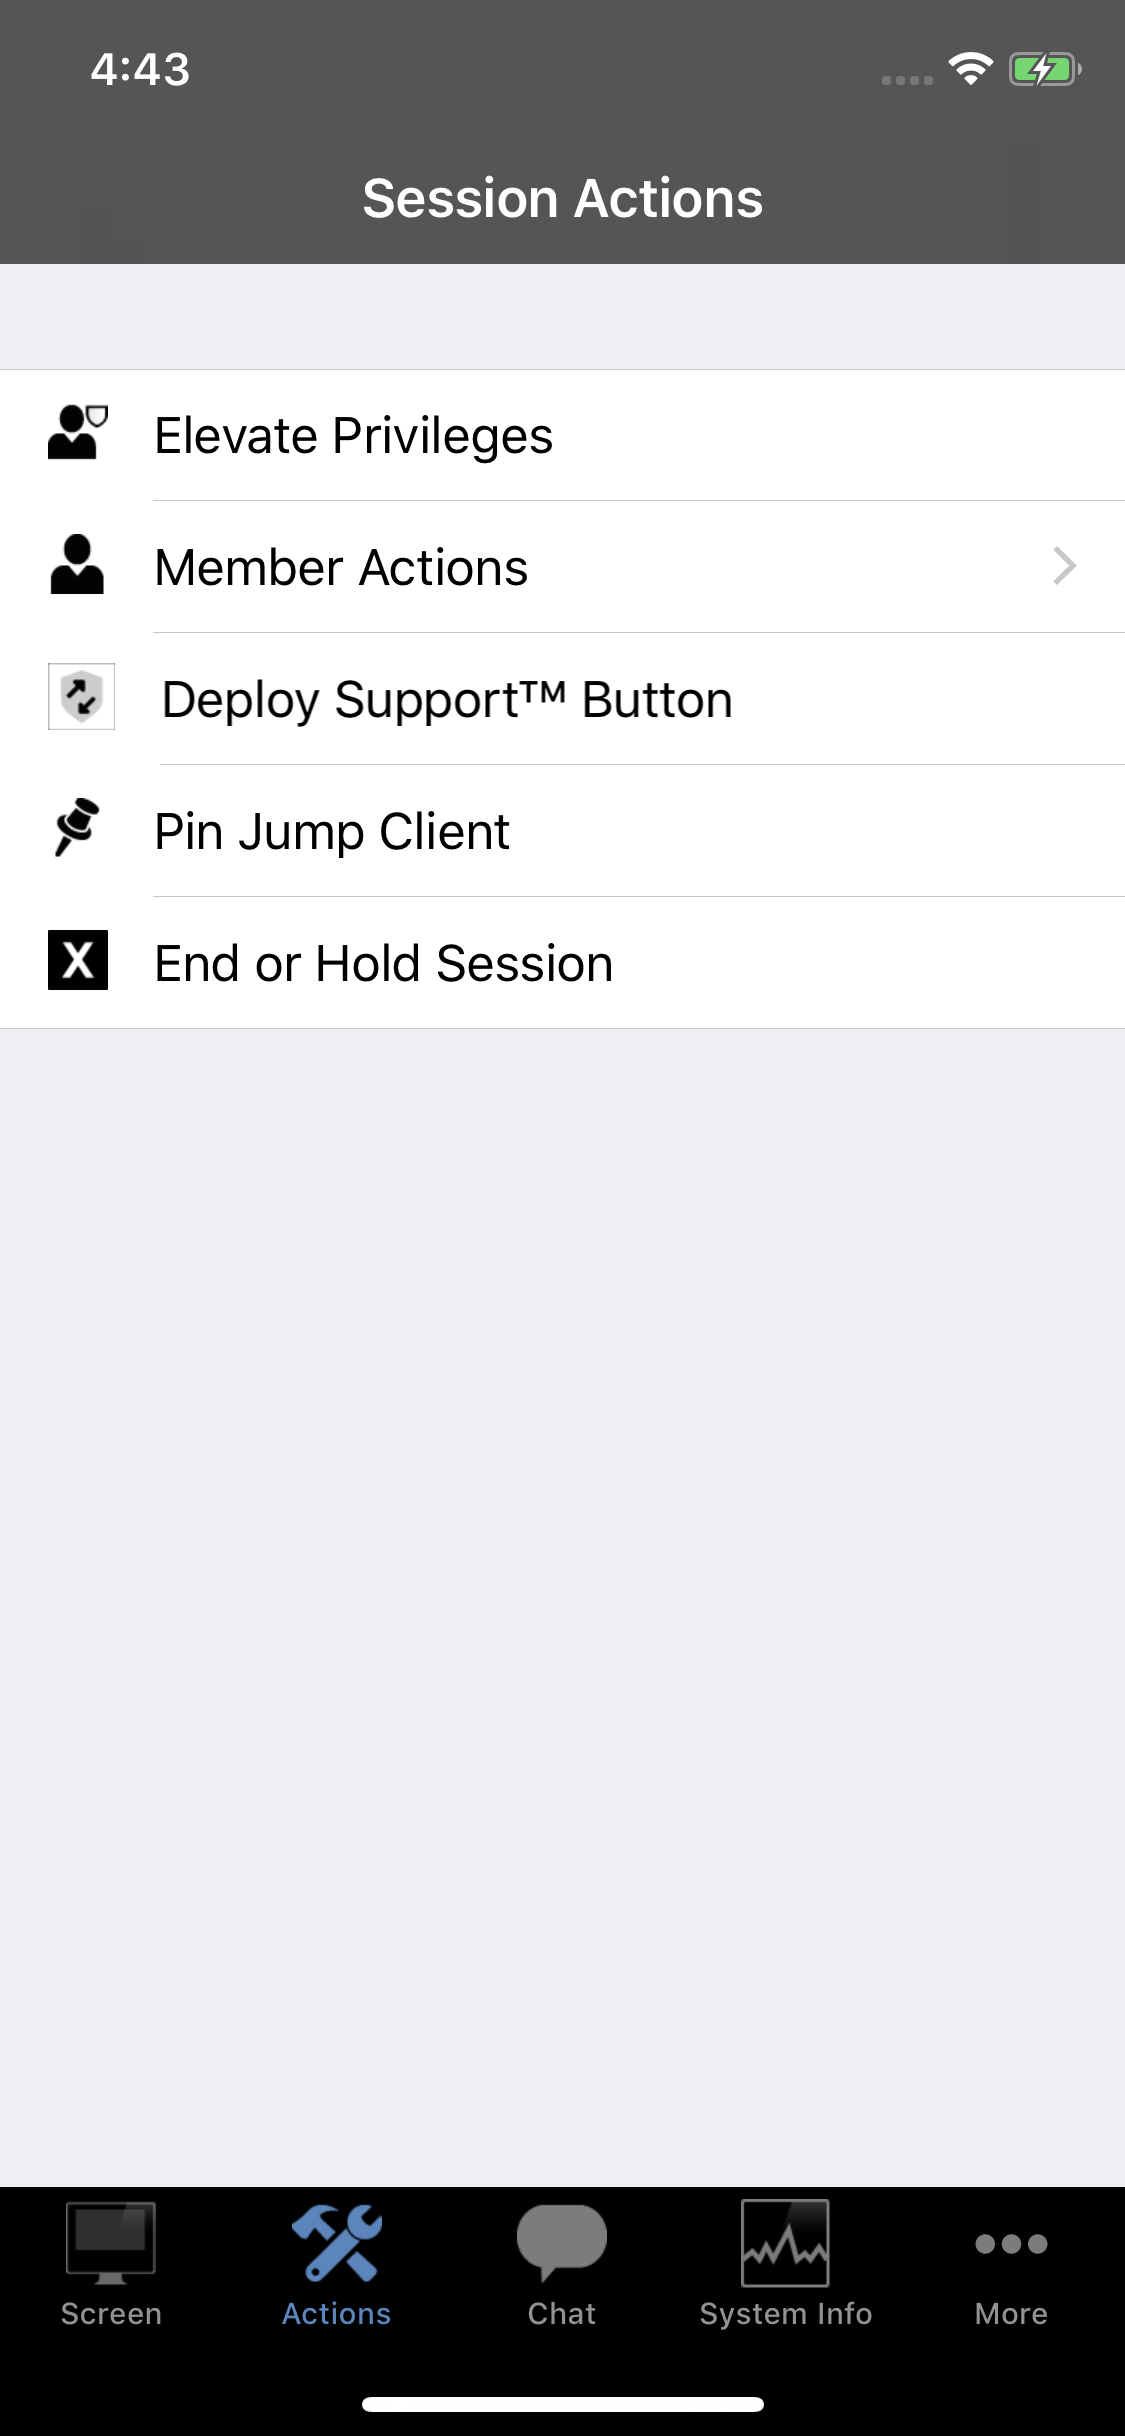
To elevate the customer client, tap the Elevate button. On an iPhone, access this button by tapping the Menu button first.
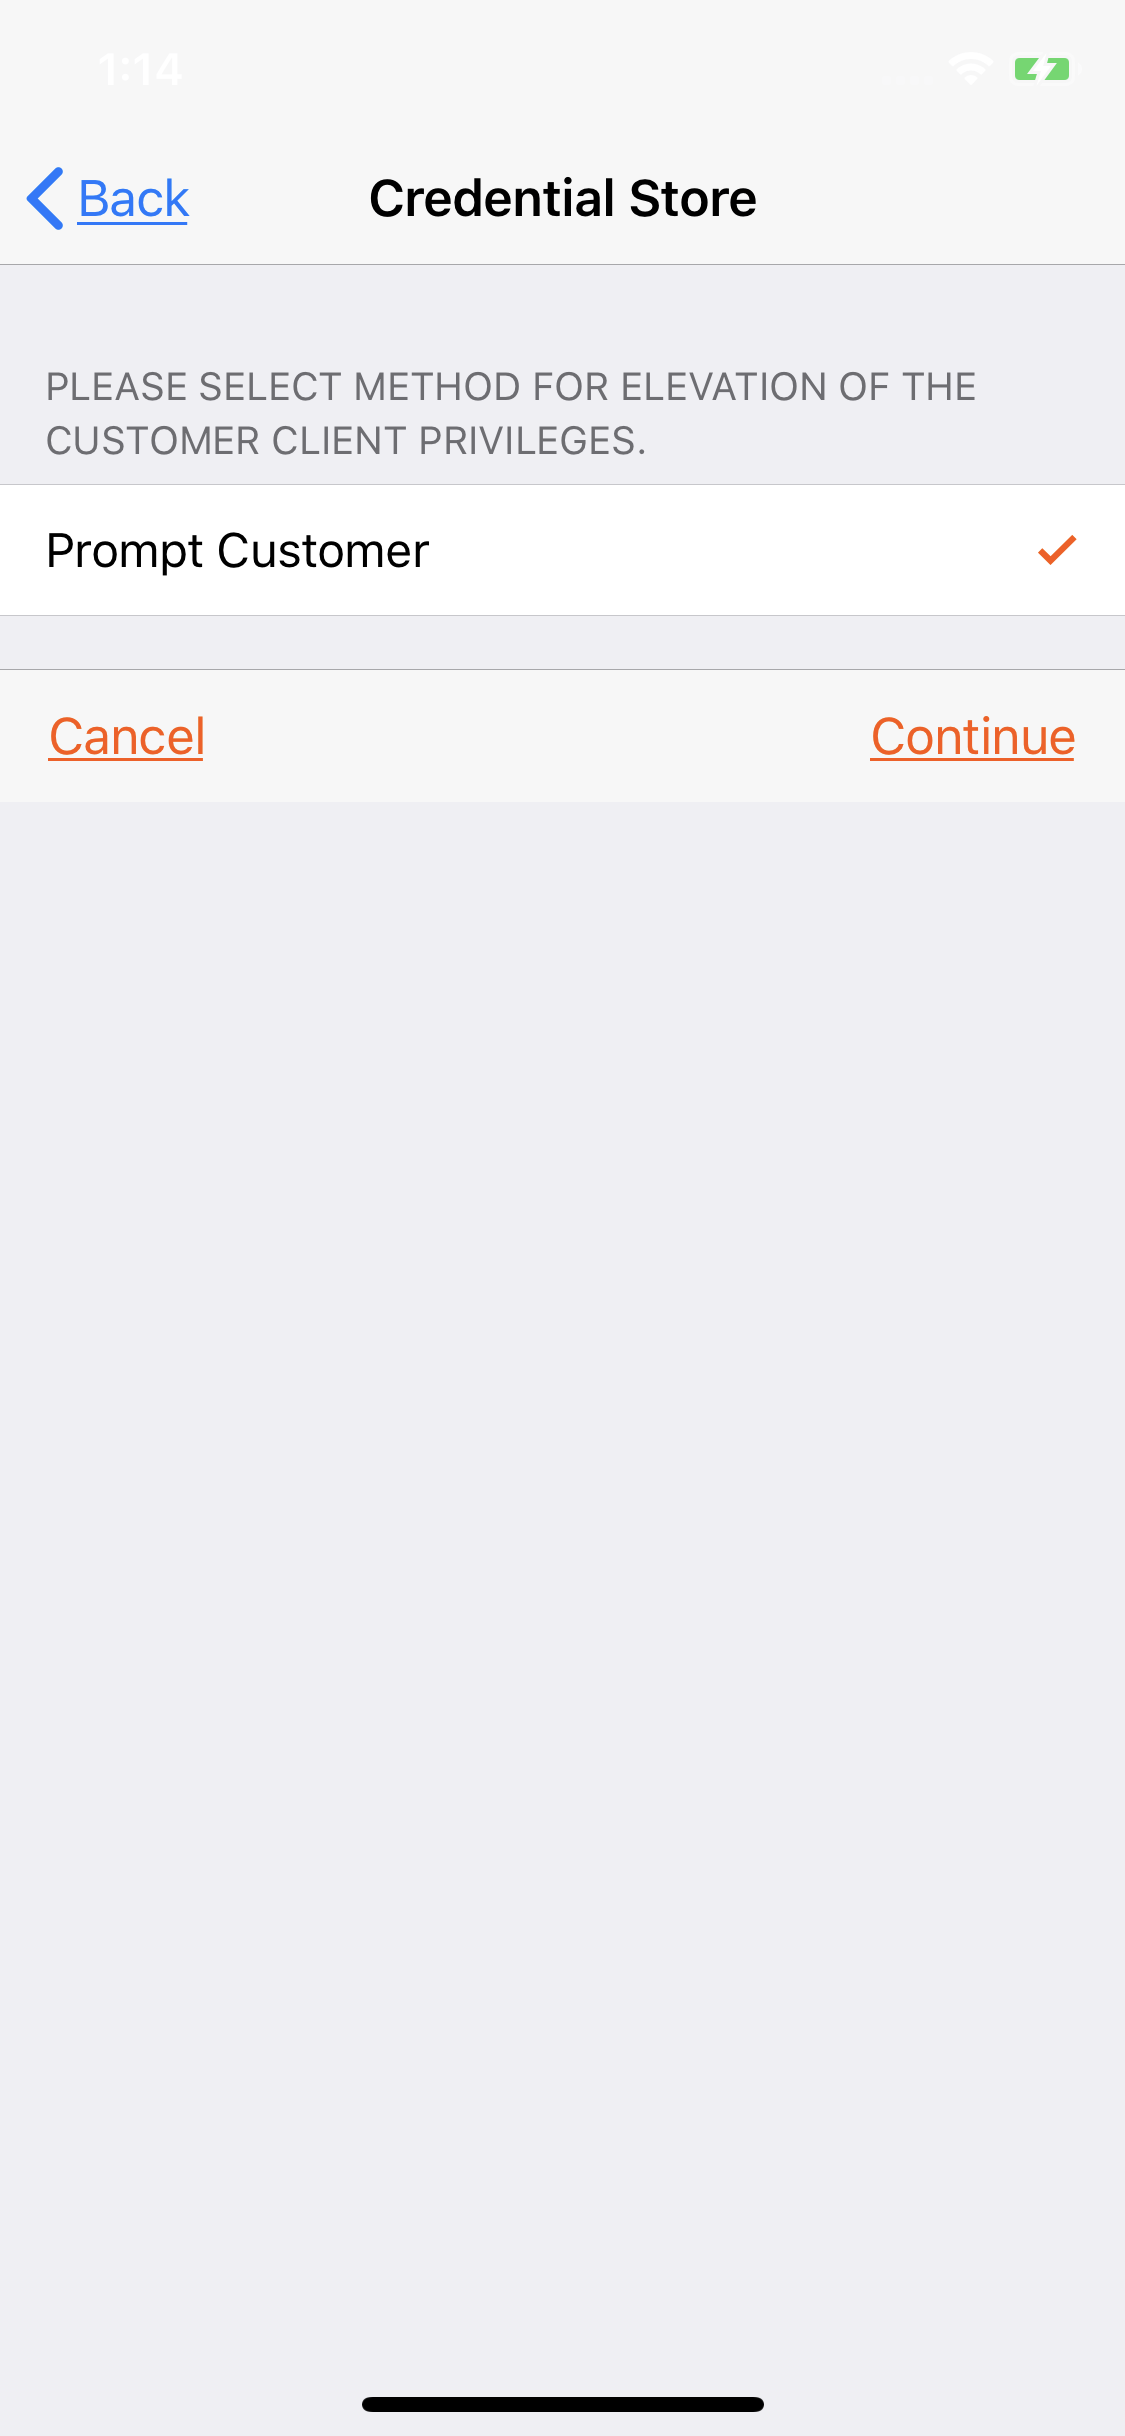
If Prompt Customer is selected, tap OK to send a request to the customer to enter administrative credentials for their computer.
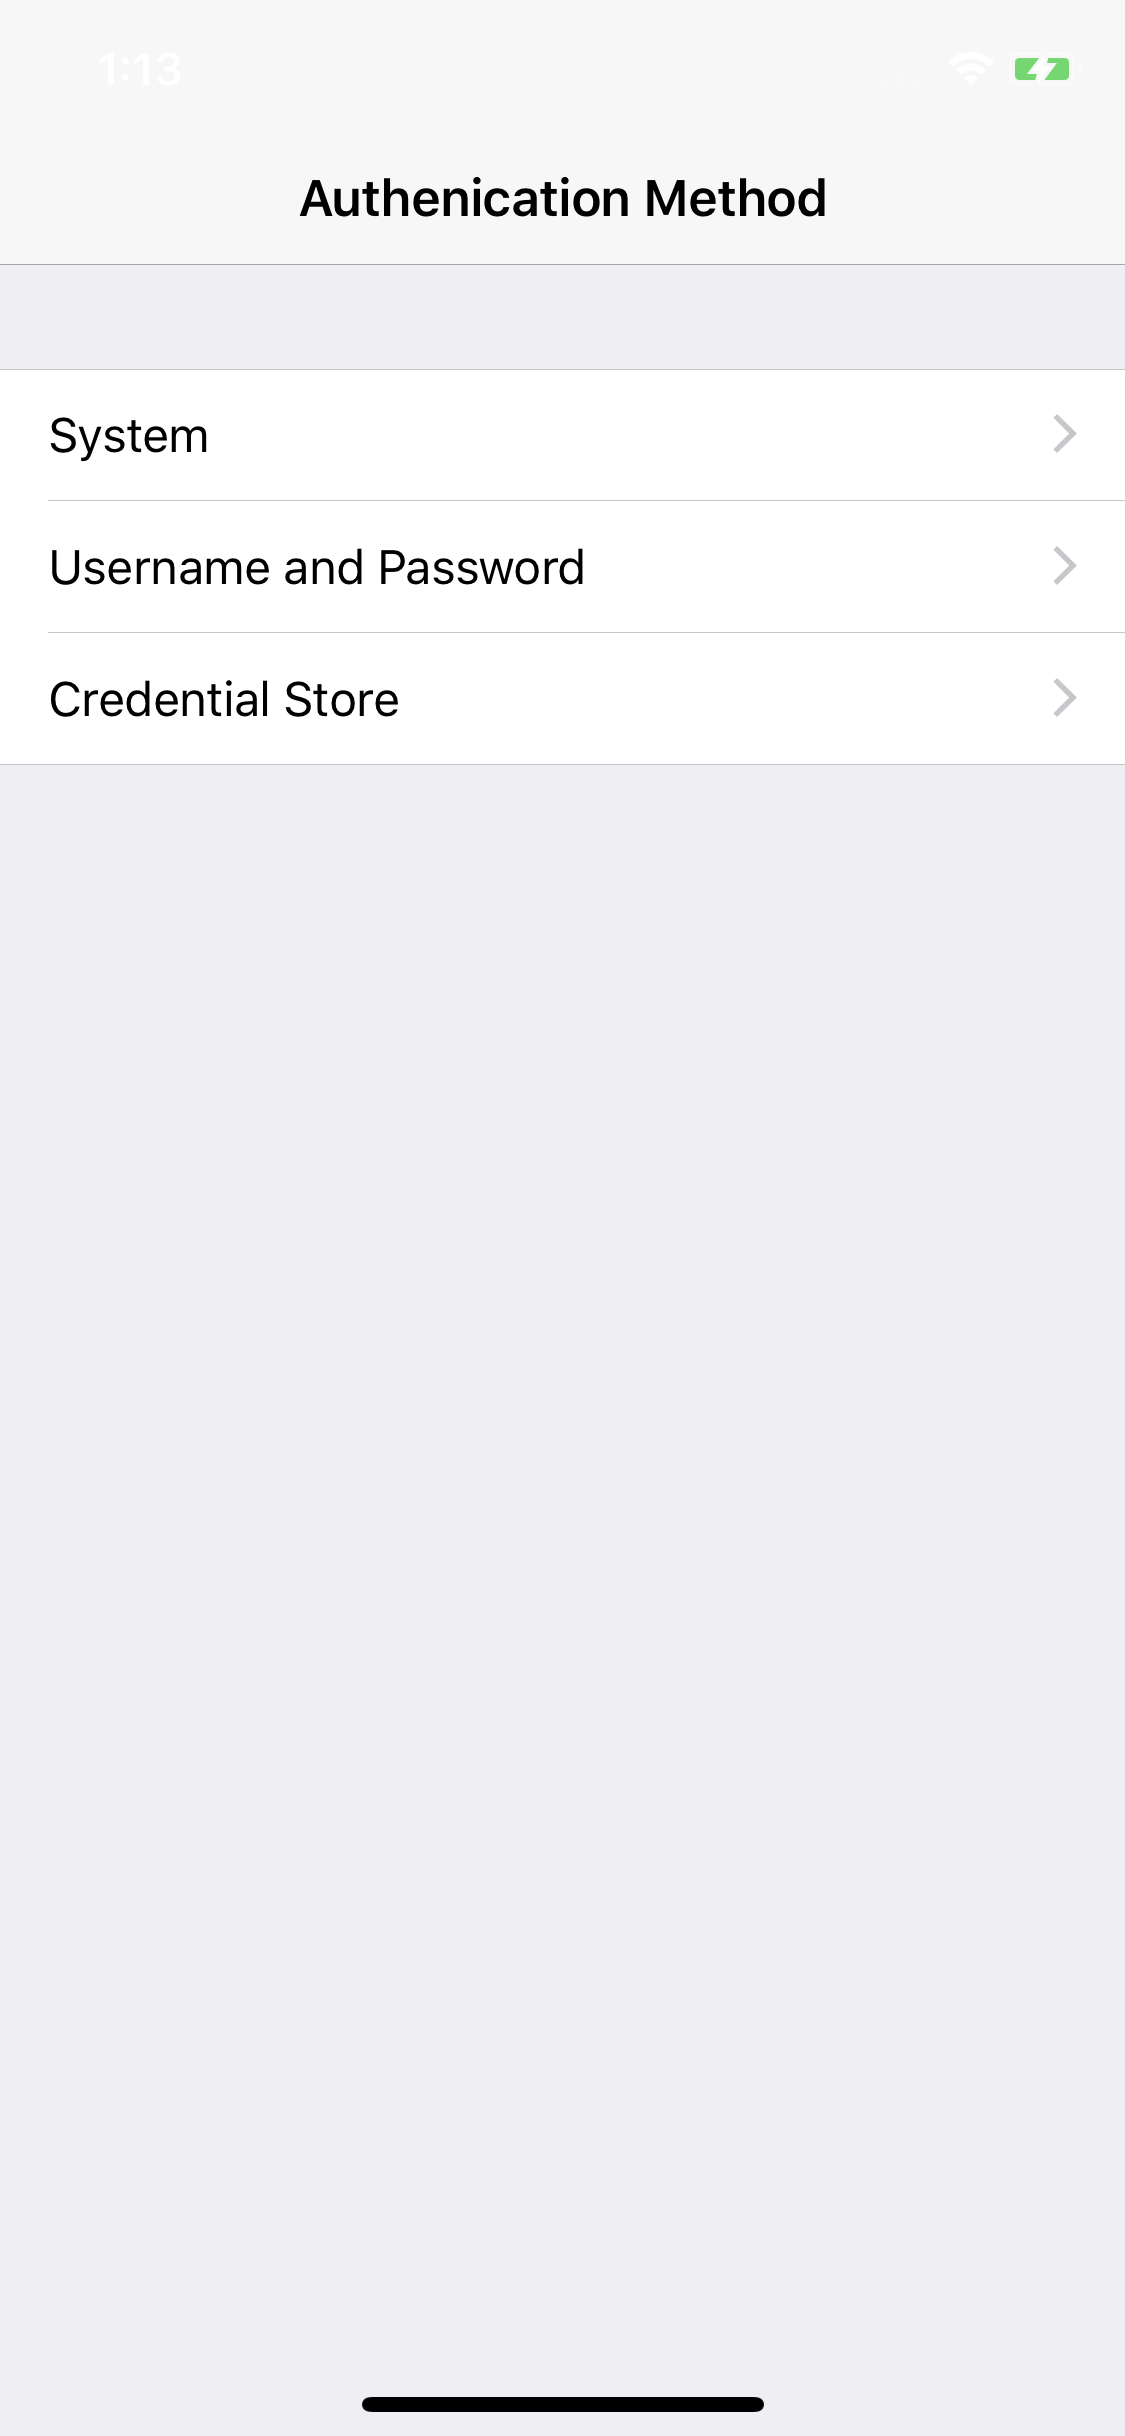
To select an alternate means of elevation, tap Elevation Method and then select the method you wish to use.

For more information about manual vs automatic elevation, please see the Representative Console Guide.