File Transfer to and from the Remote System
During a session, privileged users can transfer, delete, or rename files and even entire directories both to and from the remote computer, or from the remote device and to or from the device SD card. You do not need to have full control of the remote computer in order to transfer files.
Depending upon the permissions your administrator has set for your account, you might be allowed only to upload files to the remote system or to download files to your local computer. File system access might also be restricted to certain paths on the remote or local system, thereby enforcing that uploads or downloads occur only in certain directories.
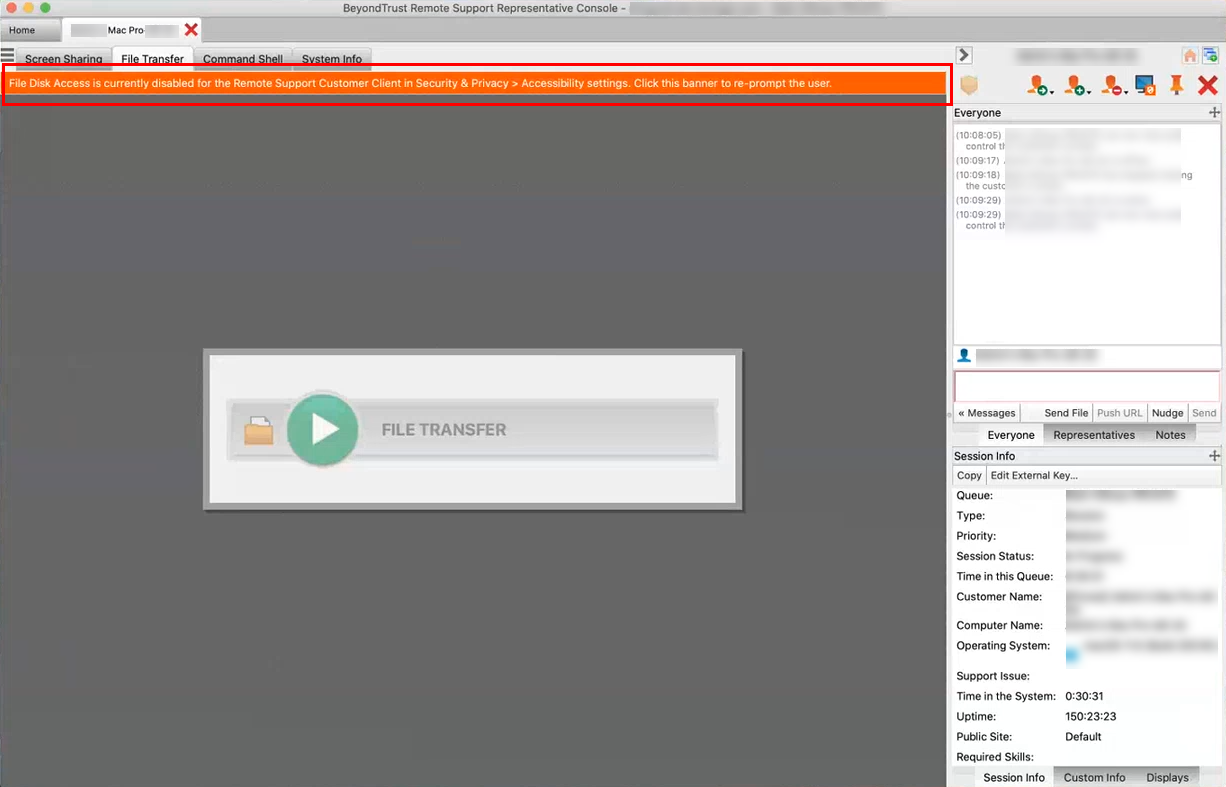
For macOS Catalina (10.15)+ systems, if screen sharing is not enabled, click the banner at the top of the File Transfer tab to prompt the customer for permissions to transfer files.
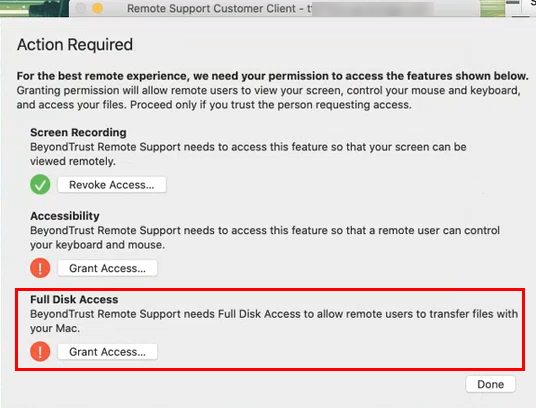
The customer can now grant access when prompted in the customer client, and the representative is directed to the correct panes in Settings to update the permissions.
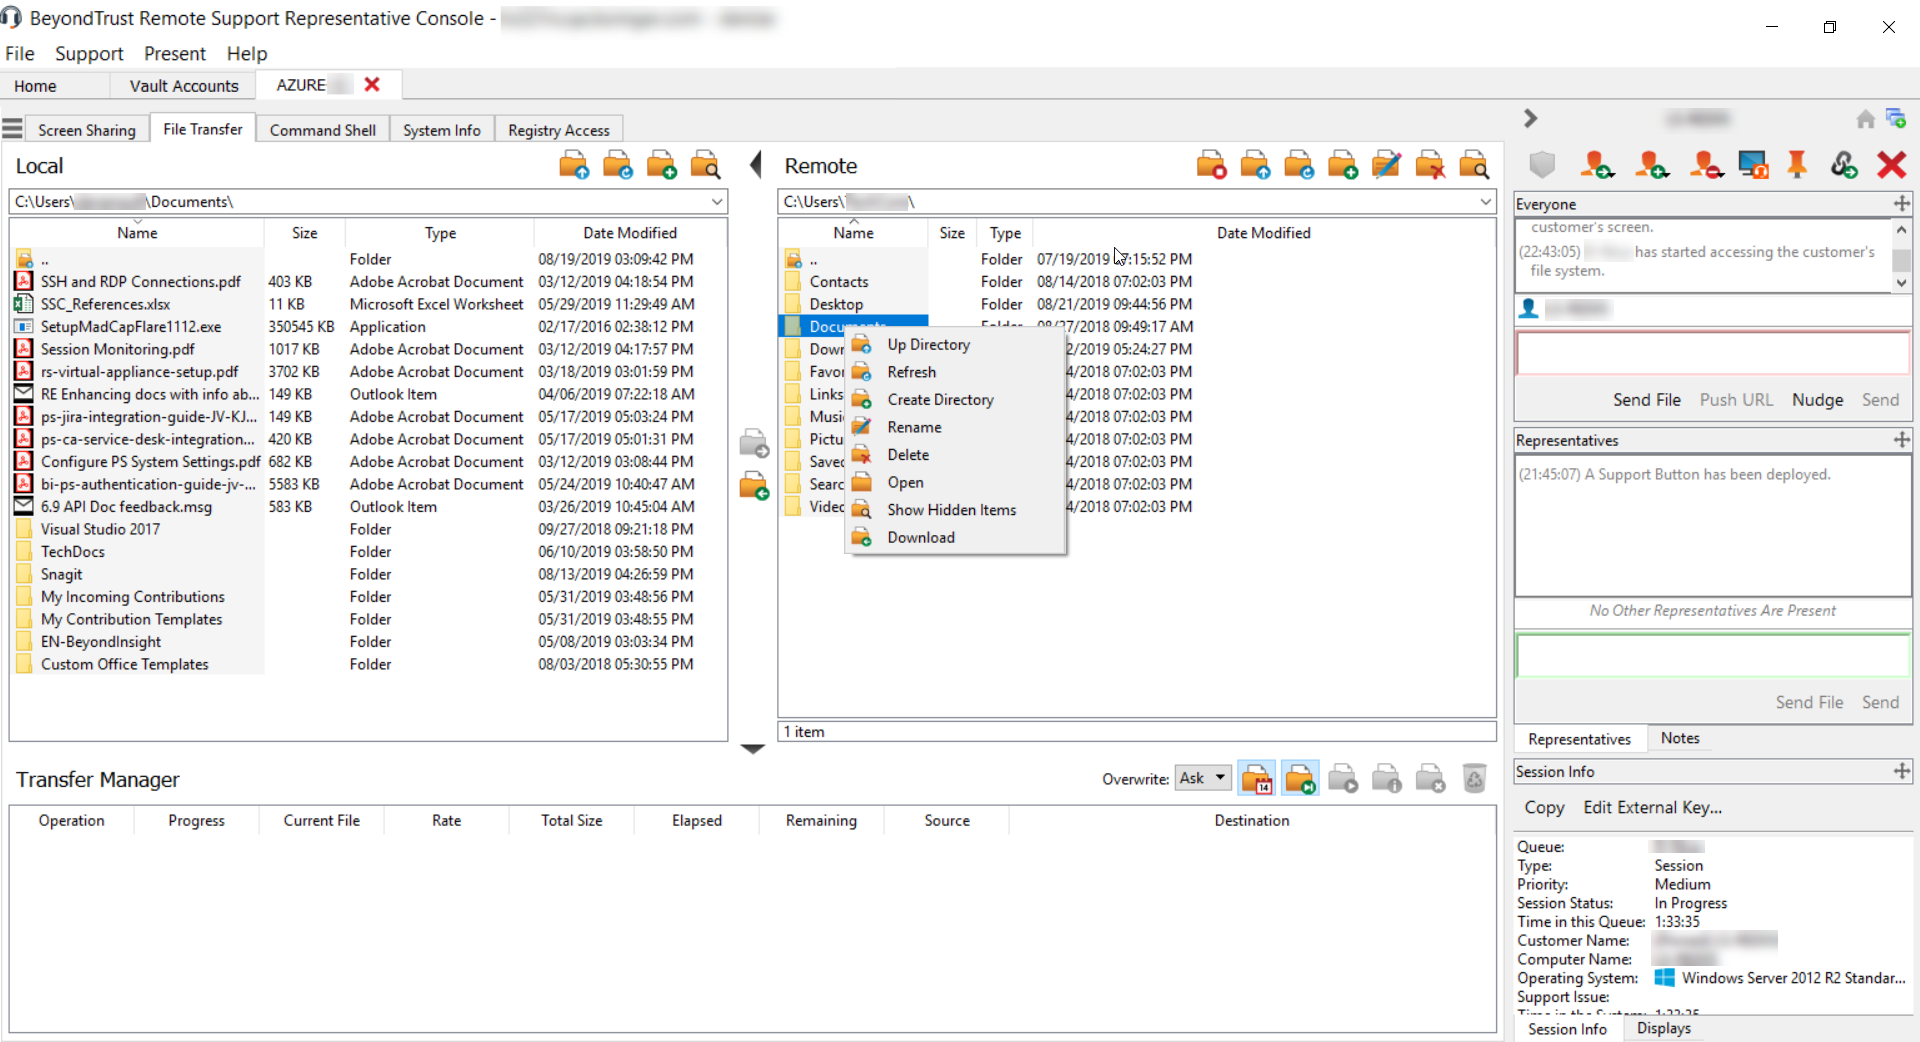
Transfer files by using the upload and download buttons or by dragging files. Right-clicking on a file brings up a context sensitive menu from where you can, among other things, create a new directory, rename, open, or delete the file, or download it directly to your machine.
File Transfer Tools
|
|
Stop access to the remote device’s file system when it is no longer needed. |
|
|
|
Go up a directory in the selected file system. |
|
|
|
Refresh your view of the selected file system. |
|
|
|
Create a new directory. |
|
|
|
Rename a directory or file. |
|
|
|
Delete a directory or file. Note that deleting a file or folder permanently deletes it. It is not sent to the recycle bin. |
|
|
|
Show hidden files. |
|
|
|
|
Select one or more files or directories and then click the appropriate button to upload the files to the remote system or download to your local system. You can also drag and drop files to transfer. |
|
|
If a file of the same name already exists in the location to which you are attempting to transfer a file, choose whether to respond by automatically overwriting the existing file, canceling the transfer, or prompting for each file of identical name. Note that if the content of the files is identical, the upload will be skipped and will result in a warning message. |
|
|
|
Preserving file information will keep the file’s original timestamp. If this option is disabled, the file’s timestamp will reflect the date and time when it was transferred. |
|
|
|
If automatic file transfer is enabled, transfers will begin as soon as the upload or download button is clicked or a file is dragged from one file system to the other. |
|
|
|
If automatic file transfer is not enabled, select from the transfer manager the files you wish to transfer and then click the Start button to begin the transfer. |
|
|
|
From the transfer manager, select a file and then click the Details button to view information such as the date and time of the transfer, the origin and destination of the files, and the number of bytes transferred. |
|
|
|
Select one or more files from the transfer manager and then click Cancel to stop the transfer from completing. |
|
|
|
Clear all information from the transfer manager. |


