Set the Integration Client Schedule
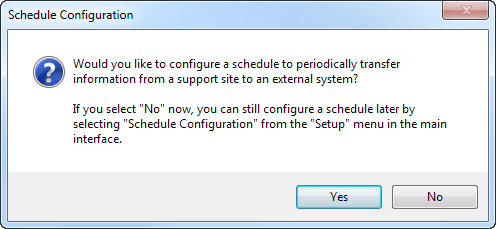
- It is generally a best practice to set a schedule for the integration client to run periodically. Upon initial installation, you are also prompted to set up a schedule. When prompted, click Yes.

- If the integration client is already installed and you wish to update or add a schedule, select Schedule Configuration from the Setup dropdown.

- From the schedule configuration dialog, schedule a data transfer by clicking the Add button.
- Enter a descriptive name in the Schedule Name field.
- From the Choose Site dropdown, select a configured BeyondTrust PRA site to act as a source from which to pull data.
- From the Destination dropdown, select a plugin instance to act as a destination for the transfer.
- Click Add to create this data transfer instance. A new schedule transfer row is added to the table beneath. You can add multiple transfer instances to one schedule if you wish the transfers to occur simultaneously.
- For each transfer instance, select the types of data that you wish to transfer. Recordings and site backups can be saved to a file only and not to a SQL Server database. It is recommended to create separate schedules for backups and data extracts.
Among the five types of data the BeyondTrust integration client can download (session data, session recordings, and site backups). All can be stored on a Windows file system. Session data is stored as .xml files, session recordings are stored as .flv files, and site backups are stored as proprietary .nsb files. The first two types of files can be parsed with XML as appropriate. The .nsb files can only be read by B Series Appliances via an upload from the /login > Management > Software Management page in the Software :: Backup Settings section.
- The Run Every setting determines how often these transfers should occur. Transfers can be scheduled from every minute to every seven days. Transfers that are scheduled in increments of days can be set for a particular time. This could allow the transfer to run when more server resources and bandwidth are expected to be available, such as during non-production hours.
- Click Save to finish configuring this schedule. You can add multiple schedules to run multiple transfers.
- After configuring a schedule, it appears in the left pane along with a summary of information:
- Schedule Name: The descriptive name given to this schedule.
- Transfers: The number of transfer instances this schedule initiates. This is equal to the number of rows in the Transfers section. One transfer instance may transfer multiple types of data.
- Period: The length of time scheduled between each transfer.
- Last Run: When the scheduled transfer last was run.
If the integration client cannot connect to the B Series Appliance or to its transfer destination, it still marks the schedule complete and updates the last run date. If the integration client itself experiences an error, it neither marks the schedule complete nor updates the last run date.
Ensure that the clock on the server hosting the integration client is not ahead of the clock on the B Series Appliance from which data is being extracted. If the server clock is ahead, some data may not be downloaded. The best way to ensure that the integration client's host server and the B Series Appliance have synchronized clocks is to use the same network time protocol (NTP) server for both.