Change settings and preferences in the Access Console
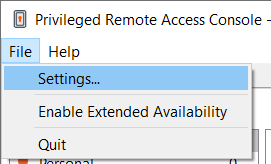
Click File > Settings in the upper-left corner of the console to configure your preferences.
In general, you can configure the console settings according to your preferences. However, your BeyondTrust administrator might choose to manage your settings, enforcing those managed settings if desired.
If your BeyondTrust administrator has changed and applied the default settings, then you will see a Settings Changed alert the next time you log into your console. Click View Settings to open your settings window to view the changes, or click OK to acknowledge the changes.
Changing settings
These instructions assume you are allowed to choose the settings used in your console. Settings enforced by your administrator appear marked with an asterisk and are grayed out, and they are not locally configurable. Please see your administrator or Manage Access Console Settings for more information.
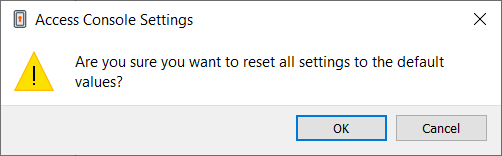
The Access Console Settings window includes a Restore Defaults button in the lower-left corner of the window. This button returns all of your settings to the BeyondTrust default settings or to the default settings applied by your administrator if any have been set. An alert dialog asks you to confirm that you wish to change to the defaults. Click Cancel if you wish to return to your locally saved preferences.
If any of the defaults are forced by your administrator, you are unable to configure them.
Global Settings
From the Global Settings section, you can choose to enable or disable spell check for chat. Currently, spell check is available for US English only.
Choose if you want the session menu icon to display, if the sidebar can be detached, and if the widgets on the session sidebar can be rearranged and resized.
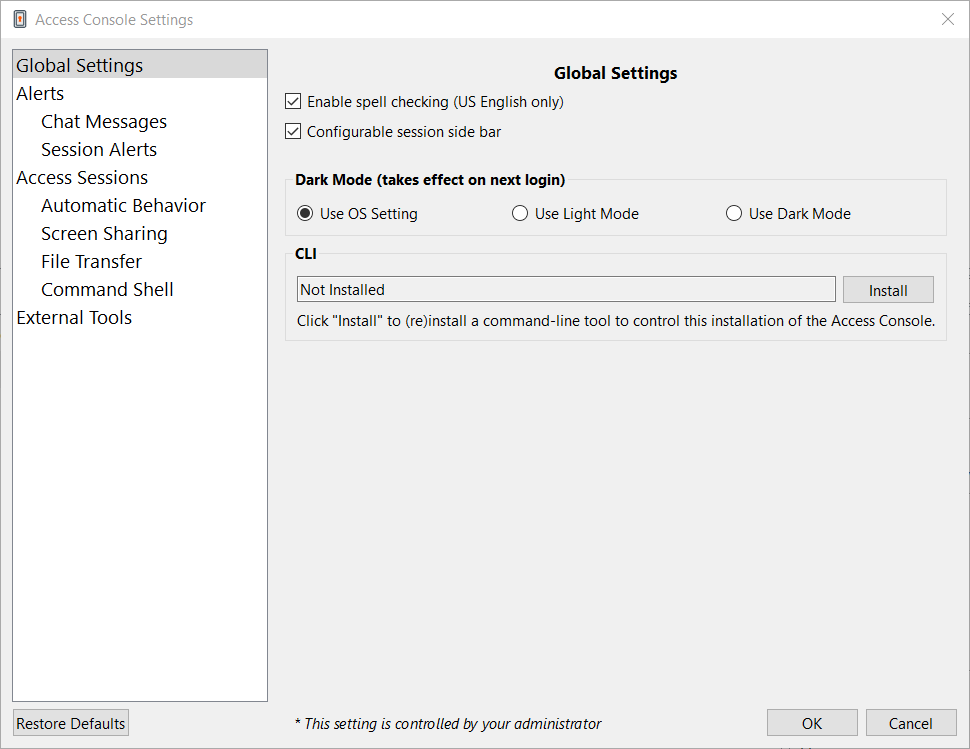
You can choose to change your display mode. Options include OS Setting (default), Light Mode, and Dark Mode.
In addition to switching the display mode within the access console, users can change it in OS Settings by selecting Themes and related settings > Color > Choose your color.
The CLI section indicates if a Command Line Interface tool is installed for this installation of the Access Console. If it is not installed, you can choose to install it by clicking Install.
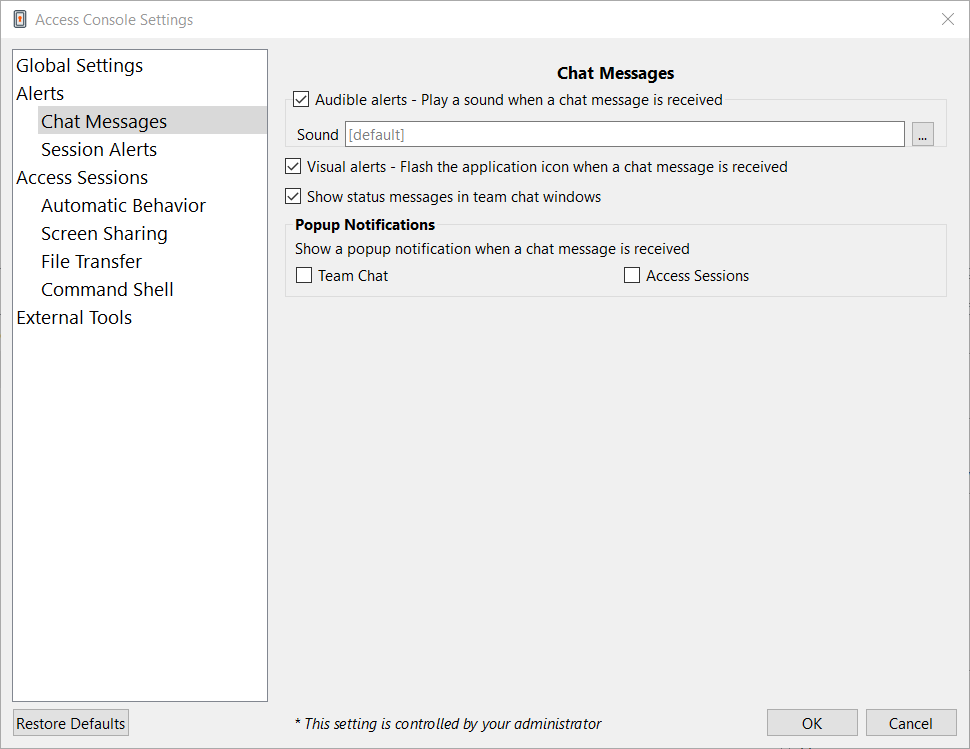
Alerts
Choose your alert settings for chat messages. When you receive a chat message, you can choose to hear a sound and to see the application icon flash.
If you would like to upload a custom sound for chat messages, click the […] button and select a WAV file on your computer. The file can be no larger than 1MB.
Choose if the team chat should include status messages, such as users logging in and out, or only chats sent between team members.
Choose if you want to receive pop-up notifications for messages received in a team chat and/or in a session chat.
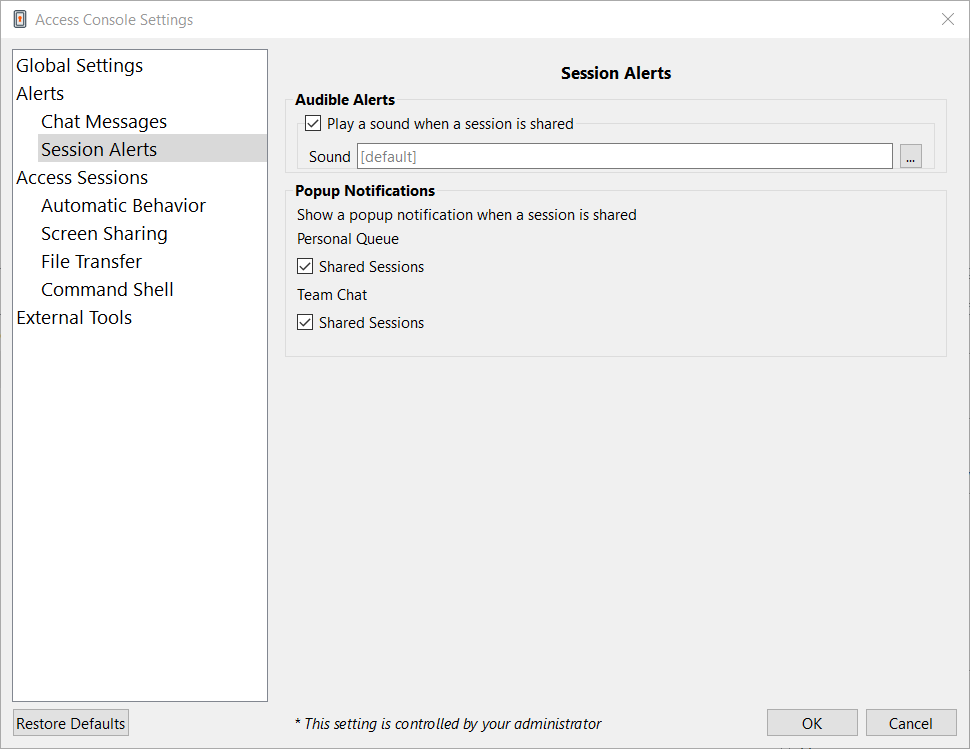
Choose if you want to hear an audible alert when another user requests to share a session with you. If you would like to upload a custom sound for shared sessions, click the […] button and select a WAV file on your computer. The file can be no larger than 1MB.
You also can choose to receive pop-up notifications for certain events. These notifications will appear independent of your console and on top of other windows. Set where you wish to see pop-ups and how long they should display.
Access Sessions
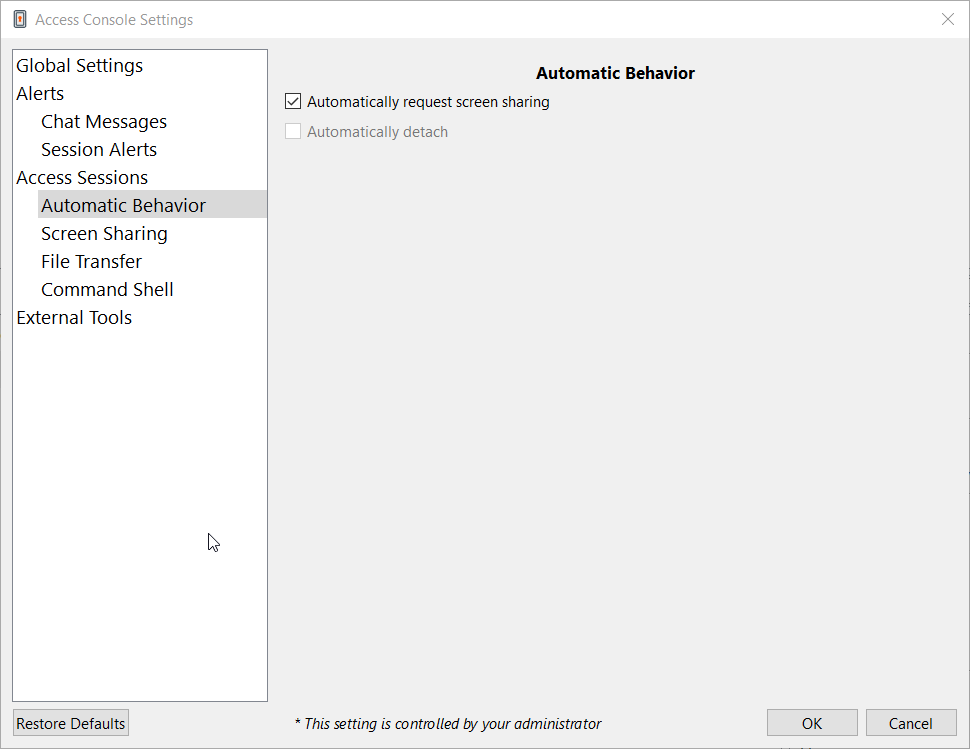
Choose if you want to automatically start screen sharing when you begin a session.
You can choose to open sessions as tabs in the console or to automatically detach sessions into new windows.
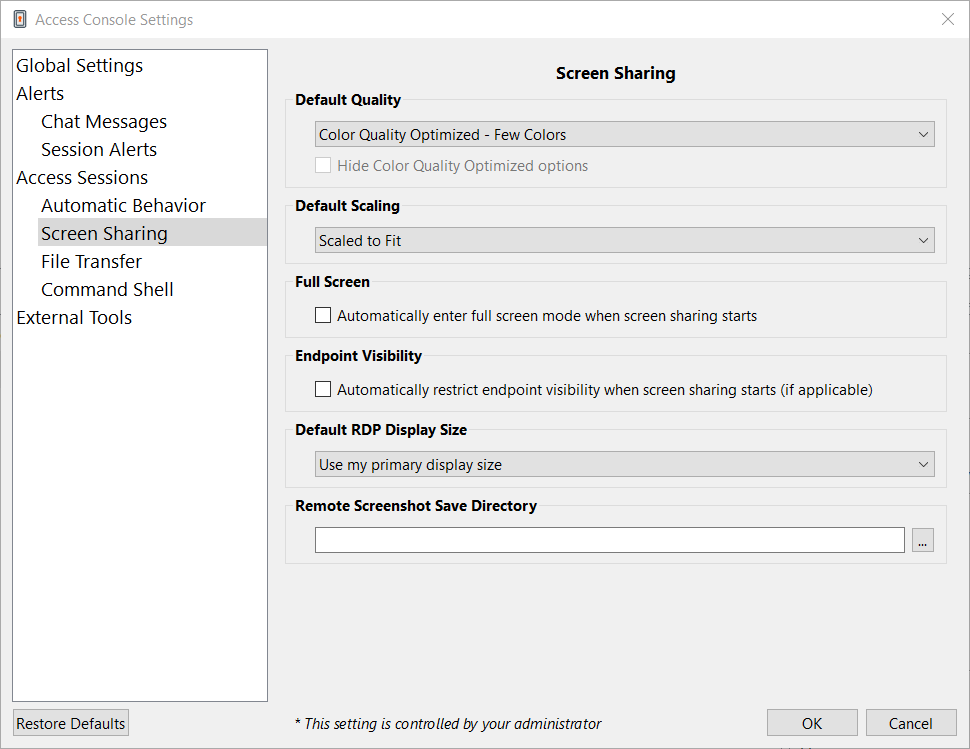
Set the default quality and size for a screen sharing session. When screen sharing starts, you can automatically enter full screen mode, which in turn can automatically collapse the chat bar.
Additionally, when screen sharing starts, the remote system can automatically have its display, mouse, and keyboard input restricted, providing a privacy screen.
Select the default RDP display size for all RDP sessions.
An option allows you to open a PRA connection expanded across all the monitors on the client computer regardless of the client monitor configuration. With this feature, you can fully utilize all the monitors connected to the client computer, therefore being able to adjust screen sizing and scaling during an RDP session across multiple monitors.
For easier access to screenshots you capture from the console, set the default directory where you wish to save your console-captured remote screenshots.
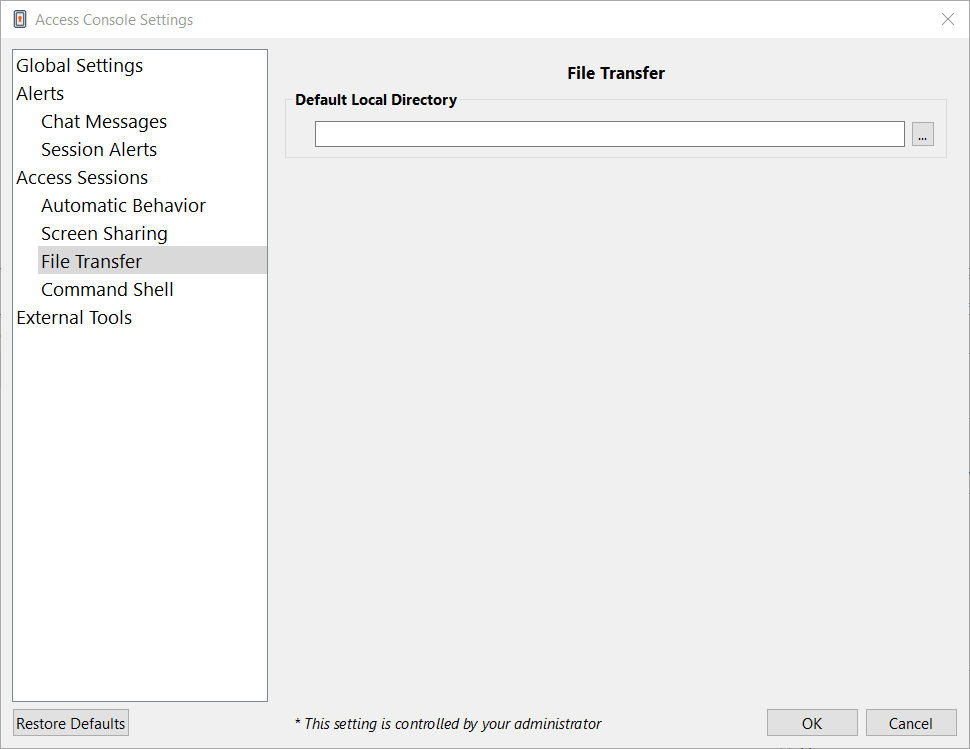
For easier file transferring, set the default directory from which you wish to start browsing your local file system.
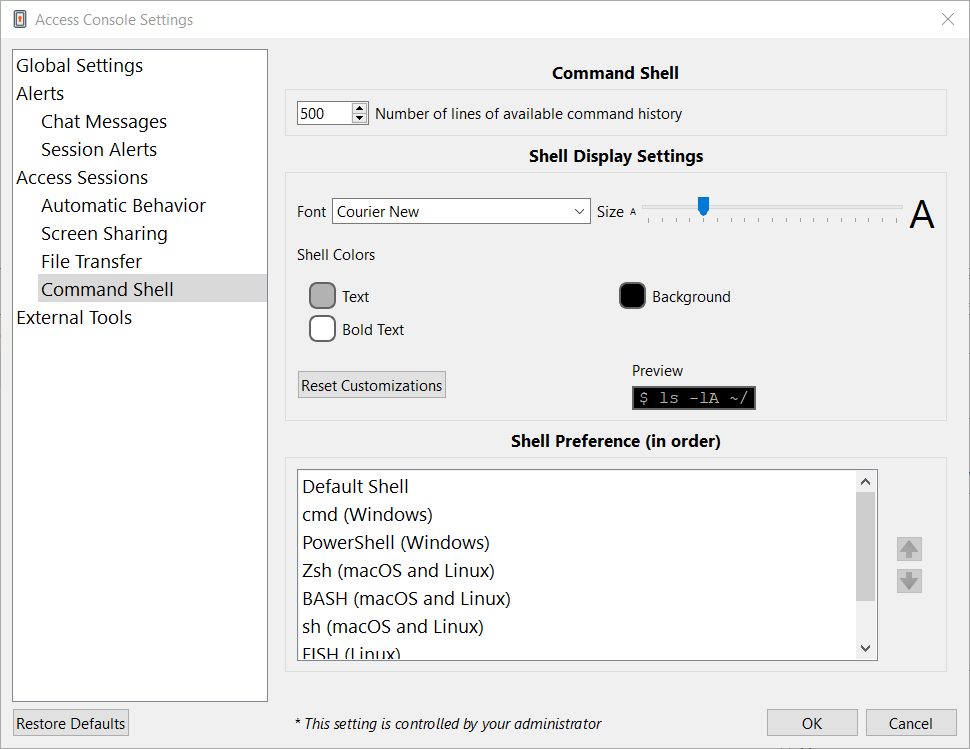
Set the number of lines to save in the command shell history.
You can change the command shell display by selecting the font type, font size, text color, and background color.
Several options for the default shell are available, including Windows Command Prompt, PowerShell, Zsh, Bash, sh, fish, and tcsh. To set the shell preference order, select each shell and use the arrow buttons beside the list to move the selected shell up or down. Sessions start using the first available shell for the session.
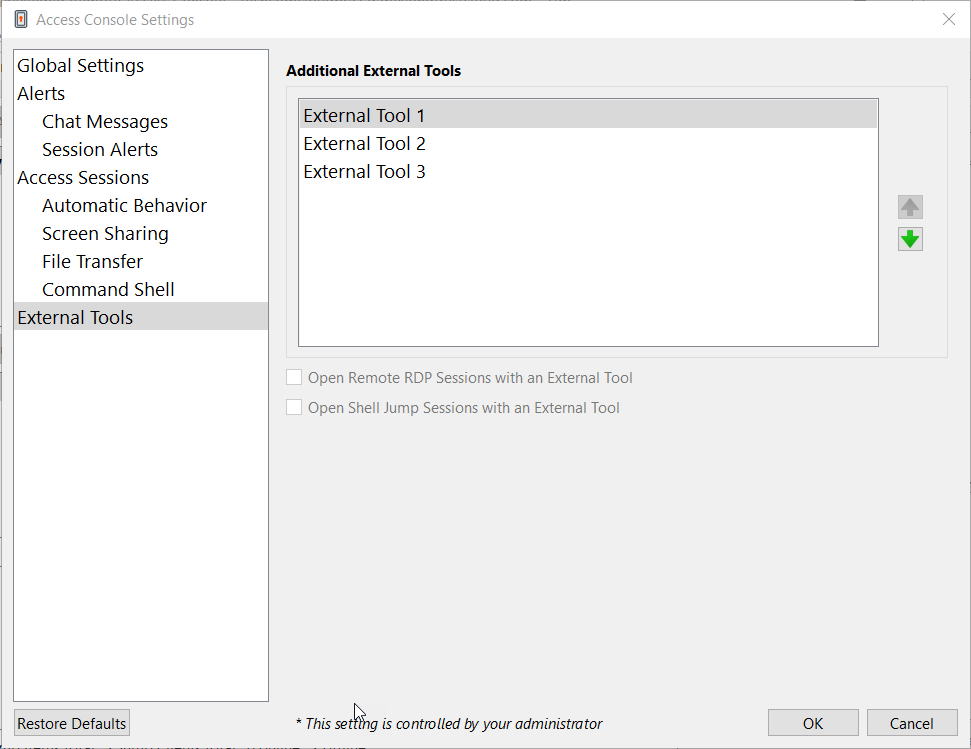
External Tools
To set the External Tool order, select each tool and use the arrow buttons beside the list to move the selected tool up or down. This affects the order of external tools in the dropdown list of tools for the Open Client button when starting a session.
If you want to use your own RDP tool, check Open remote RDP Sessions with an External Tool.
The local user's computer and the remote computer must use one of the following operating systems:
- Windows 11 single or multi-session with the 2022-10 Cumulative Updates for Windows 11 (KB5018418) or later.
- Windows 10 single or multi-session, versions 20H2 or later with the 2022-10 Cumulative Updates for Windows 10 (KB5018410) or later.
- Windows Server 2022 with the 2022-10 Cumulative Update for Microsoft server operating system (KB5018421) or later installed.
This is known to work with Chrome browser version 126 or better and Edge browser version 126 or better.
If you want to use your own SSH tool, check Open Shell Jump Sessions with an External Tool. This setting applies to both command shell and Shell Jump.
The Open Shell Jump Sessions with an External Tool setting has limitations when used with the command shell. The proxy is for the shell only; it is not a full SSH tunnel. File transfers, for example, must still use the existing tools on the Jump Client.
In order to use your own tool, you must enable Protocol Tunnel Jump in /login > Users & Security > Users > Access Permissions > Jump Technology > Protocol Tunnel Jump. This may need to be enabled by a group policy.
External tools are added and configured in the /login administrative interface. Availability of external tools depends on user permissions and group policies.
Use the CLI for the Access Console.
Access Console: Access Sessions - Additional External Tools.