Upgrade the Management Console
Performing an upgrade is very much like performing an initial installation except that all previous settings configured in the management console are stored in the Data Store and will not need to be reconfigured.
After upgrading the management console and before performing any other steps, be sure to launch the management console at least once. This step is required to upgrade the database.
If you have multiple management consoles, upgrade your primary licensed management console first. Launch that console, and then upgrade any other secondary management consoles.
- Launch the Privileged Identity installer.
- Click Skip on the Prerequisites Checker.
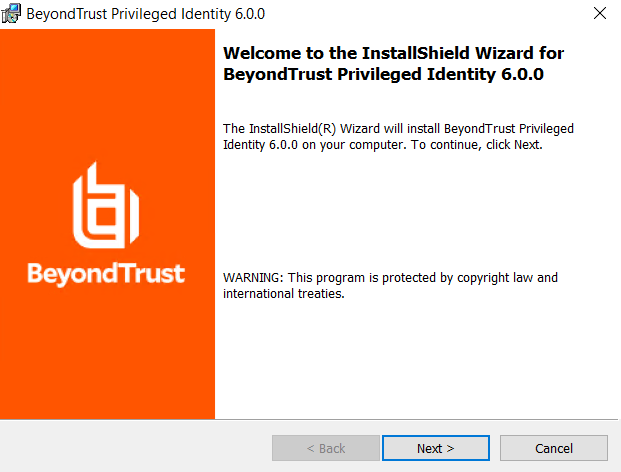
- On the Welcome screen, click Next.
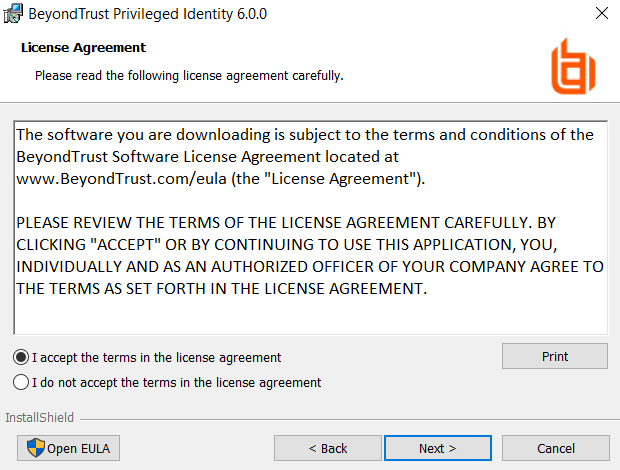
- Read the license agreement. If you agree, accept it, and then click Next.
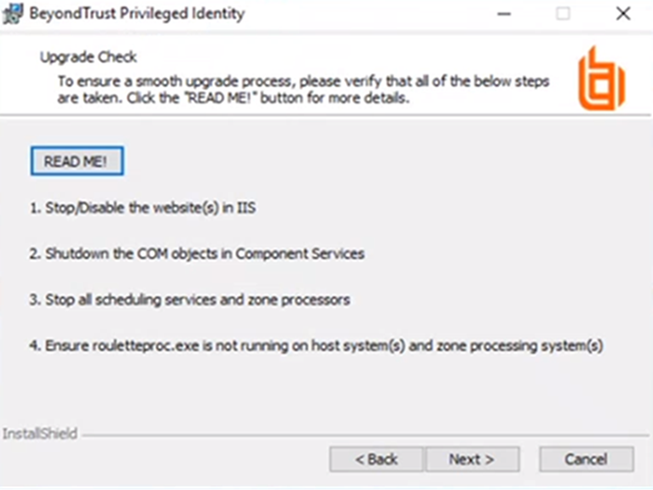
- Verify the steps indicated on the Upgrade Check screen have been taken before continuing with the upgrade, and then click Next.
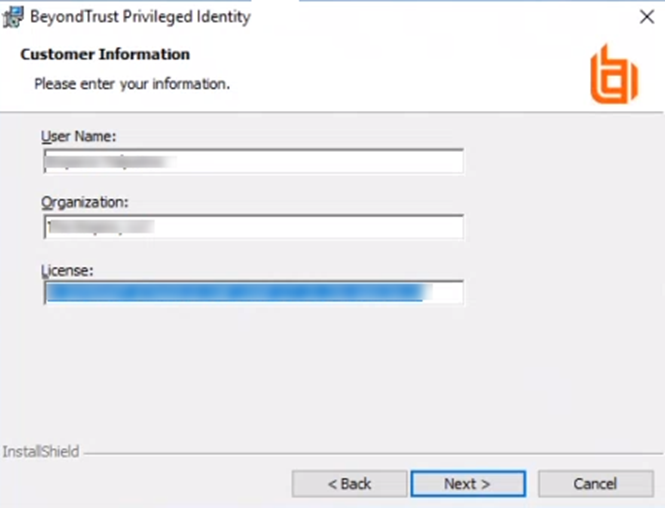
- Verify your User Name, Organization, and License are populated. If not, re-enter any missing information. Click Next.
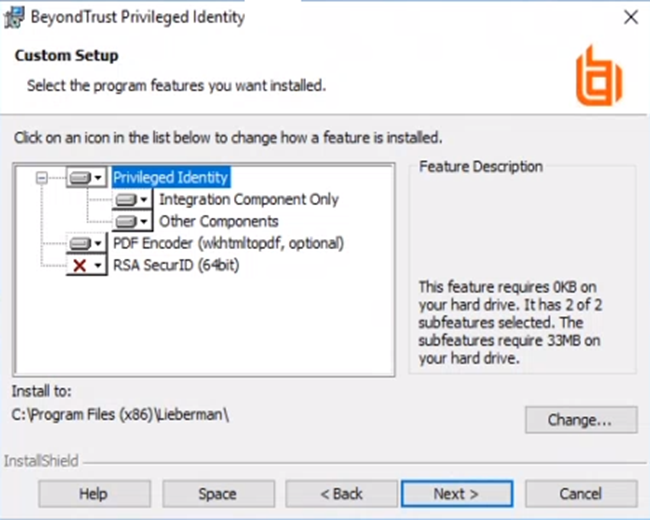
- Select the features to install:
- BeyondTrustPrivileged Identity: (required) Installs the Privileged Identity software.
- PDF Encoder: (recommended) Allows you to turn compliance reports into PDF documents.
- RSA SecureID: If RSA multi-factor authentication is used with Privileged Identity, select this option to install it. Otherwise, leave this option unselected.
- To change the installation location, click Change.
- To make sure you don't exceed your available disk space, click Space.
- Click Next.
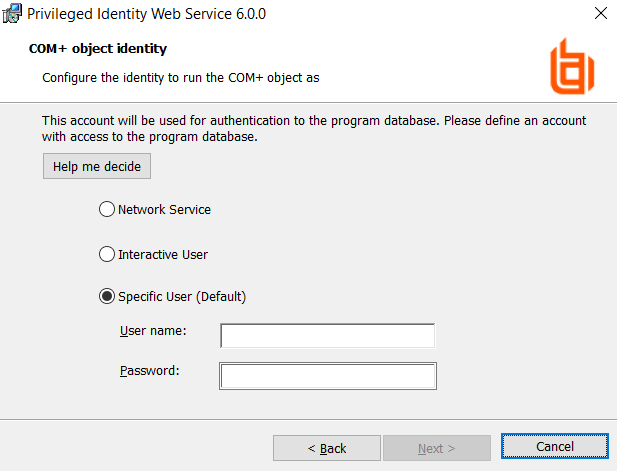
- Choose the identity to run the CLR COM application. The default is Network Service. The CLR COM Identity is used to provide network and local system access for the solution to various cloud services. Individual account stores (Azure, AWS, ESX, etc.) will be configured with specific connection credentials when they are enrolled. Options for the identity are:
- Interactive User: Use the same logon information as the calling identity. This is an administrator-level account because the calling identity will either be the admin running the console or the deferred processor service account. This option requires the least configuration but provides significantly more privileges than is required.
- Network Service: (recommended) Use the network service account. For this option you do not have to manage a password or grant additional rights, although in some cloud management cases, you may need to grant additional permissions on the file system.
- Local Service: Use the local service account. For this option you do not have to manage a password or grant additional rights, although in some cloud management cases, you may need to grant additional permissions on the file system. The local service account has many more rights and privileges than the network service.
- This User: Use a specified username and password. This user could be a local account that is configured to never authenticate to any other machine in the network (unlike network service or local service), but it does represent another account to manage a credential for. In some cloud management cases, you may need to grant additional permission to it on the file system. This account also needs Logon as a batch rights granted to it.
- Click Next.
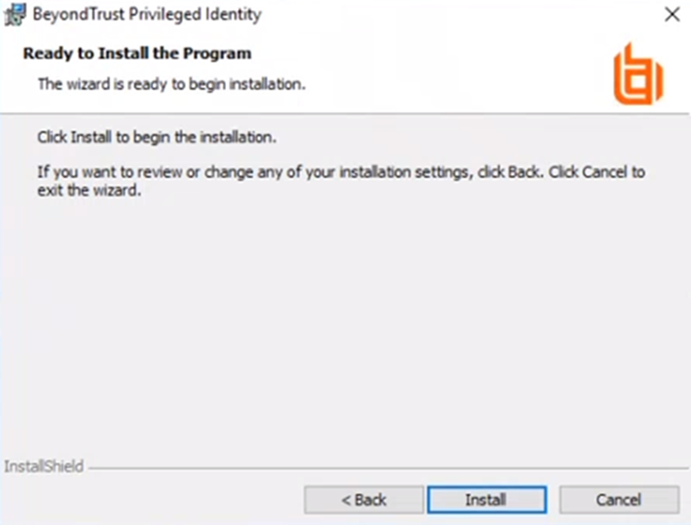
- Click Install to begin the installation.
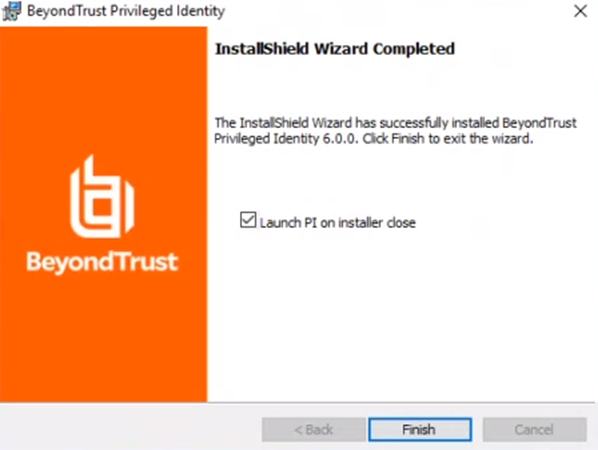
- When you receive confirmation that the application has been successfully installed, click Back to make any needed changes or Finish to complete the installation.
- Launch the primary management console to perform the database upgrade. After this step is complete, repeat steps 1-14 for all other management consoles.
- Continue the installation by upgrading the web application, then web service, and then the deferred and zone processors.