Create Messages
You can create two types of messages:
- Message or Notification
- ActiveX Message
Message or Notification
To create a message or notification:
- Navigate to Endpoint Privilege Management Settings > Windows > Messages.
- Right-click and click New Message.
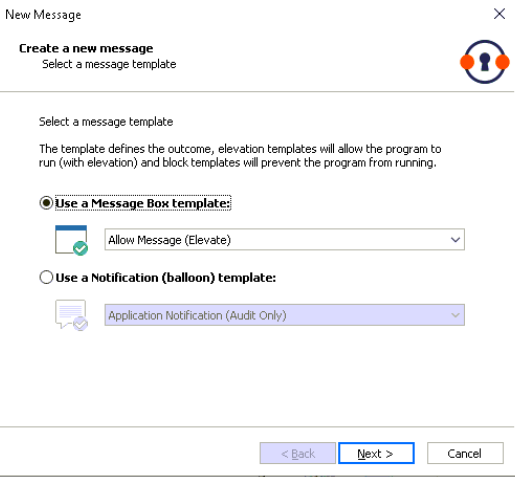
- Select a message template from either the Use a Message Box template or Use a Notification (balloon) dropdown menus and click Next.
Messages can be interactive (the user may be asked to input information before an action occurs). Notifications are descriptive (displaying information about an action that has occurred).
- Customize the message (more advanced message configuration can be performed after the message is created).
- Click Finish.
A new message is created. You can further refine the message by selecting it and editing the Design and the Text options available beneath each message.
ActiveX Message
When Endpoint Privilege Management for Windows is configured to elevate the installation of an ActiveX control, a built-in progress dialog box of the installation process appears. You can create and configure this message in the Messages node.
- Navigate to Endpoint Privilege Management Settings > Windows > Messages.
- Right-click and click Manage ActiveX Message text.
- Title: The title text of the progress dialog box.
- Download Message: The text displayed during the download phase.
- Install Message: The text displayed during the installation phase.
The display text can be configured for multiple languages. Endpoint Privilege Management for Windows detects the regional language of the end user, and if ActiveX strings in that language are configured, the correct translation is displayed.
If language settings for the region of the end user are not configured, then the default language text is displayed. To change the default language, select the desired language and click Set Default.