Install the Endpoint Privilege Management Reporting Pack
Install the Reporting Pack on the SQL Server Reporting Services instance (or the single server if using a single box solution).
Pre-Installation Tasks
Accounts
Before starting the installation of the Reporting Pack components, we recommend that the following accounts be created. The installation steps in subsequent sections of this guide refer to these accounts.
Accounts Required for Installation
|
Name |
Details |
Account Type |
Permissions / Rights |
|---|---|---|---|
|
ReportWriter |
Use this account to install the Reporting Pack |
Windows account or SQL Authentication account |
Windows permission - Local Administrator SSRS site level role - System Administrator |
| ReportReader | Used by the Reporting Pack reports to allow read access to the Endpoint Privilege Management database |
Windows account or SQL Authentication account |
Requires Log On Locally rights on server hosting SSRS SELECT and EXECUTE permissions are assigned during the installation process |
| DataAdmin |
Used by the Reporting Pack reports to allow write access to the Endpoint Privilege Management database to purge undesired data. This account and product feature is optional. |
Windows account or SQL Authentication account |
Requires Log On Locally rights on server hosting SSRS SELECT and EXECUTE permissions are assigned during the installation process |
Create the ReportWriter Account
To add a System Administrator role to the Reporting Services site:
- Browse to the SQL Server Reporting Services Report Manager URL. The URL is located in the Reporting Services Configuration Manager, under Report Manager URL.
- Click on Site Settings, and then select Security.
- Click Add group or user, and enter the DOMAIN\Username of an authorized account.
- Check the System Administrator box.
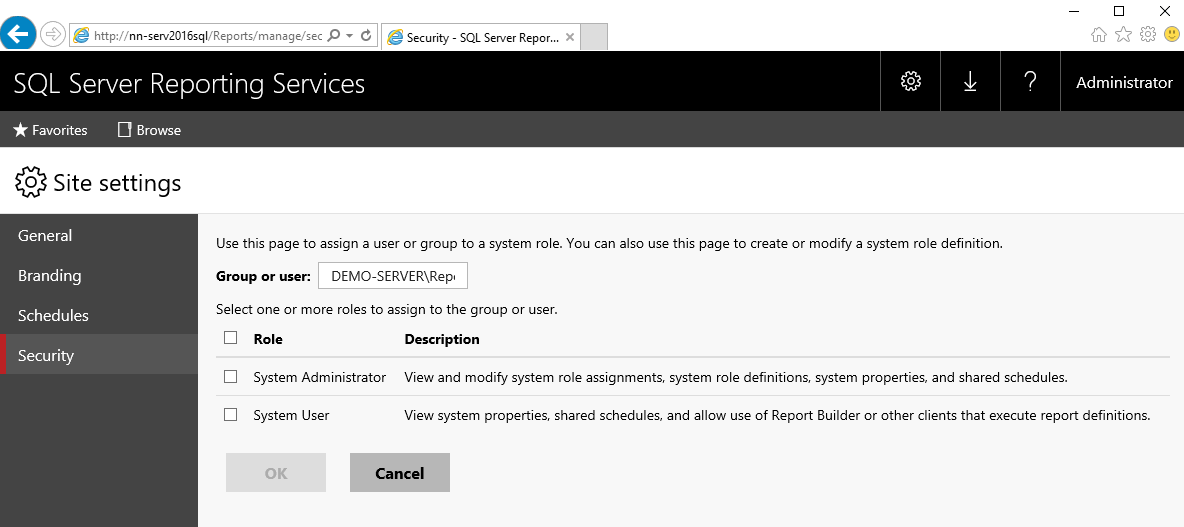
- Click OK.
Run the Endpoint Privilege Management Reporting Pack Installer
To install the Endpoint Privilege Management Reporting Pack:
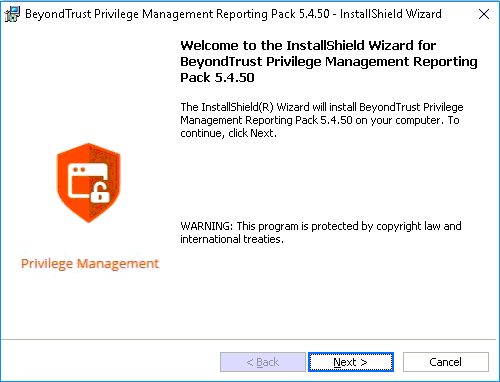
- Run the PrivilegeManagementReportingPack.exe installation package as a user with the Report Writer permissions.
- Click Next to continue. The License Agreement dialog box displays.
- After reading the license agreement, select I accept the terms in the license agreement and click Next to continue.
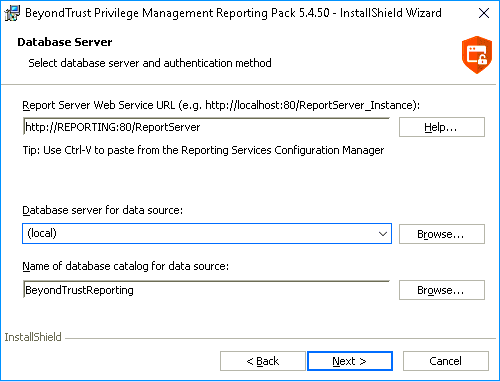
- Enter your name and the name of your organization and click Next to continue. The Database Server dialog box displays.
- Enter the report server URL (the reports fail to upload if you enter an incorrect URL). Enter the database to use by the SQL Server Reporting Services instance.

- If you are unsure of the correct Report Server URL to use, you can find it in the Reporting Services Configuration Manager under Web Service URL:
- Click Next to continue. The Reporting Services Authentication dialog box appears.
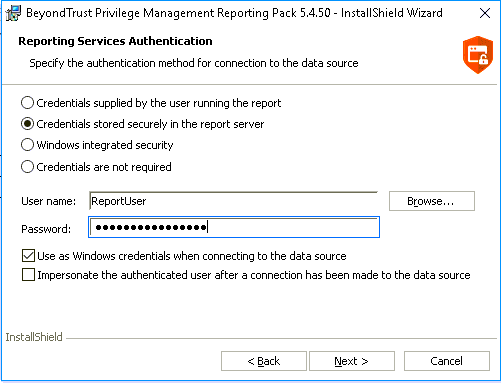
- Enter the ReportReader account as the account used to connect to the data source.
The ReportReader account is used by the Reporting Services to connect to the database instance when generating dashboards and reports. The account must be the same account that was entered during the Endpoint Privilege Management Database Installer.
If Credentials stored locally in the report server is not selected, then any users authorized to access Endpoint Privilege Management Reporting must have their account credentials added to the SsrsRole database role.
- Click Next to continue. The Reporting Services Admin Authentication dialog box appears.
This feature is optional and may not be desirable in environments that need tight control over purging of audit data.
- The purpose of this report is to allow the purging (and subsequent exclusion) of applications from populating the database with unwanted data.

- Use the DataAdmin account for this purpose.
- Click Next to continue. The Ready to Install the Program dialog box displays.
- Click Install to complete the installation.
For more information, see the Endpoint Privilege Management Reporting Dashboard Guide.