Configure BeyondInsight and Endpoint Privilege Management
To establish communication between BeyondInsight and Endpoint Privilege Management for Windows clients:
- Generate a client certificate from BeyondInsight.
- Install the certificate on every client that must send information to BeyondInsight.
We recommend installing the BeyondInsight client certificate before installing the Endpoint Privilege Management for Windows client.
Generate Client Certificate MSI
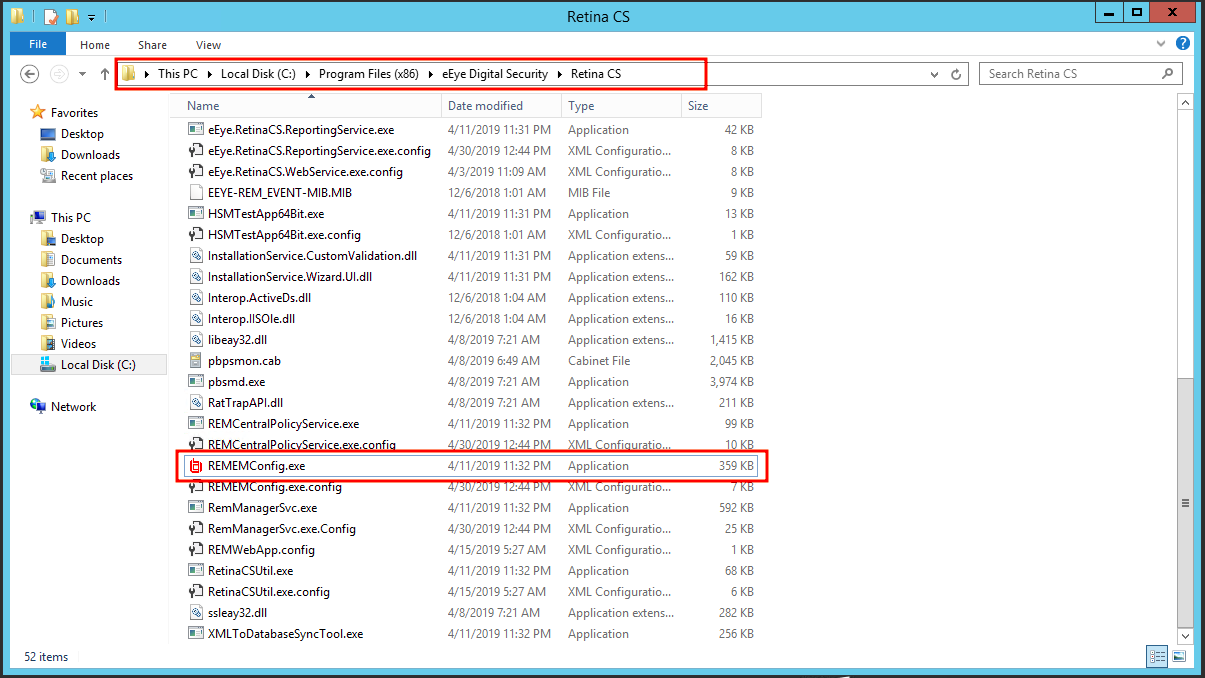
- On the BeyondInsight server, go to C:\Program Files (x86)\eEye Digital Security\Retina CS.
- Run REMEMConfig.exe to open the BeyondInsight Configuration Tool.
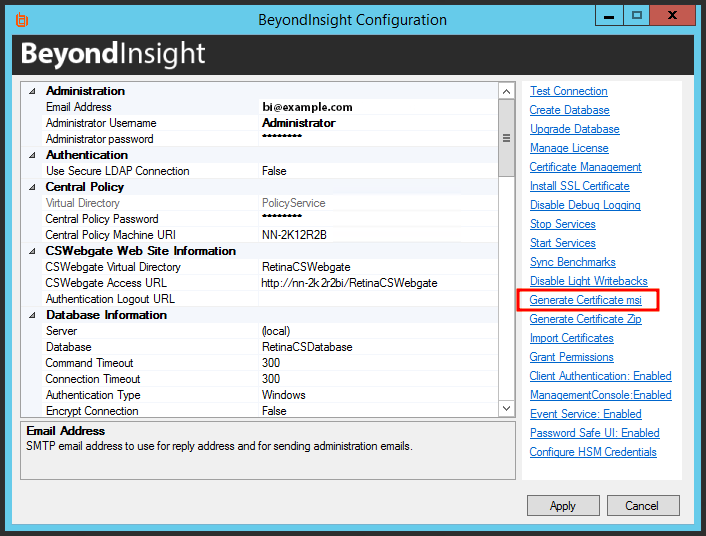
- Click the Generate Certificate.msi link. A command prompt opens, indicating the MSI is being generated.
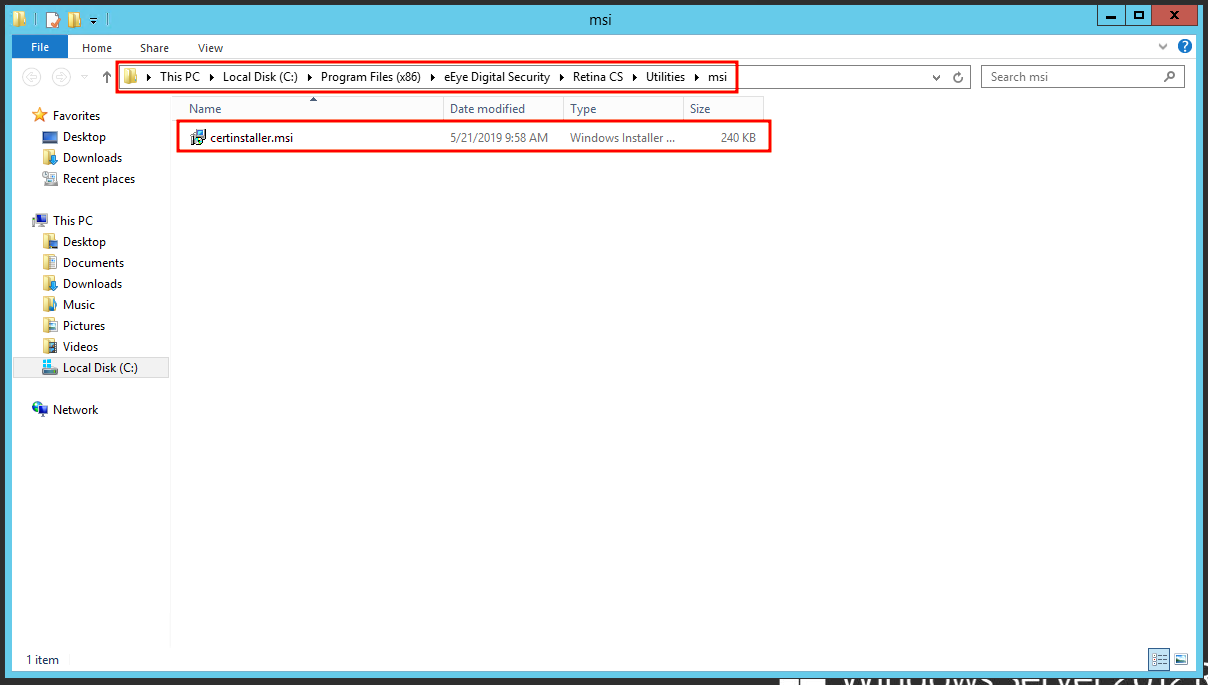
- Once the prompt closes, the MSI appears in the C:\Program Files (x86)\eEye Digital Security\Retina CS\Utilities\msi directory.
Deploy the Certificate MSI
After you generate the certinstaller.msi, you must deploy and install the MSI on each machine you want to communicate with BeyondInsight, using administrator rights. You can deploy the MSI using the following methods:
- Command prompt running as Administrator
- Group Policy
- Enterprise Software Management tool of your choice, such as SCCM
Each method is detailed below.
Use Command Prompt
- Add a copy of the certinstaller.msi to the machine
- Run cmd.exe as administrator
- Run the following command: msiexec /i certinstaller.msi
Create a Group Policy
Use the Group Policy Management Console (GPMC) to deploy certificate packages to your client computers.
- To deploy the certificate MSI package, copy the certificate MSI package to an accessible location.
- Click Start > Control Panel > Administrative Tools > Group Policy Management to open the GPMC. If the GPMC is not already installed, it can be downloaded from www.microsoft.com/en-us/download.
- In the GPMC, click Forest > Domains > Mydomain > Group Policy Objects.
- To create a new GPO, right-click Group Policy Objects, and click New.
- Enter a name for the GPO and click OK. Alternatively, you can add configurations to an existing GPO.
- Right-click the GPO and click Edit to launch the Group Policy Management Editor to configure settings for the GPO.
- In the Group Policy Management Editor, click Computer Configuration > Policies > Software Settings.
- Right-click Software Installation and click New > Package.
- Select the certificate MSI installer package, and click Open.
- Select Assigned and click OK. After a brief delay, the name of the software to be installed is displayed in the Details pane of the Group Policy Management Editor.
- If the name does not appear, right-click Software Installation and click Refresh until it does.
- To modify installation settings, double-click the item name in the display pane.
- To remove an item, right-click the item name and select All Tasks > Remove.
Restart each client computer to initiate the installation. This can be done manually or by using Group Policy mechanisms.
Use an Enterprise Software Management Tool (such as SCCM)
Be sure to consult the guides for the management tool you use.
After you have deployed the client certificate, confirm it is on the system, following the steps below.
- Run the Microsoft Management Console (MMC) as administrator.
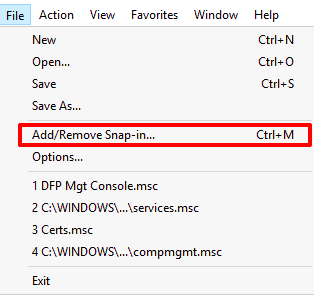
- Go to File > Add/Remove Snap-in.
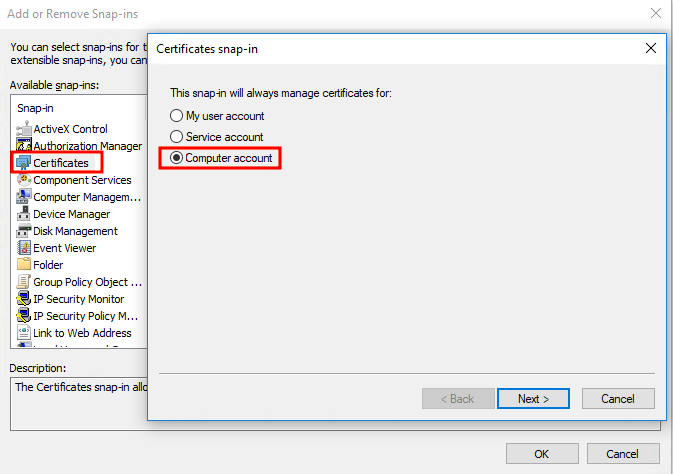
- From the Snap-in menu, select Certificates, and click Add >.
- In the Certificates snap-in dialog, select Computer account.
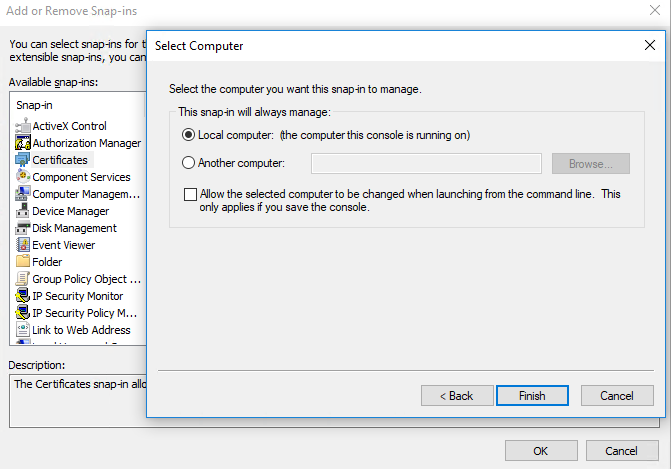
- Choose Local computer: (The computer this console is running on). Click Finish.
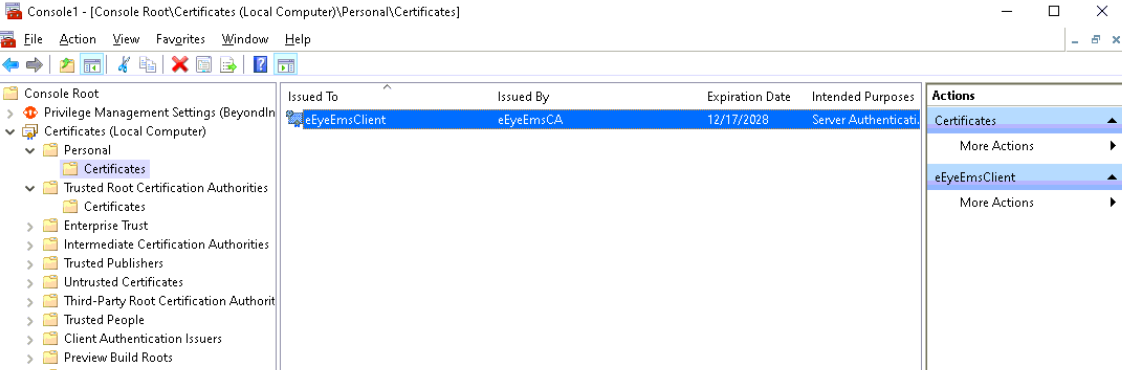
- In the MMC Console, expand Console Root > Certificates (Local Computer).
- Expand both the Personal > Certificates directory and the Trusted Root Certification Authorities directory to ensure the eEyeEmsClient client certificate is listed.
If the certificates are not present, it is possible they were incorrectly installed in the Certificates (Current User) store. If you find them there, delete them and uninstall certinstaller.msi from Programs & Features (appwiz.cpl) before repeating these steps.
Install Endpoint Privilege Management for Windows
For BeyondInsight integration with Endpoint Privilege Management for Windows, you must set the BIMODE installer variable to 1. In the majority of cases, only the URL of your BeyondInsight Event Service must be specified. For context, example installation strings are provided below.
PrivilegeManagementForWindows_x64.exe /v"BIMODE=1
BEYONDINSIGHTURL=https://example.com/EventService/Service.svc"
msiexec.exe /i PrivilegeManagementForWindows_x64.msi BIMODE=1
BEYONDINSIGHTURL="https://example.com/EventService/Service.svc"
If you are using a custom certificate or workgroup, you can specify non-default values as additional install variables, as shown in the following examples.
PrivilegeManagementForWindows_x64.exe /v"BIMODE=1
BEYONDINSIGHTURL=https://example.com/EventService/Service.svc BEYONDINSIGHTCERTNAME=CertExample
BEYONDINSIGHTWORKGROUP=BeyondTrust WorkGroup"
msiexec.exe /i PrivilegeManagementForWindows_x64.msi BIMODE=1
BEYONDINSIGHTURL="https://example.com/EventService/Service.svc" BEYONDINSIGHTCERTNAME="CertExample"
BEYONDINSIGHTWORKGROUP="BeyondTrust WorkGroup"
The following table details the available installer variables and their default values:
| Location | Name | Default | Installer Variable Name |
|---|---|---|---|
| HKEY_LOCAL_MACHINE\SOFTWARE\Avecto\Privilege Guard Client | BeyondInsightUrl | [Empty] - You must specify this | BEYONDINSIGHTURL |
| BeyondInsightCertName | eEyeEmsClient | BEYONDINSIGHTCERTNAME | |
| BeyondInsightWorkgroup | BeyondTrust Workgroup | BEYONDINSIGHTWORKGROUP | |
| BeyondInsightHeartbeatIntervalMins | 720 | ||
| BeyondInsightPolicyIntervalMins | 90 |
The default values of BeyondInsightPolicyIntervalMins and BeyondInsightHeartbeatIntervalMins can be shortened for testing purposes (low numbers of machines). Be aware that decreasing these values increases load on the BeyondInsight Event Service server.
When updating the clients on an existing deployment of BeyondInsight and Endpoint Privilege Management for Windows, the registry keys from the previous install will be removed. Any previously specified variables in the install string must be restated in an upgrade.
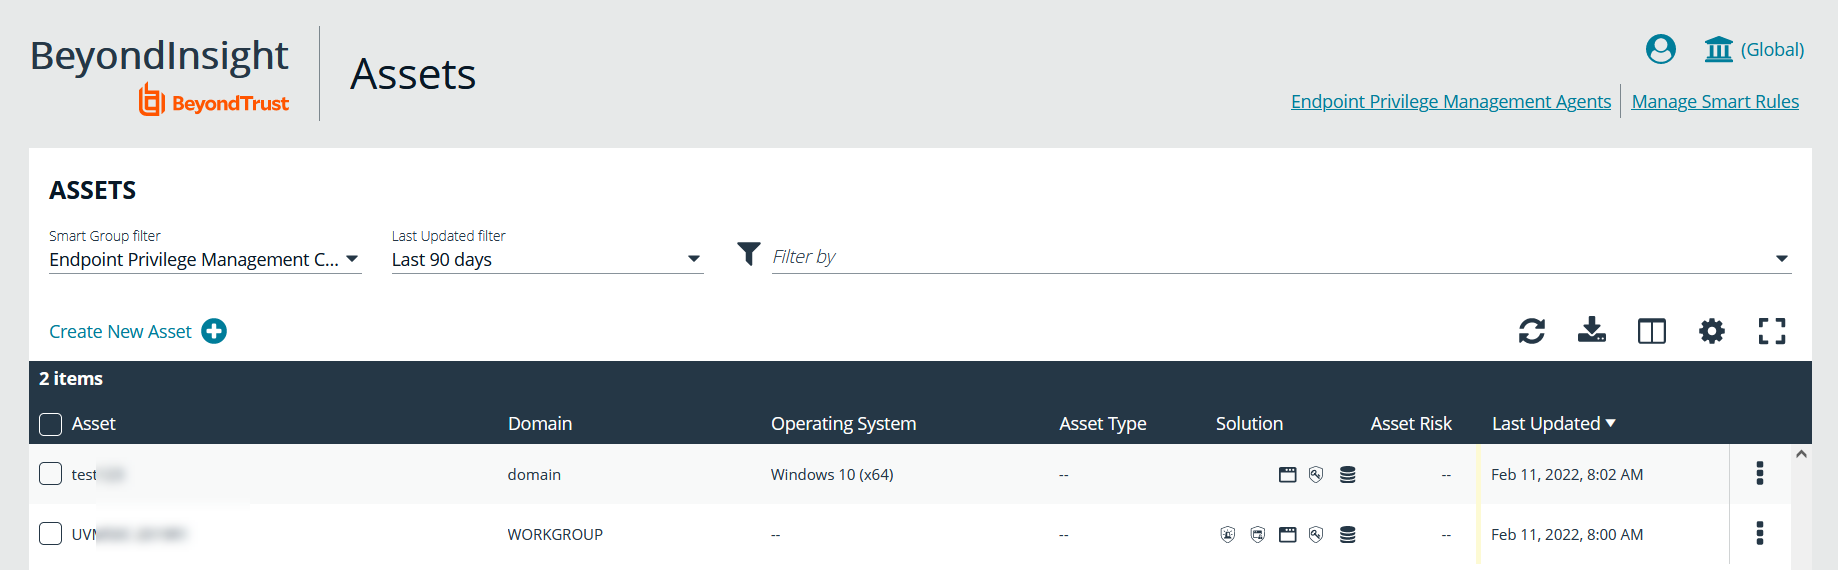
Verify Endpoints are Registered in BeyondInsight
After deploying your Endpoint Privilege Management for Windows endpoints, ensure that BeyondInsight is receiving heartbeats and information from them. Once they check in, the endpoints are shown as entries on the Assets grid in BeyondInsight, as well as the Endpoint Endpoint Privilege Management Agents grids.