Configure BeyondInsight and Endpoint Privilege Management
To establish communication between BeyondInsight and Endpoint Privilege Management for Mac clients:
- Generate a client certificate in BeyondInsight
- Install the certificate on every Endpoint Privilege Management for Mac client that needs to send information to BeyondInsight
Generate Client Certificate ZIP
- On the BeyondInsight Server, go to C:\Program Files (x86)\eEye Digital Security\Retina CS.
- Run REMEMConfig.exe, which opens the BeyondInsight Configuration Tool.
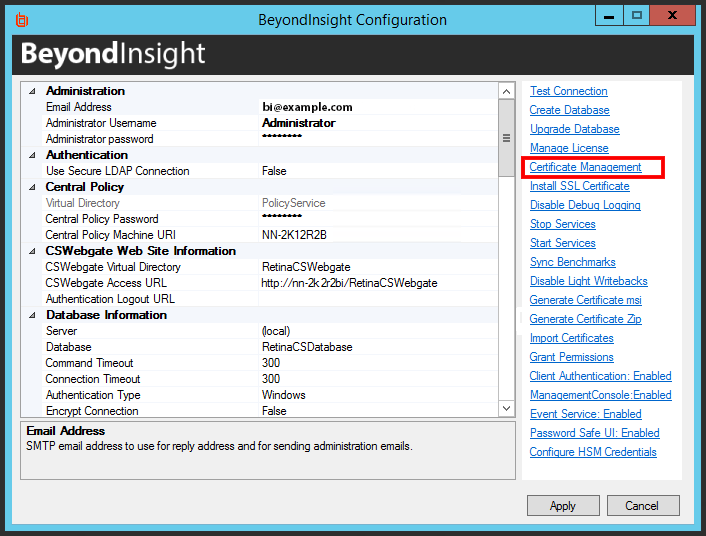
- Click on the Certificate Management link.
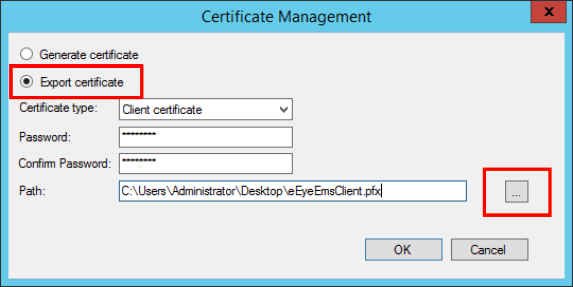
- In the Certificate Management dialog window, select Export Certificate.
- Select Client Certificate as the Certificate type.
- Enter a password. We recommend using the existing BeyondInsight Central Policy password.
- Enter a file name and select Certificate files (*.pfx) as the file type. We recommend using the name eEyeEmsClient.pfx. Click Save.
- Click OK. Click OK again.
Deploy the BeyondInsight Client Certificate
For more information, see the Rapid Deployment Tool Guide.
Install the Endpoint Privilege Management for Mac Client
The client and the adapter are obtained from BeyondTrust after purchasing Endpoint Privilege Management with BeyondInsight, and may be distributed to the endpoints using the method of your choice, including Mobile Device Management (MDM), such as Jamf or AirWatch.
You can create a settings package to set the adapter's configuration on all endpoints by using the Endpoint Privilege Management for Mac Rapid Deployment Tool.
For more information, see the Rapid Deployment Tool Guide.
The filenames are as follows, where x.x.x.x represents the version:
- PrivilegeManagementForMac_x.x.x.x.pkg
- BIAdapter_x.x.x.x.pkg
To install the Endpoint Privilege Management for Mac client:
- Double-click the PrivilegeManagementForMac_x.x.x.x.pkg file.
- Click Continue on the Introduction page.
- On the Software License Agreement page, click Continue and then click Agree to agree to the terms and conditions.
- (Optional) To change the installation destination, click the Change Install Location button. The Destination Select page will allow you to choose from viable installation location options. Click Continue.
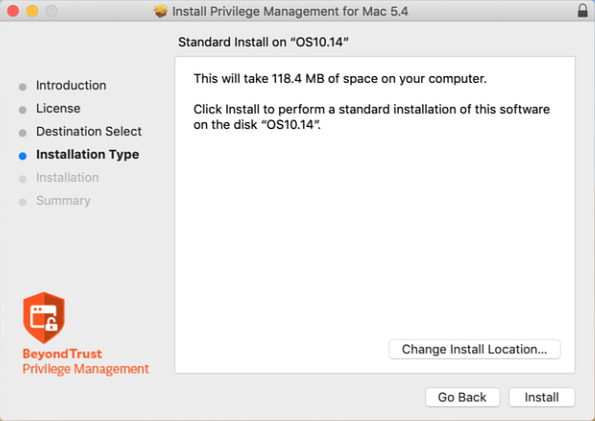
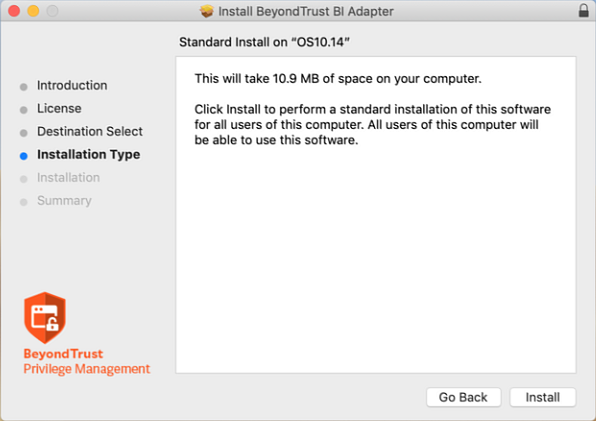
- Click the Install button on the Installation Type page. If prompted, enter your admin credentials to continue. Click OK if the Installer.app needs permission to modify passwords, networking, or system settings.
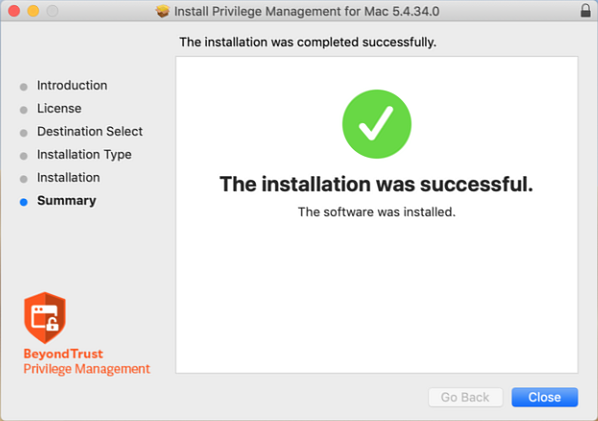
- The Summary page shows that the installation was successful. Click Close to complete the installation.
Verify Security Settings
Go through the following sections to ensure Endpoint Privilege Management for Mac files have correct access.
Set Allow on com.beyondtrust.endpointsecurity.systemextension
After the agent and adapter are installed, ensure the security on the Endpoint Privilege Management system extension is set to Allow.
For com.beyondtrust.endpointsecurity.systemextension, go to System Preferences > Security & Privacy > General, and then select Allow.
Verify Privacy Settings
The following Endpoint Privilege Management for Mac files require the privacy settings Full Disc Access and Files and Folders:
- com.beyondtrust.interrogator
- PrivilegeManagement
- defendpointd
- com.beyondtrust.endpointsecurity.systemextension
To confirm the settings:
- Go to System Preferences > Security & Privacy > Privacy, and then select Full Disk Access. Ensure the Endpoint Privilege Management files are listed.
- Select Files and Folders and confirm the Endpoint Privilege Management files are listed.
Verify Finder Extensions is Enabled
One way to confirm Finder Extensions is on, go to the Applications folder and verify the Endpoint Privilege Management shield icon is next to the applications.
Install the BeyondInsight Adapter
The best practice to deploy the BeyondInsight adapter is to use the Endpoint Privilege Management for Mac Rapid Deployment Tool.
However, you can choose the deployment method. Examples include: Mobile Device Management methods (such as Jamf or AirWatch), manual configuration, download from a shared resource, etc.
For more information, see the Rapid Deployment Tool Guide.
- Double-click the BIAdapter_x.x.x.x.pkg file.
- Click Continue on the Introduction page.
- On the Software License Agreement page, click Continue and then click Agree to agree to the terms and conditions.
- Click the Install button on the Installation Type page. If prompted, enter your admin credentials to continue. Click OK if Installer.app needs permission to modify passwords, networking, or system settings.
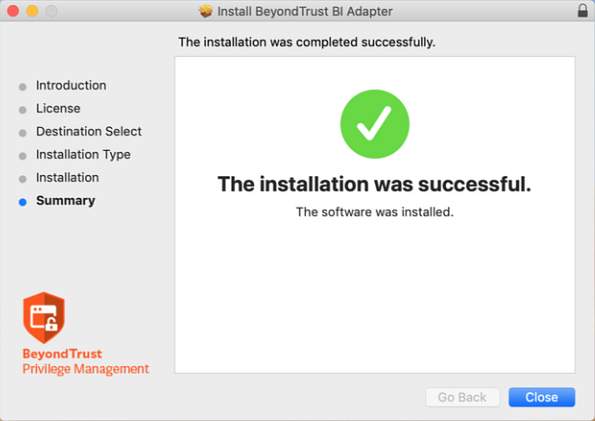
- The Summary page shows that the installation was successful. Click Close.
Confirm the Endpoint is Connected
The Endpoint Privilege Management endpoint can check in and send events to BeyondInsight after the settings file is configured.
If you can access the machine running the BeyondInsight server, use one of the following methods to confirm the endpoint has checked in:
- Go to Assets > Endpoint Privilege Management to see if the endpoint is displayed.
Configure the Activity Monitor to show all processes, as BIAdapter runs as user _defendpoint.
- Run the following SQL query:
select * from Asset_PBDInfo
select * from Asset_PBDInfoEx
To force a policy update for a client getting an update for the first time, you can restart the BeyondInsight Adapter. In the Activity Monitor, restart the BIAdapter process.
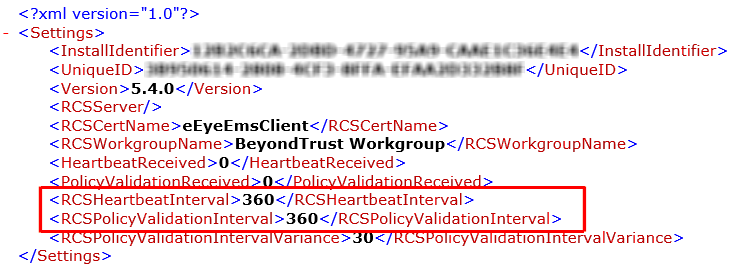
The default time for the policy update and for the heartbeat is six hours. These values can be changed on the BeyondInsight server, and the policy can be applied to the endpoint, but this policy is not applied until the initial 6 hour period has elapsed. Manually changing the RCSHeartbeatInterval and RCSPolicyValidationInterval values will also cause the endpoint to check in more often. Enter the values in minutes.
If you can access the endpoints, you can use either of the following methods to determine if they have checked in:
- Open Console and filter on subsystem: com.beyondtrust.BIAdapter. Ensure that Info and Debug Messages are on. Logs about the connection are displayed in real time. You can check when the next policy validation is scheduled and the next heartbeat request.
- Open Activity Monitor. The BIAdapter service is displayed as running.