Integrate EPM with SailPoint IdentityNow
This guide covers the steps to configure SailPoint IdentityNow System for Cross-domain Identity Management (SCIM) Source to leverage the SCIM API for EPM, which exposes management console users and roles.
The SCIM API for EPM is new and is SCIM compliant. IdentityNow offers a way to support a compliant SCIM implementation using the generic SCIM 2.0 source. SailPoint plans to make the integration available via a default source type.
Configure EPM
To allow IdentityNow to authenticate against the EPM SCIM API, you must create an API service account on the Configuration > Settings > API Settings page.
Copy the client ID and secret to a text file. You need these for the next steps.
For more information, see Configure Access to the Management API.
Configure IdentityNow
To configure IdentityNow:
- Log on to IdentityNow using an administrator account.
- Create a SCIM 2.0 source for EPM.
- Configure Connection Settings:
- Connection Timeout: 1
- Host URL: https://[yourProductionSub-domainName]-services.pm.beyondtrustcloud.com/management-api/scim/v2
- Grant Type: Client Credentials
- Client ID and Client Secret: Copy the values created in EPM.
- Under Additional Settings: Select Use HTTP PATCH. Both PUT and PATCH are supported but PATCH is preferred when available.
- On the Review and Test tab, test the connection.
- Go back to the source and discover the schemas.
- Under Import Data, navigate to Account Schema, and then select Discover Schemas.
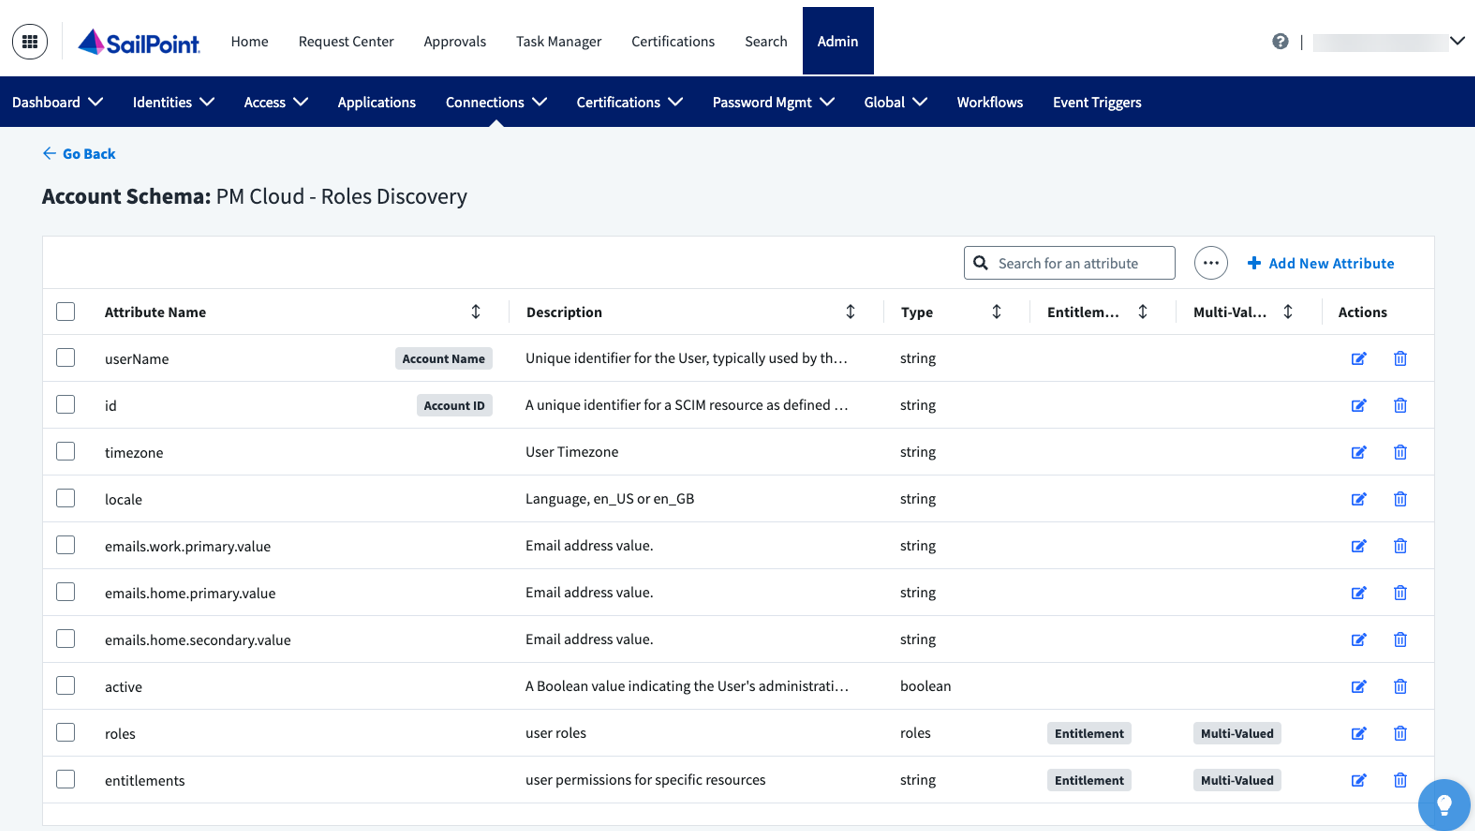
- Set the userName as Account Name, and id as Account ID. Delete extraneous attributes. The account schema should look similar to the screen capture shown here.
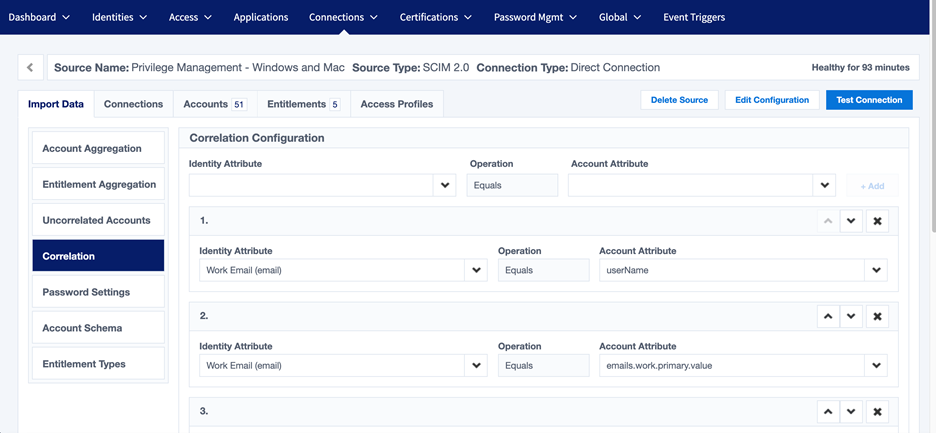
- Configure correlation rules so accounts aggregated from EPM can be associated to identities in IdentityNow.
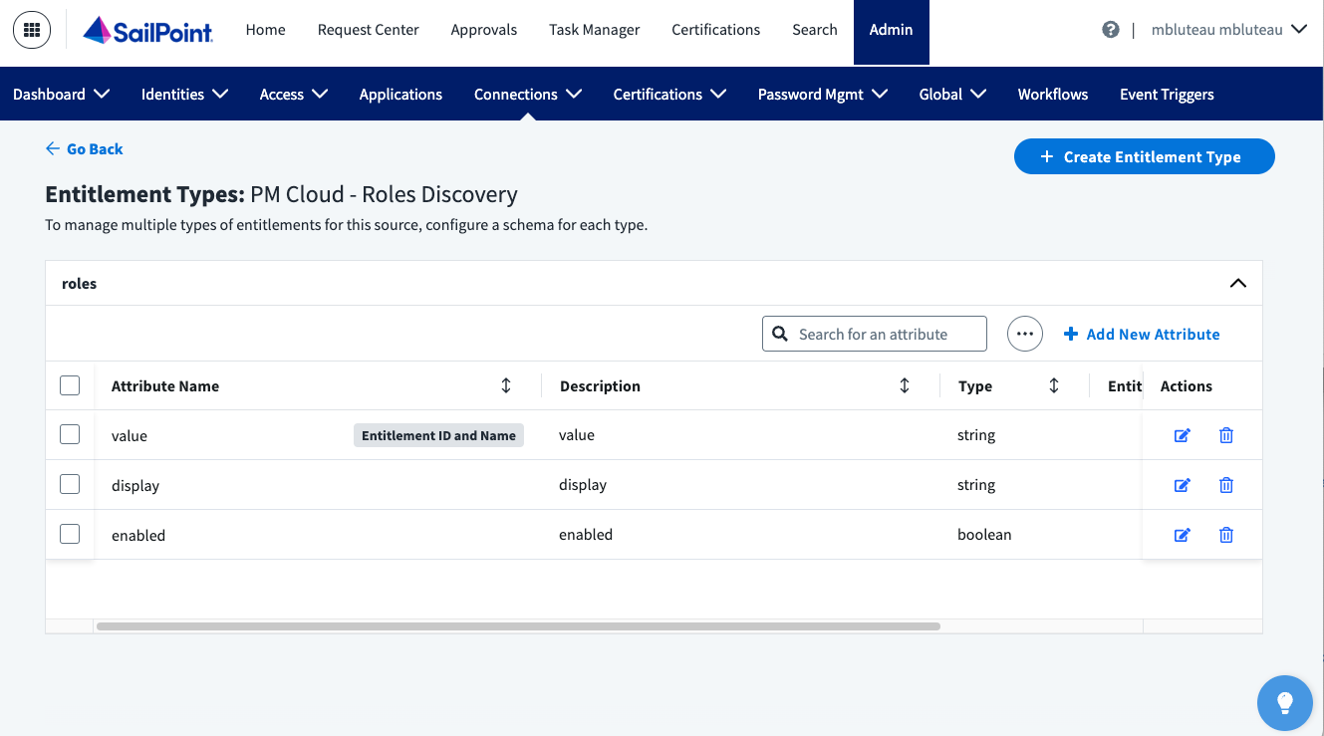
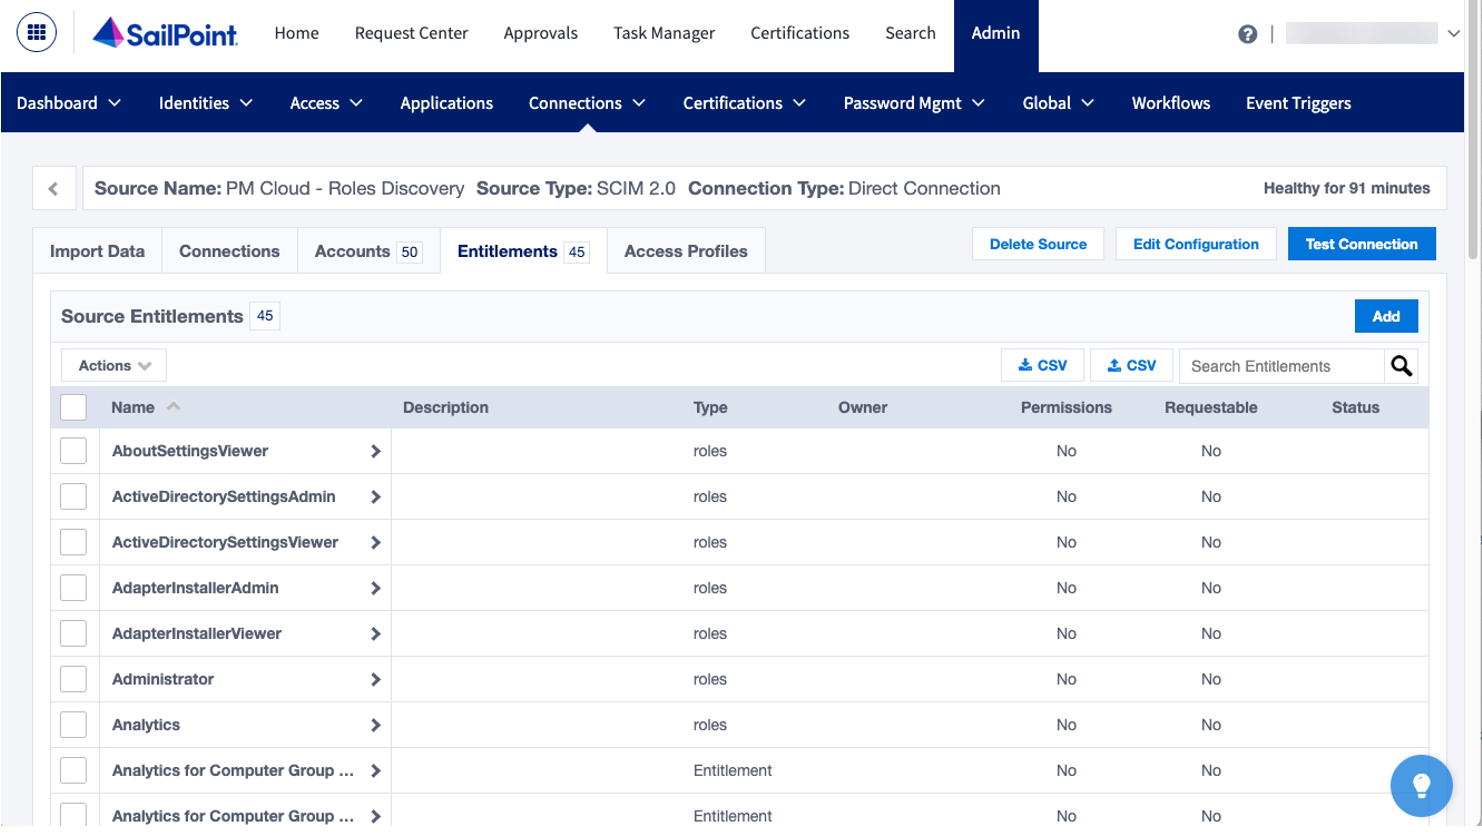
- Remove entitlement types for groups and entitlements. For roles, add the 3 attributes as shown.
For more information, see Managing Sources.
Enable Provisioning
- Import a Create Account policy using the IdentityNow REST API.
- For provisioning to work, import a Create Profile using the IdentityNow API.
- Create the provisioning policy for the account. The following JSON document shows a create policy example.
{
    "name": "Account",
    "description": null,
    "usageType": "CREATE",
    "fields": [
        {
            "name": "userName",
            "transform": {
                "type": "identityAttribute",
                "attributes": {
                    "name": "email"
                }
            },
            "attributes": {},
            "isRequired": false,
            "type": "string",
            "isMultiValued": false
        },
        {
            "name": "emails.work.primary.value",
            "transform": {
                "attributes": {
                    "name": "email"
                },
                "type": "identityAttribute"
            },
            "attributes": {},
            "isRequired": false,
            "type": "complex",
            "isMultiValued": false
        },
        {
            "name": "timezone",
            "transform": {
                "type": "identityAttribute",
                "attributes": {
                    "name": "timezone"
                }
            },
            "attributes": {},
            "isRequired": false,
            "type": "string",
            "isMultiValued": false
        },
        {
            "name": "locale",
            "transform": {
                "type": "identityAttribute",
                "attributes": {
                    "name": "locale"
                }
            },
            "attributes": {},
            "isRequired": false,
            "type": "string",
            "isMultiValued": false
        },
        {
            "name": "active",
            "transform": {
                "type": "static",
                "attributes": {
                    "value": "TRUE"
                }
            },
            "attributes": {},
            "isRequired": false,
            "type": "string",
            "isMultiValued": false
        }
    ]
}
Accessing the IdentityNow REST API is beyond the scope of this guide. You can work with an experienced developer and use a tool such as Postman.
For more information, see Create Provisioning Policy.
Aggregate Accounts and Create Access Profile
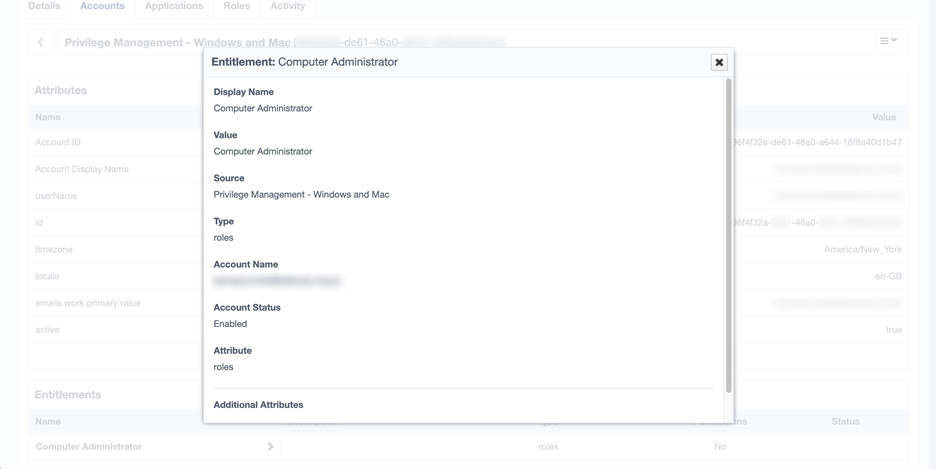
- At this point, you can aggregate accounts and entitlements. Roles display as entitlements under the user account.
A standard user role for an EPM account is shown here.
- Create access profiles after aggregating accounts and entitlements.
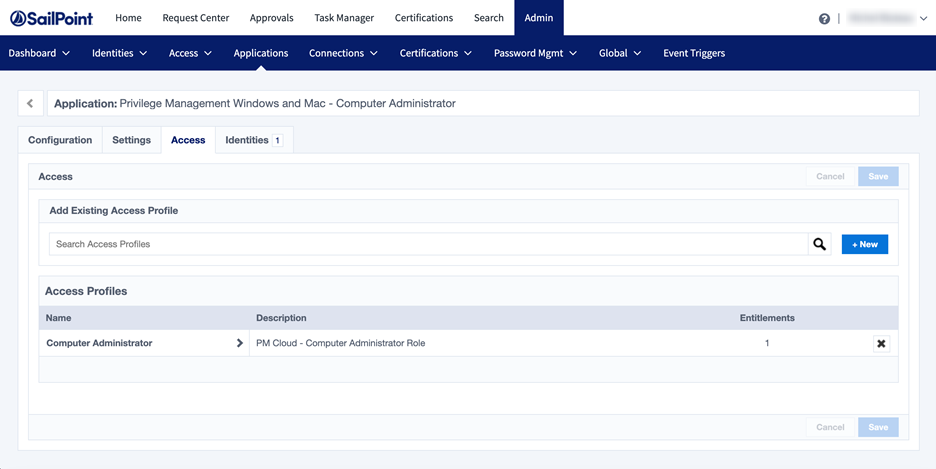
- Applications can be used to allow access requests through the Request Center.
Roles can also be used to provision accounts and roles in EPM.