Manage Computer Groups
Use a computer group to organize computers that will be assigned the same policy. For example, create a computer group and add the computers that will use a high-flexibility workstyle. Assign users like your system administrators to this workstyle.
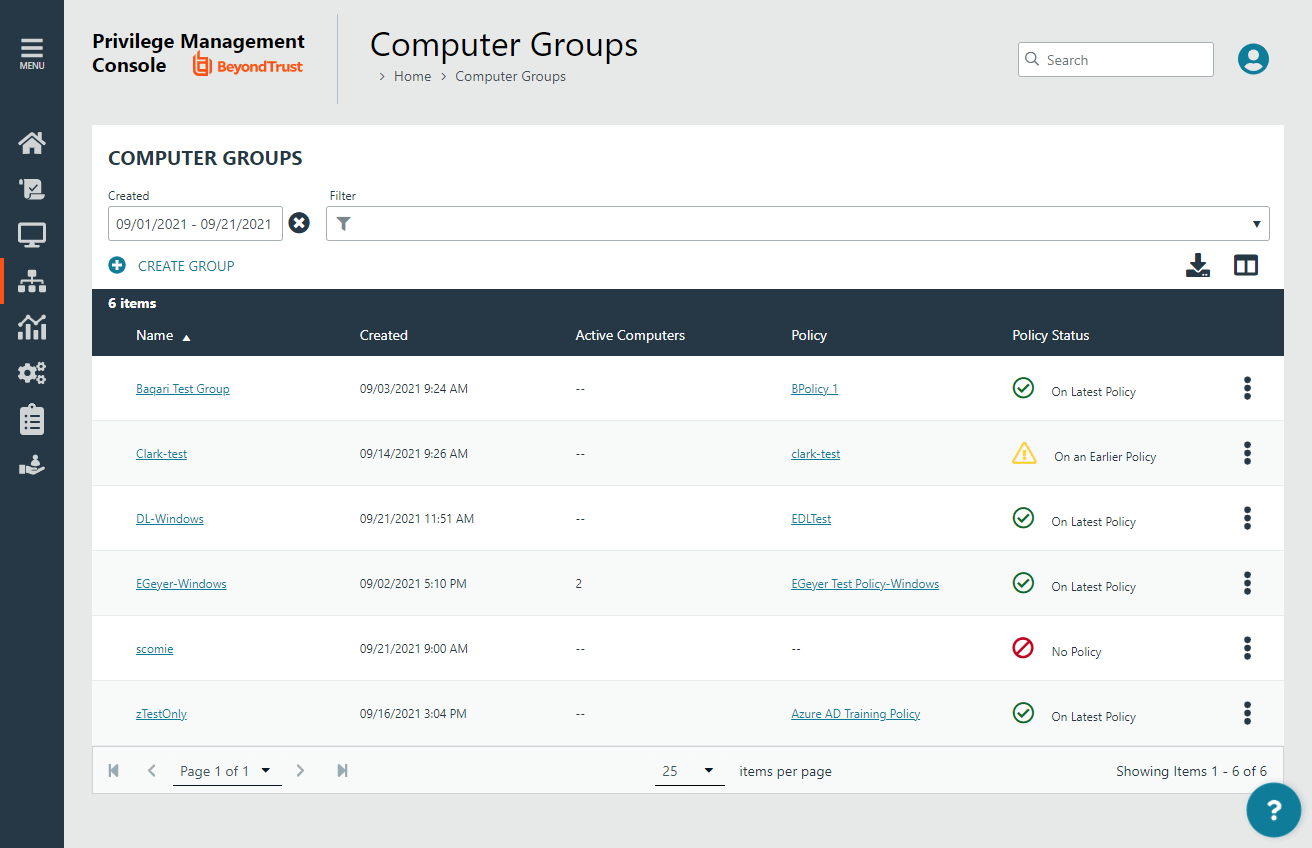
On the Computer Groups page, you can:
- Create, edit, and delete groups
- View policy status
- Set the default group
- Set and edit the policy assigned
Create a Group
A standard user requires delegated access to the Computer Groups page. For more information, see Review EPM Roles.
Create a computer group to assign a policy to more than one computer.
- On the sidebar menu, click Computer Groups.
- Click Create Group.
- Enter a Group Name. The Description field is optional. At any time, click the menu, and then select Edit Properties to edit the group name and description.
- Click Create Group. Your group is created and appears in the list.
- After a group is created, you can set it as the default group. Select a group name, and then select Set as Default from the menu.
When computers are added to EPM, they are automatically added to the default group.
For more information, see Create Groups and Assign Policy.
View Group Details
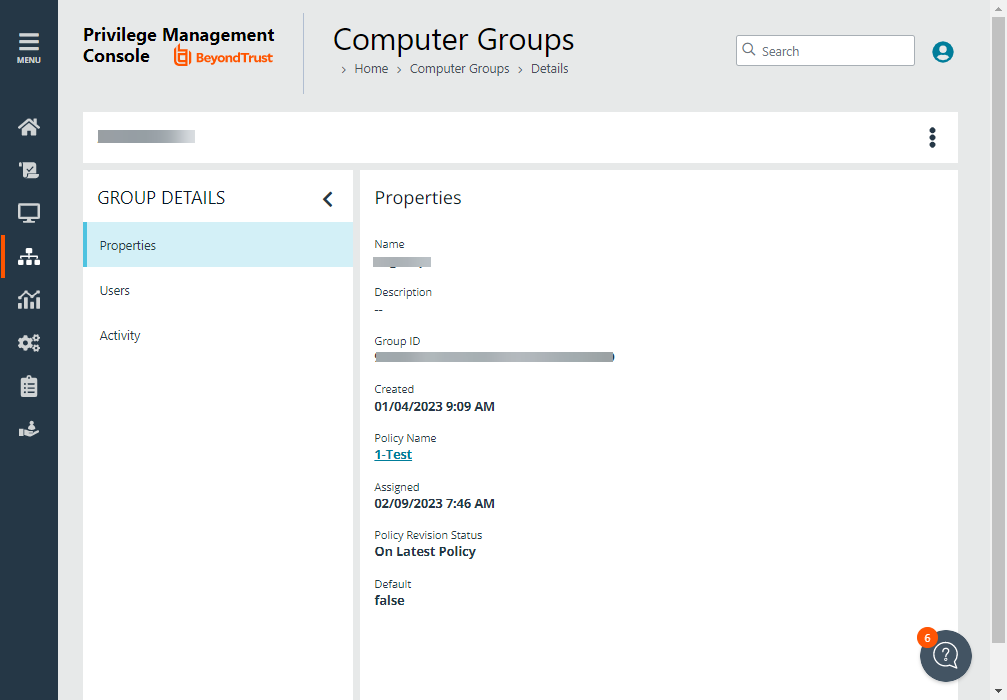
You can view details on a group which include, name, group ID, create date, and policy information.
To get a quick at-a-glance view of recent activities on the group , click the Activity tab. You can see who accesses the group, the event time, and summary information on the action that occurred.
- On the sidebar menu, click Computer Groups.
- Select a group, and then select View Group Details from the menu. You can also click the name of the group in the grid.
Check the Policy Assigned Date
If you are investigating a computer with a policy status of Awaiting Policy, check the date and time a policy was assigned to the group on the Group Details panel. The Assigned Date displays the most recent policy assignment.
The Assigned Date can help you determine when computers are out of compliance. You do not want computers in a Awaiting Policy state for longer than 1-2 days.
Edit Group Properties
Changing the name or description does not affect the computers that are added to the group, or the policy delivered to those computers.
- On the sidebar menu, click Computer Groups.
- Click the group, and then select Edit Group from the menu.
- Change the Group Name, and Description, and then click Save Group.
Assign a Policy to a Group
Assigning a policy to a group allows you to manage computers in that group with the policy.
- On the sidebar menu, click Computer Groups.
- Click the group, and then select Edit Policy Assignment from the menu.
- In the Edit Policy Assignment panel, select a policy, and then select a revision.
- Click Save Policy Assignment. A prompt briefly appears and flashes green to indicate that EPM has processed your request.
Clear a Policy from a Group
A computer is no longer controlled by policy when the policy is cleared from the group.
- On the sidebar menu, click Computer Groups.
- Click the group, and then select Edit Policy Assignment from the menu.
- Click Clear Policy Assignment.
- You are notified how many computers will be affected by the change. To proceed, click Clear Policy Assignment.
Delete a Group
You can only delete groups that do not have any computers assigned to them. Groups can be deleted if they have a policy assigned to them.
- On the sidebar menu, click Computer Groups.
- Click the group, and then select Delete from the menu.
- You are prompted to confirm the decision. To proceed, click Delete Group.