Manage Software
View Software Managed by BeyondInsight for Unix & Linux
The Settings > Software page lists the software managed by BeyondInsight for Unix & Linux (BIUL). Basic information includes:
- Product name
- Visual indication the software is present (green dot) or not (gray dot)
- Version currently installed
- Location of the software
To update the list, click the Refresh icon.
View Software Details
On the Settings > Software page, you can get more detailed information for each software product listed. To view details on specific software, at the far right of the software listing, click the vertical ellipsis menu icon, and then select View Details. The Installers side panel appears at the right of the software product table. The panel list is scrollable.

To view details for a different product, click the vertical ellipsis on that product's row. The Installers side panel displays the new product information.
To close the panel, at the top-right of the panel, click the X button.
Upload Software Packages
You can upload Endpoint Privilege Management for Unix and Linux (EPM-UL) and AD Bridge software packages on the Software page.
For more information, see Upload Software.
Endpoint Privilege Management for Unix and Linux Installation Templates
Use installation templates to apply different components to an EPM-UL server.
Some templates are preset and read-only:
- All components
- License Server only
- Policy and Log Server
- Submit and Run Host Only
- Primary Registry Server and All Components
Apply an installation template when running the Host Actions wizard for an EPM-UL install.
For more information, see Install the EPM-UL Policy Server.
Create an EPM-UL Installation Template
You can create a custom EPM-UL installation template. For example, you might want a template to only install the log server feature. Create a template called Log Server and select only Install Log Server.
You can select an existing template and click Clone to start with a base configuration for a new template.
To create an installation template:
- Go to the Settings > Software page.
- At the far right of the Endpoint Privilege Management for Unix and Linux row, click the vertical ellipsis menu icon, and then select Manage Installation Templates.
- Click Add New Template.
- Enter a Name for the template, and then click Create.
- Select the template options. The template settings are automatically saved.
Clone an EPM-UL Installation Template
You might want to clone an EPM-UL installation template in order to make a backup of an existing one, or use it as a template to create a new one.
To clone an installation template:
- On the Installation Templates panel, select a template, and then click Clone.
- Enter a Name for the template, and then click Create.
- Select the template options. The template settings are automatically saved.
Delete an EPM-UL Installation Template
To delete an installation template:
- On the Installation Templates panel, select a template.
- Click Delete, and then click OK to confirm.
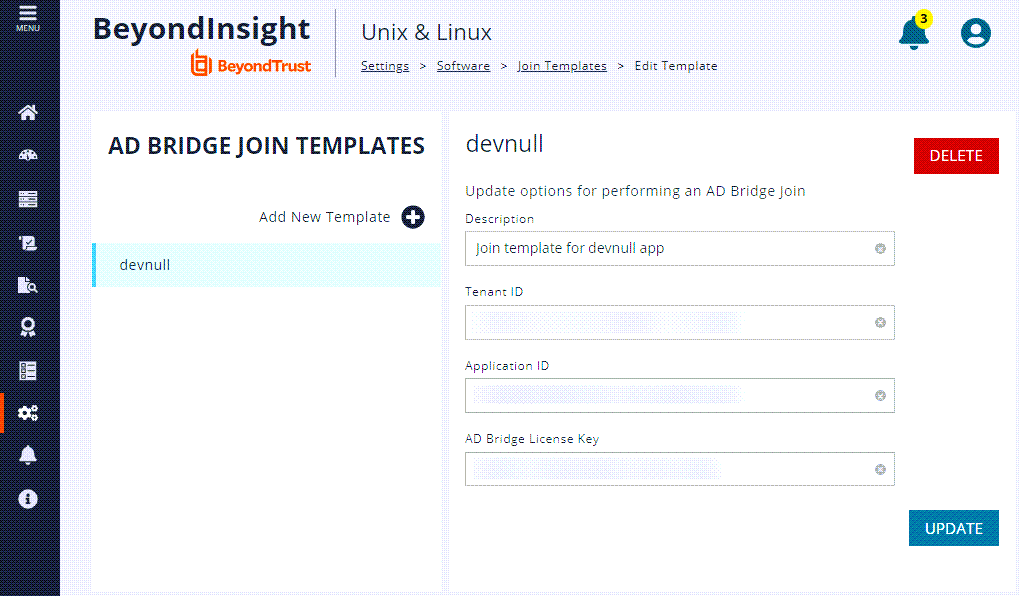
AD Bridge Join Templates
To reduce data entry when joining the host to an Azure tenant application, use AD Bridge (ADB) join templates. When joining a specific host to the tenant, select the template to populate the tenant ID, application, and license key fields automatically.
To create an ADB join template:
- Select Settings > Software.
- At the far right of theAD Bridge row, click the vertical ellipsis menu icon, and then select Manage Join Templates.
- Click Add New Template.
- Enter a Name and Description for the template.
- Enter the Tenant ID, Application ID, and AD Bridge License Key.
- Click Create. The template is added to the list on the left.
When using the template, you must still provide an application secret.
For more information, see Join the Host to an Azure Tenant Application.
Update an AD Bridge Join Template
To update an existing ADB join template:
- On the AD Bridge Join Templates panel, select the template to update.
- Update the information for the template.
- Click Update.
Delete an AD Bridge Join Template
To delete an existing ADB join template:
- On the AD Bridge Join Templates panel, select the template to delete.
- Click Delete, and then click OK to confirm.