Manage Certificates
On the Manage Certificates page, you can:
- Add certificate authorities (CA) to the BeyondInsight for Unix & Linux (BIUL) trusted certificate pool
- Upload server and client certificates for remote connections
- Generate certificate signing requests
The CA and TLS certificates generated by BIUL are created during the application’s lifecycle, using the system supplied cryptographically secure PRNG for entropy.
The CA is unique per installation.
The SSL certificate for the BIUL cannot be updated or deleted from the Manage Certificates page. For information on the SSL certificate configuration, see the BIUL Installation Guide.
Add a Certificate Authority
An uploaded CA is added to the BIUL trusted certificate pool.
When BIUL connects to a remote service, a trusted CA in the BIUL database is added to the trusted certificate pool for that connection.
To add a CA:
- Go to Settings > Certificates.
- Click Add Certificate > Upload a Certificate Authority.
- Click the upload arrow and navigate to the .PEM file location.
- Click Upload File.
A CA can be removed when no longer required.
An uploaded CA is added to Solr during deployment or adoption actions for the Solr instance.
As of version 23.1, Solr is deprecated. EPM-UL no longer supports installing Solr, but features that use an existing Solr installation will continue to work.
For more information, see Manage Solr.
Upload Certificates
When deploying a Solr instance or assigning a log server, BIUL searches the host for a certificate with the same name (wildcards supported). If found, that certificate is used for the host. Otherwise, BIUL generates a certificate using the BIUL CA.
- Go to Settings > Certificates.
- Click Add Certificate > Upload Existing Certificate.
- Select the host to copy the certificate to.
- Select a certificate type.
- Click the upload arrow and navigate to the certificate file location.
- Click Upload Files.
Create a Certificate Signing Request
You can create a request to sign a certificate by a CA. After the certificate is signed, you can upload to the host.
To request a signed certifcate:
- Go to Settings > Certificates.
- Click Add Certificate > Create Certificate Signing Requests.
- Fill out the form with details, including host, common name, organization, and organization email.
- Select a certificate type: client or server.
- Select a SAN type: DNS Name, IP address, or email address.
- Click Create.
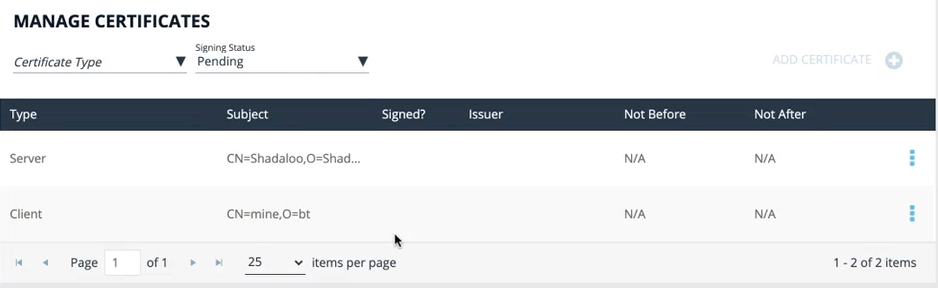
- After the request is created, you can view the Pending status for the request.
- At the far right of the certificate row, click the vertical ellipsis menu icon and select Certificate Details.
- Click Download as PEM. After the certificate is signed, upload the certificate to complete the request.
Certificate Expiry
A warning icon indicates a certificate is expiring soon or is already expired.