Install a Resource Broker
Each resource zone must have at least one resource broker installed on a Windows 2019 x64 or Windows 2022 x64 server in your network. If your deployment has only one resource zone, which is Default, you must install at least one resource broker in the Default zone. We recommend installing two or more resource brokers in each resource zone for work distribution and redundancy. You can install 200 resource brokers across all of your zones. All 200 may be in one zone or dispersed across each of your zones. You cannot generate an install key or run the installer once this threshold is reached.
- <yoursite>.ps.beyondtrustcloud.com or the IP this URL points at
Download and Install Resource Broker
- From the left menu in BeyondInsight, click Configuration.
- Under Privileged Access Management Agents, click Resource Zones.
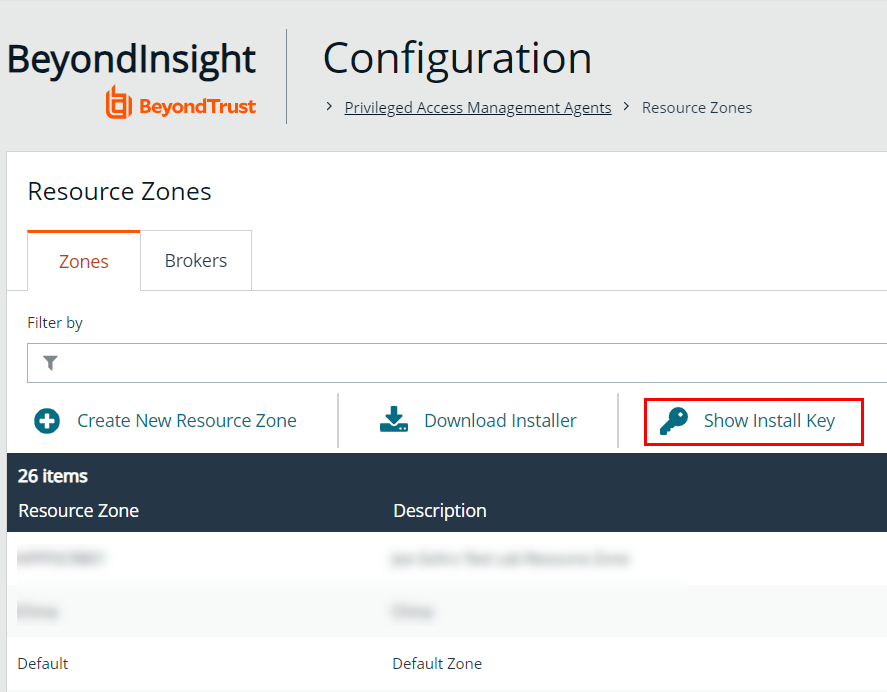
- Click Show Install Key.
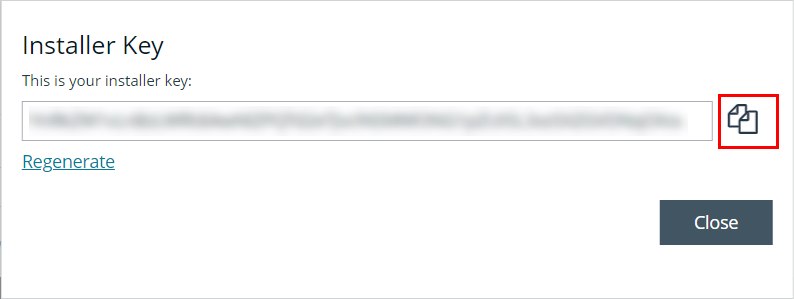
- Click the Copy button to copy the installer key. The installer key is required for step 9.
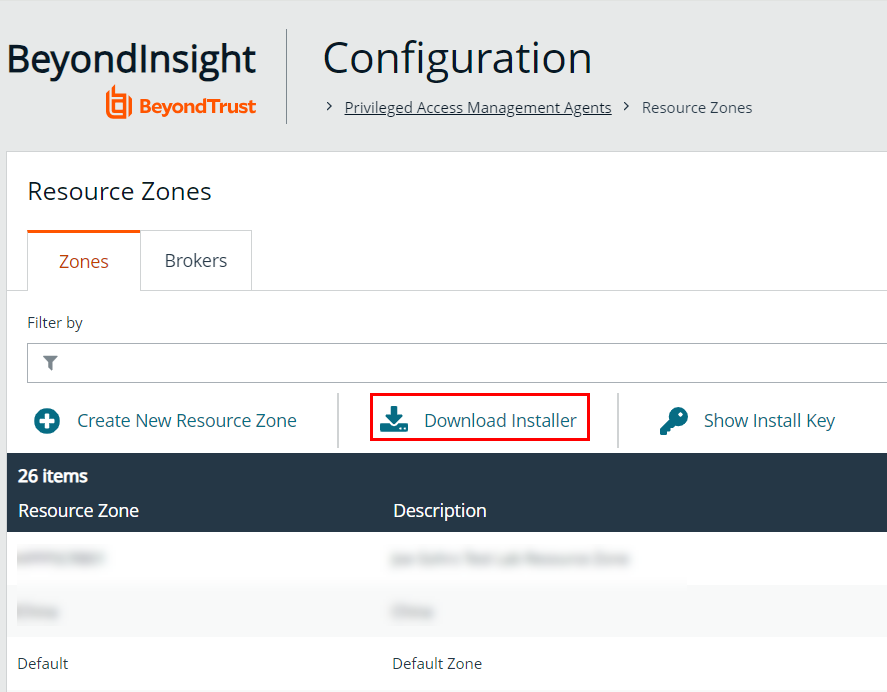
- Click Download Installer.
- Copy the downloaded BeyondTrust.Agents.Bootstrapper.exe file to the Windows server where you would like to install the resource broker, and then run the file.
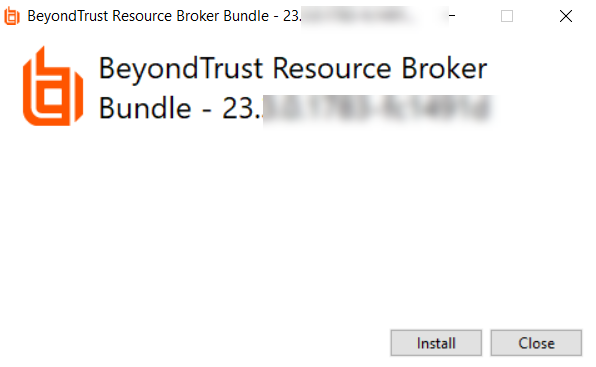
- Click Install.
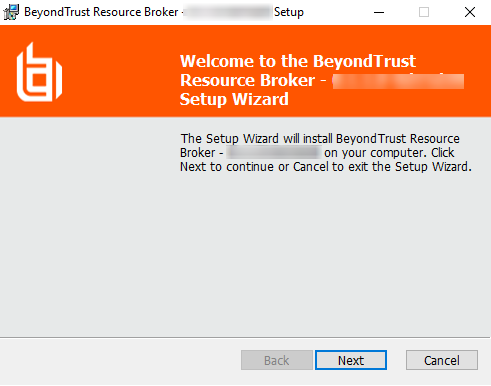
- Click Next on the welcome screen.
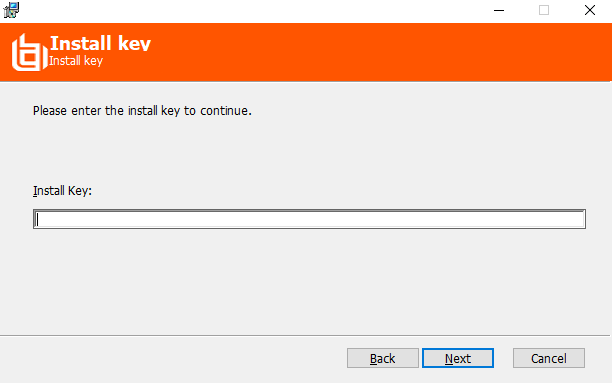
- Paste the Install Key that you copied in step 3 into the Install Key field, and then click Next.
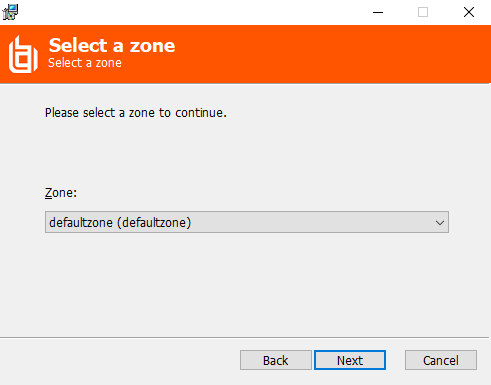
- Select a resource zone from the Zone list, and then click Next.

- Check the box to accept the license agreement terms, and then click Next.

- Click Next to install to the default folder or click Change to install to a different folder, and then click Next.
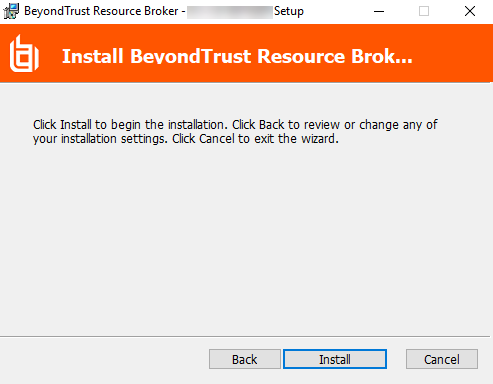
- Click Install to begin the installation.

- Click Finish to complete the Setup Wizard.
- Click Close on the Installation Successfully Completed screen.
- Go the BeyondInsight home page to validate the dynamic dashboard has updated the Resource Zones and Resource Brokers tiles for this newly installed resource broker.