Review Additional Considerations for Jump Client Mass Deployment — macOS
The installer files for access consoles and Jump Clients allow you to mass deploy BeyondTrust software to your macOS devices. This guide provides examples of how to mass-deploy BeyondTrust software using generally accepted deployment concepts. Actual deployment steps may vary.
Set Privacy Policy Preference Control
Starting with macOS Mojave (10.14), Apple introduced new privacy controls for end users. These controls require that applications be granted permission to access sensitive data or use macOS accessibility features. As an administrator, you can grant these permissions to an MDM-managed Mac using a Privacy Policy Preference Control (PPPC) profile. To ensure proper functionality of the BeyondTrust Remote Support Customer Client, deploy a PPPC profile targeting the following app bundle:
- Identifier: com.bomgar.bomgar-scc
- Identifier Type: Bundle ID
- Code Requirement: identifier "com.bomgar.bomgar-scc" and anchor apple generic and certificate 1[field.1.2.840.113635.100.6.2.6] /* exists */ and certificate leaf[field.1.2.840.113635.100.6.1.13] /* exists */ and certificate leaf[subject.OU] = B65TM49E24
| Service | Purpose | Allowed |
|---|---|---|
| Accessibility | Screen Sharing | true |
| SystemPolicyAllFiles (Full Disk Access) | File Transfer | true |
| ScreenCapture (Screen Recording) | Screen Sharing | AllowStandardUserToSetSystemService |
Screen recording can only be configured via MDM to allow a non-admin user to provide consent. IT administrators cannot grant screen recording permissions on behalf of end users. This preference is applicable for systems running macOS Big Sur (11.0) and later.
Configure Managed Login Items
Starting with macOS Ventura 13, Apple introduced a new framework for managing background tasks such as LaunchAgents, LaunchDaemons, and Login Items. BeyondTrust's Jump Client for Remote Support leverages background tasks to ensure the client is running at all times. Administrators can manage these background tasks using a Managed Login Items payload delivered to managed devices. To ensure proper functionality, deploy a configuration profile targeting the below values:
| Rule Type | Rule Value |
|---|---|
| Label Prefix | Bomgar |
| Team Identifer | B65TM49E24 |
| Label Prefix | com.bomgar |
Configure Appliance
When deploying the Jump Client, there are two prerequisites that must be completed in Remote Support:
- A user account with administrative permission to access the /login interface is required. This user can create Jump Clients only for Jump Groups where they have appropriate permissions.
- To ensure that a single Jump Client installer can be used to pin a system to any Jump Group, a service account with Manage permissions on all Jump Groups must be created.
Create a Service Account User for Jump Client Package Creation
- Log in to the Remote Support user interface.
- Click Users & Security.
- Click Add.
- Fill in the basic details for the user account.
- Expand Account Settings.
- Check Account Never Expires, if necessary.
- Expand Access Permissions.
- Ensure Allowed to access endpoints is checked.
- Uncheck all boxes under the Session Management and User-to-User Screen Sharing areas.
- Under Allowed Jump Item Methods, ensure:
- Jump Clients is checked
- All other methods are uchecked
- Under Jump Item Roles, ensure:
- Default dropdown is set to Administrator
- System dropdown is set to Administrator
- Click Save.
Create a Jump Client Installer Package
- Log in to the Remote Support appliance using the new account created above.
- Click Jump.
- Click Add to add a new Jump Client Installer.
- Select a default Jump Group within the Jump Client Mass Deployment Wizard.
- Check Allow Override During Installation for all available options.
- Select your desired validity period from the This Installer is Valid For dropdown .
- Check Start Customer Client Minimized When Session is Started, to ensure a completely silent deployment.
- Click Create.
- From the Platform dropdown, select macOS (for programmatic installation).
- Click Download. A DMG file downloads. This is later imported into your management platform.
Do not rename the downloaded DMG file.
Deploy Manually
The BeyondTrust Remote Support Jump Client installer is delivered as a uniquely generated and named DMG file. This file has the format bomgar-scc-<uid>.dmg.
For deployment, the sequence of steps includes:
- Stage the DMG file in a temporary location.
- Mount the DMG file.
- Install the Remote Support Jump Client.
- Unmount the disk image.
- Remove the DMG from the temporary location.
Deploy using JAMF Pro
This information is provided for general assistance when using JAMF Pro, however BeyondTrust cannot provide support for third-party products, and their requirements and operations may change.
Upload Package to Jamf Software Server
- Log in to your Jamf Software Server (JSS) via a web browser.
- Click Computers.
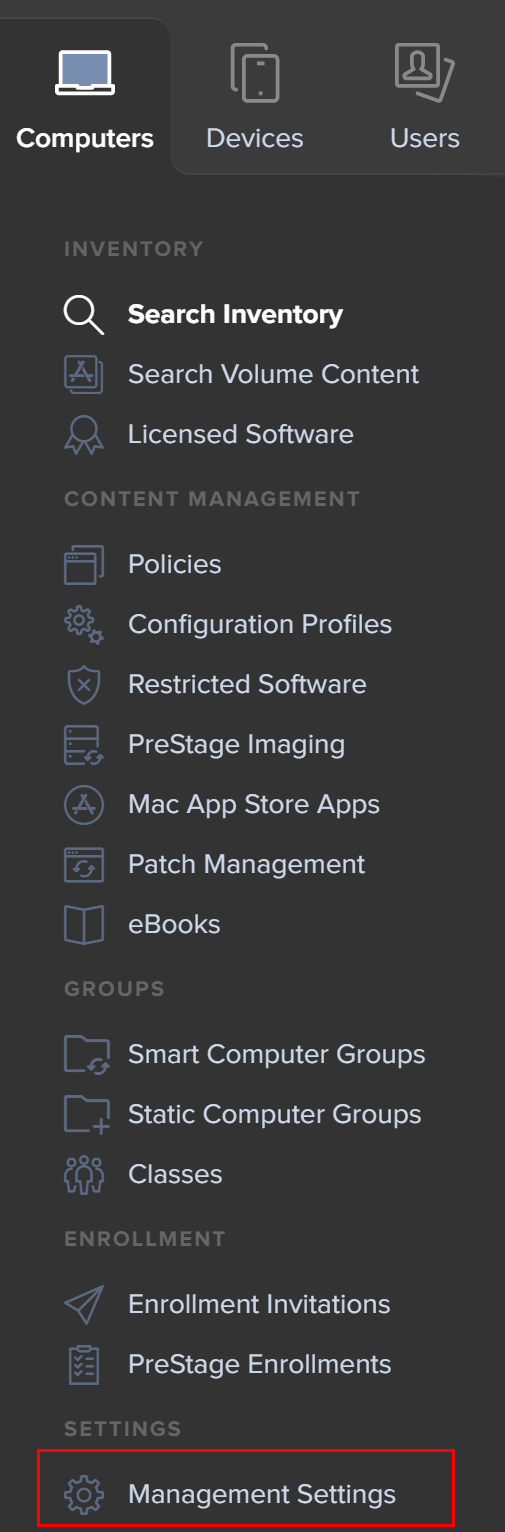
- Click Management Settings.
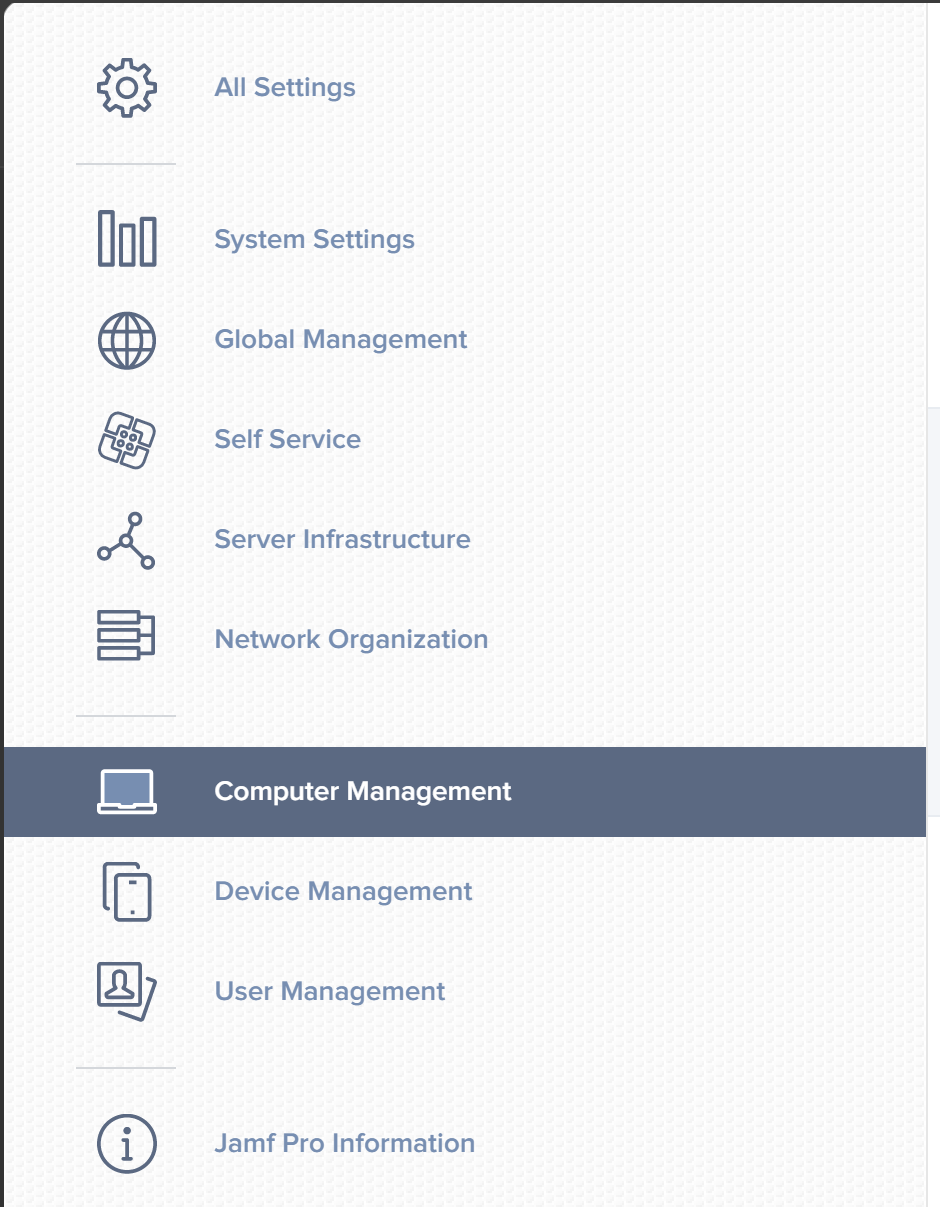
- Click the Computer Management tab.
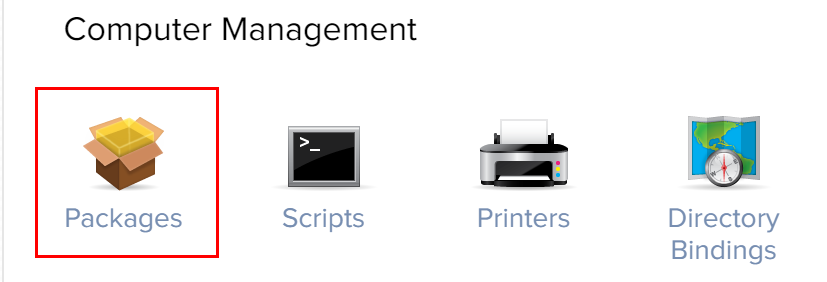
- Click Packages.
- Click New.
- Fill out a display name, and choose a category (if applicable).
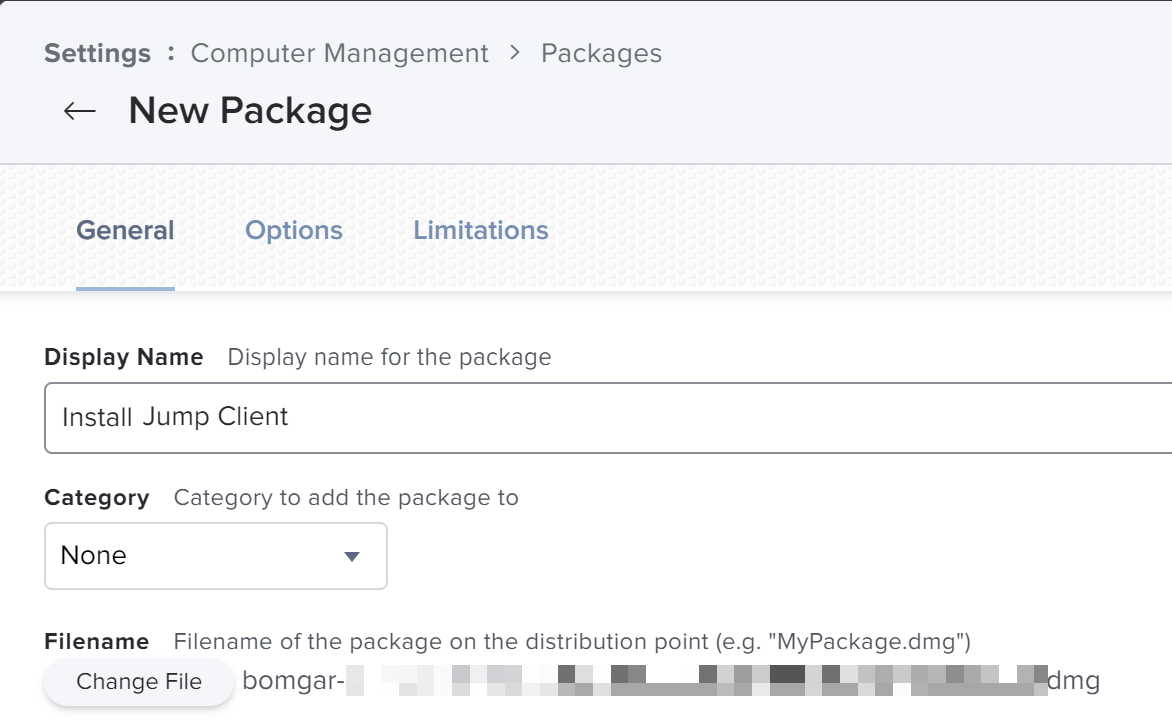
- Click Upload to choose the DMG file.
- Click Save.
Upload Deployment Script
- If necessary, log in to the JSS via a web browser.
- Click Computers.
- Click Management Settings.
- Click the Computer Management tab.
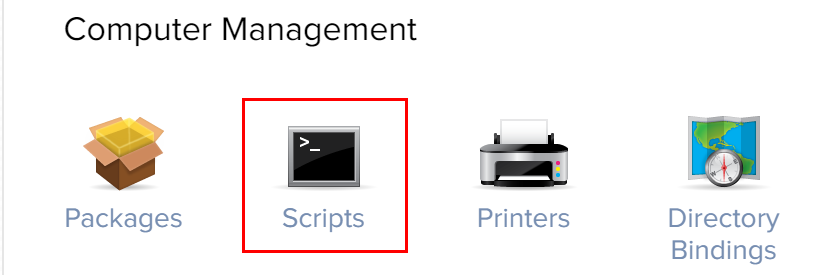
- Click Scripts.
- Click New.
- Copy and paste this sample deployment script on the Script tab:
hdiutil attach /Library/Application\ Support/JAMF/Waiting\ Room/bomgar-scc-<uid>.dmg

sudo /Volumes/bomgar-scc/Open\ To\ Start\ Support\ Session.app/Contents/MacOS/sdcust --silent

sleep 15
- Update the file name to match the DMG file downloaded from your appliance.
- Click Save.
xattr -d com.apple.quarantine bomgar-scc-[uid].dmgto the script, or by enabling Stapled Mac Notarization. Administrators should evaluate which approach is more appropriate for their environment.
For detailed information on sdcust usage, see Mass Deploy Help located within the /login interface on Jump > Jump Client.
Create Deployment Policy
- If necessary, log in to the JSS via a web browser.
- Click Computers.
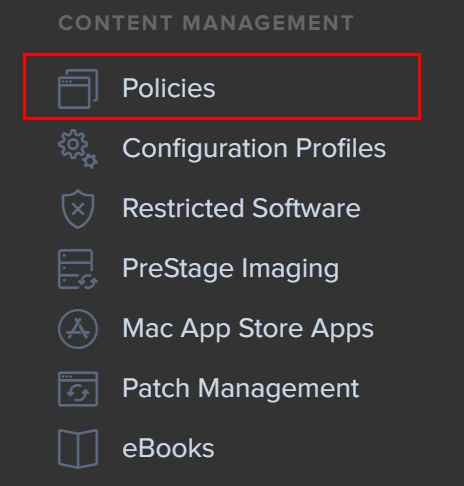
- Click Policies.
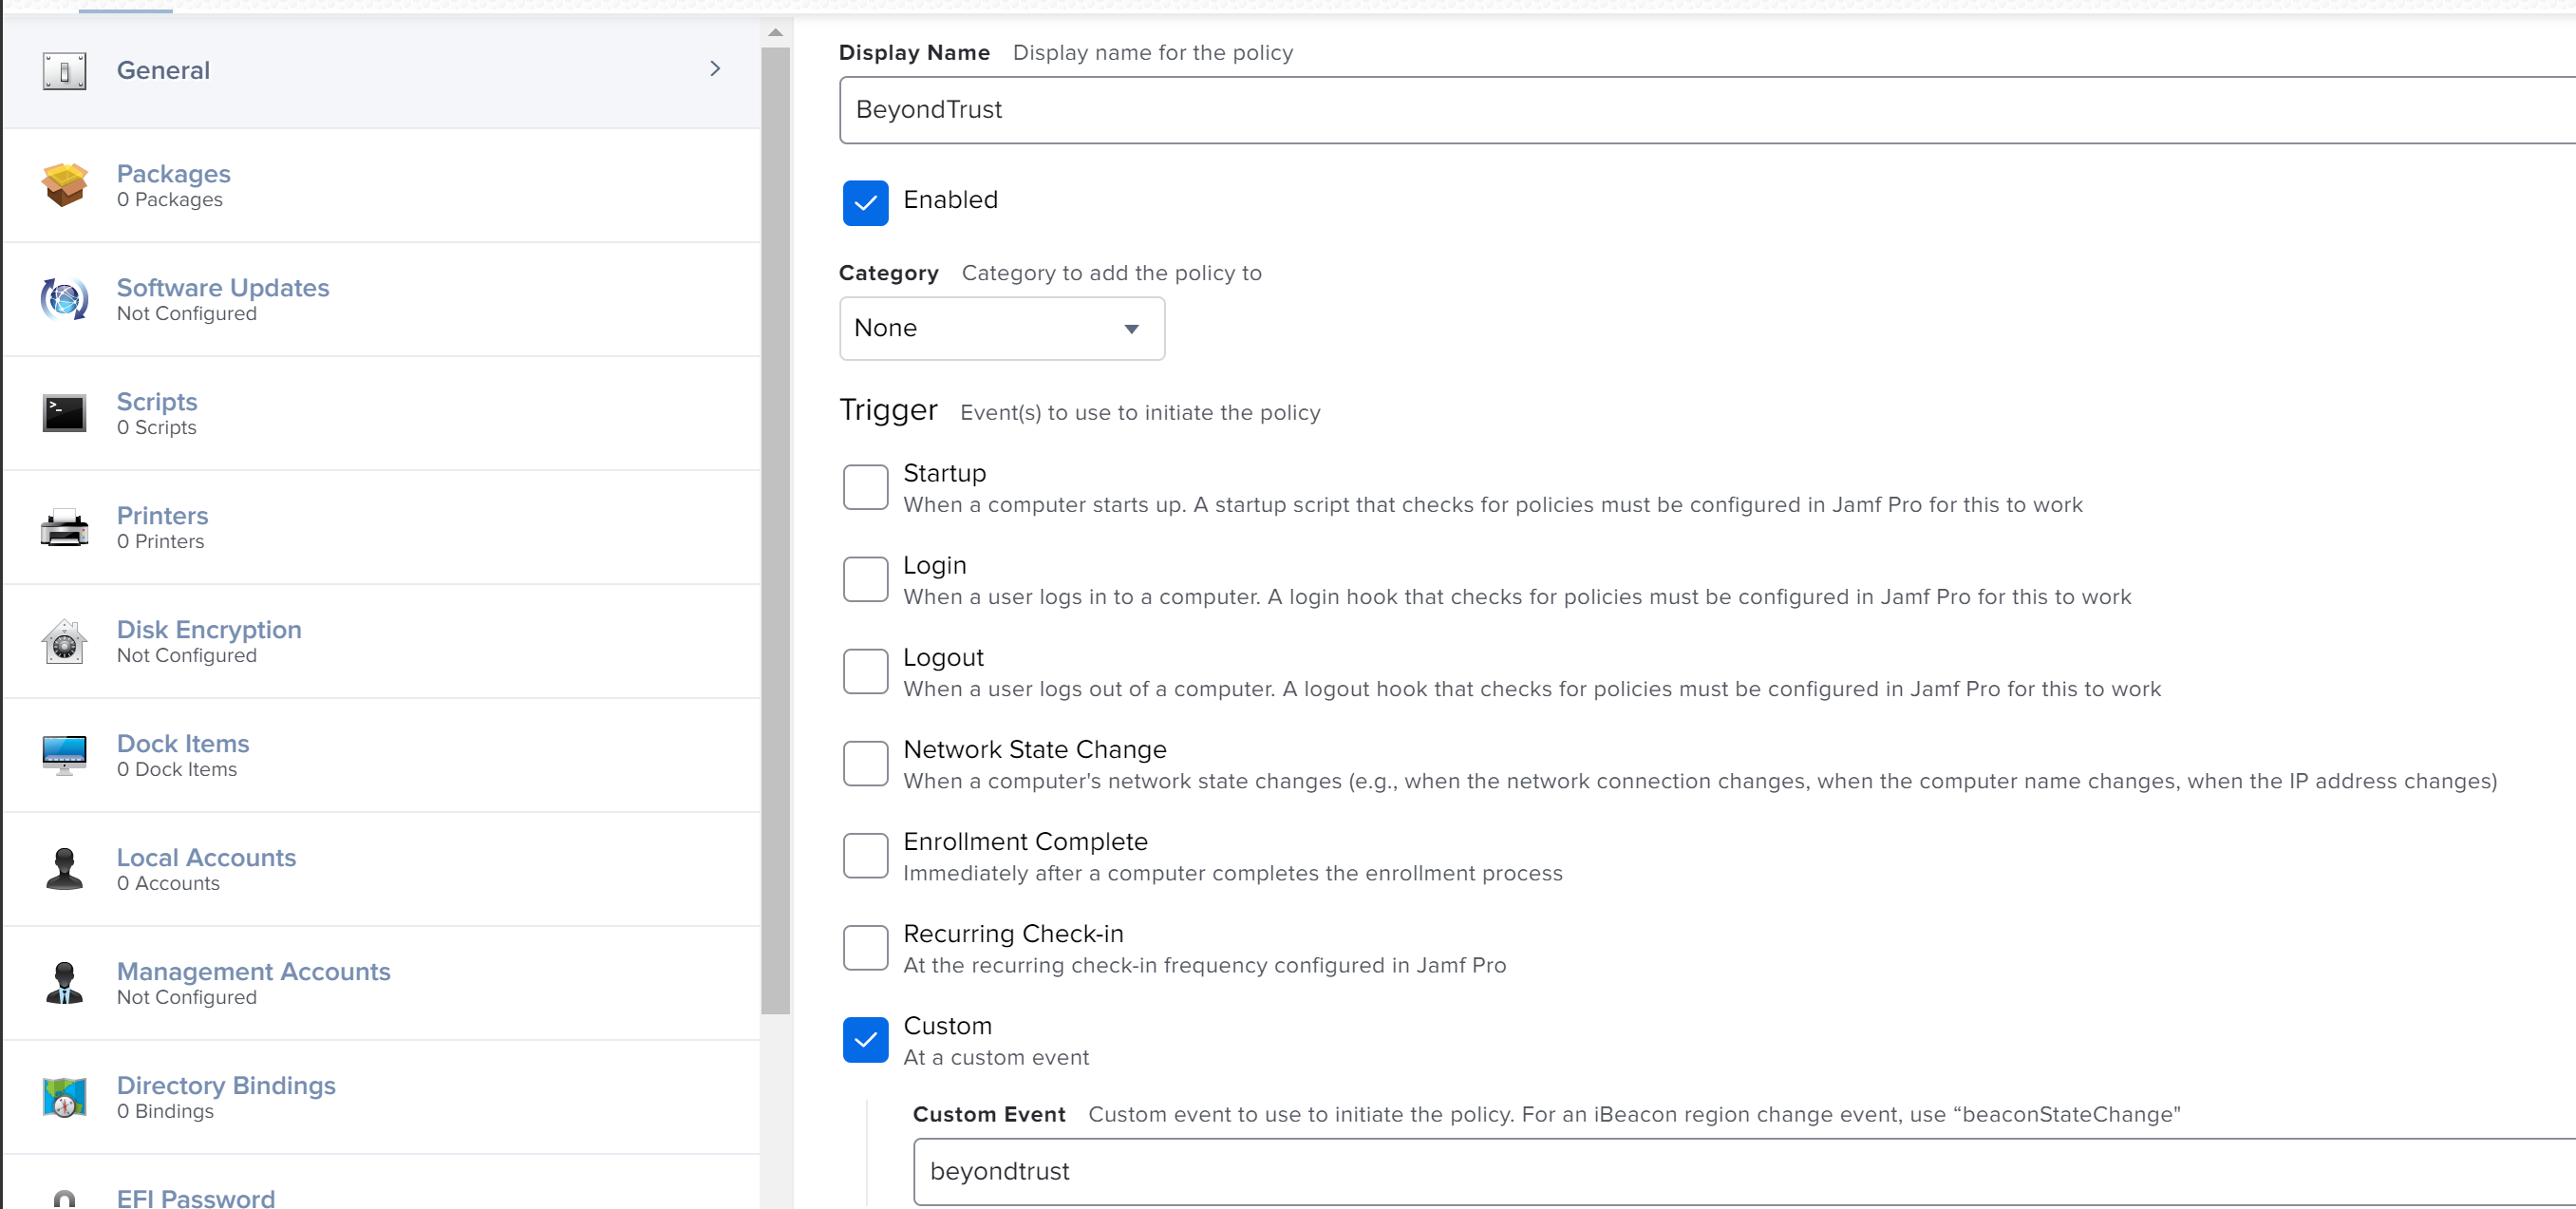
- Click New.
- Provide a policy name, configure desired policy triggers, and ensure Execution Frequency is Once Per Computer.
- Click Packages, and then click Configure.
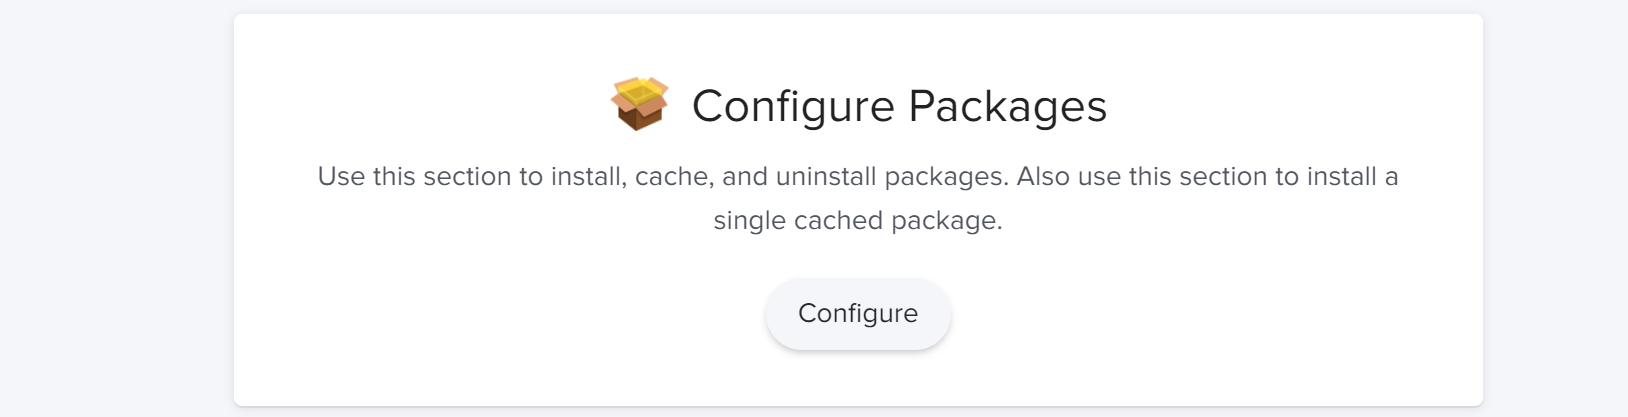
- Click Add to select the Jump Client package from the list of available packages.

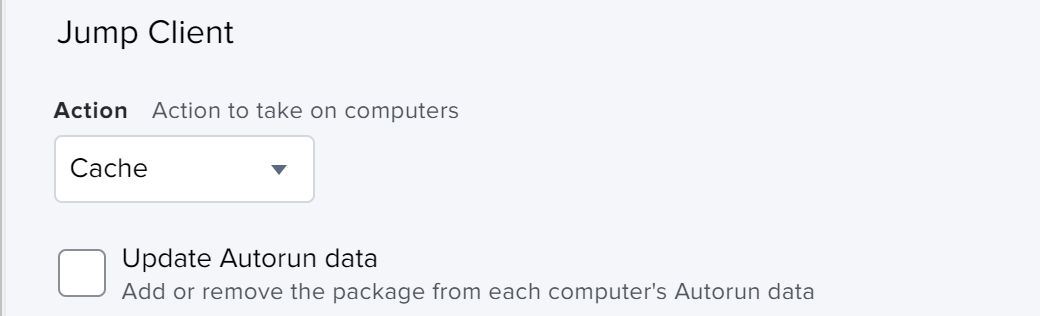
- Select Cache as the action. This makes the packages available in the JAMF downloads folder for use by the deployment script created earlier.
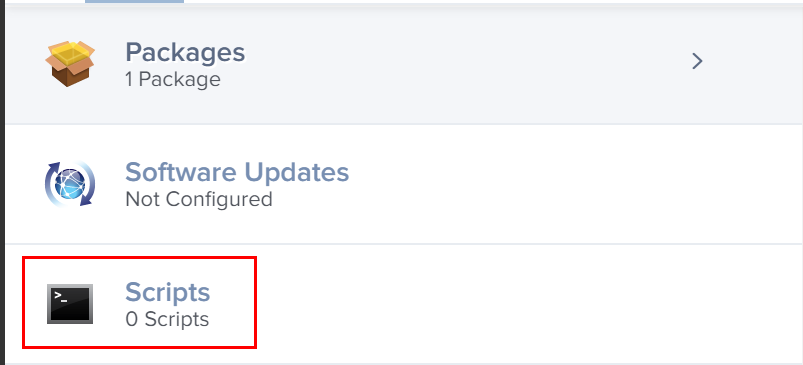
- Click Scripts from the left navigation menu.
- Click Add to select the deployment script created above.

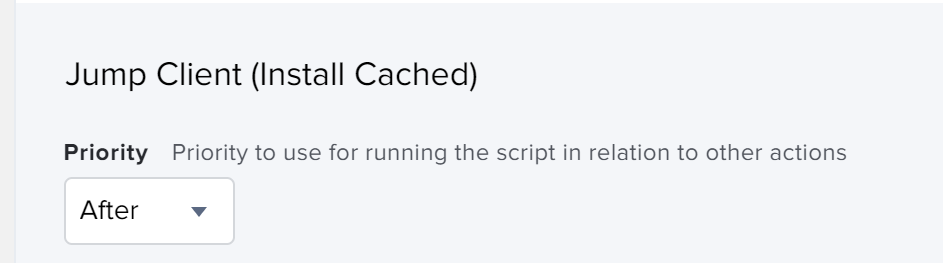
- Confirm that the Priority is set to After.
- Click Save.
The created policy now runs based on the defined trigger(s) to install the BeyondTrust Jump Client.