Use Cases for Jump Item Implementation
To offer you the most flexibility and control over your Jump Items, BeyondTrust includes quite a few separate areas where permissions must be configured. To help you understand how you might want to set up your system, we have provided two use cases below.
Basic Use Case
You are a small organization without a lot of Jump Items or users to manage. You want your administrators to manage all of the Jump Item setup steps and your users to only be able to Jump to those items.
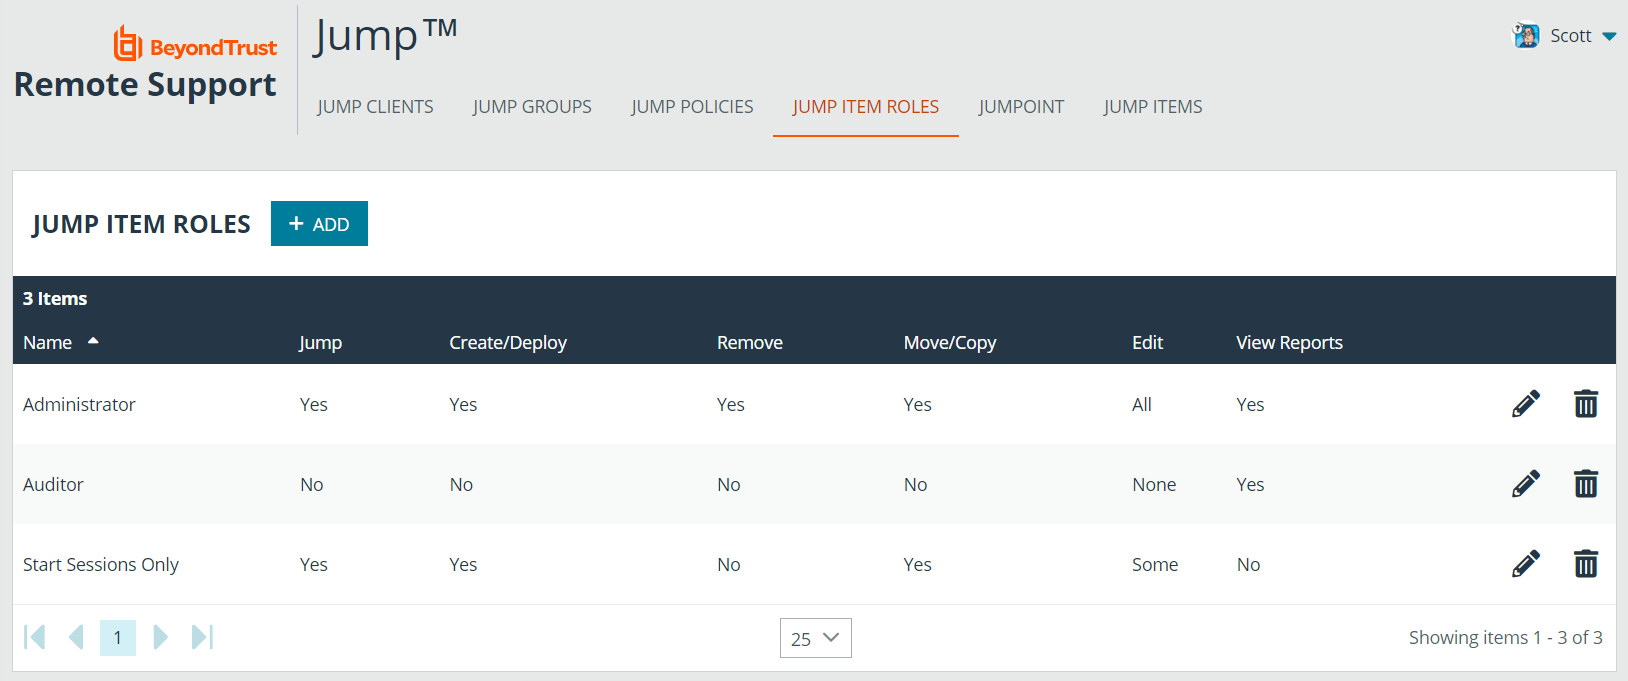
- Create two Jump Item Roles, Administrator and Start Sessions Only.
- The Administrator role should have all permissions enabled.
- The Start Sessions Only role should have only Start Sessions enabled.
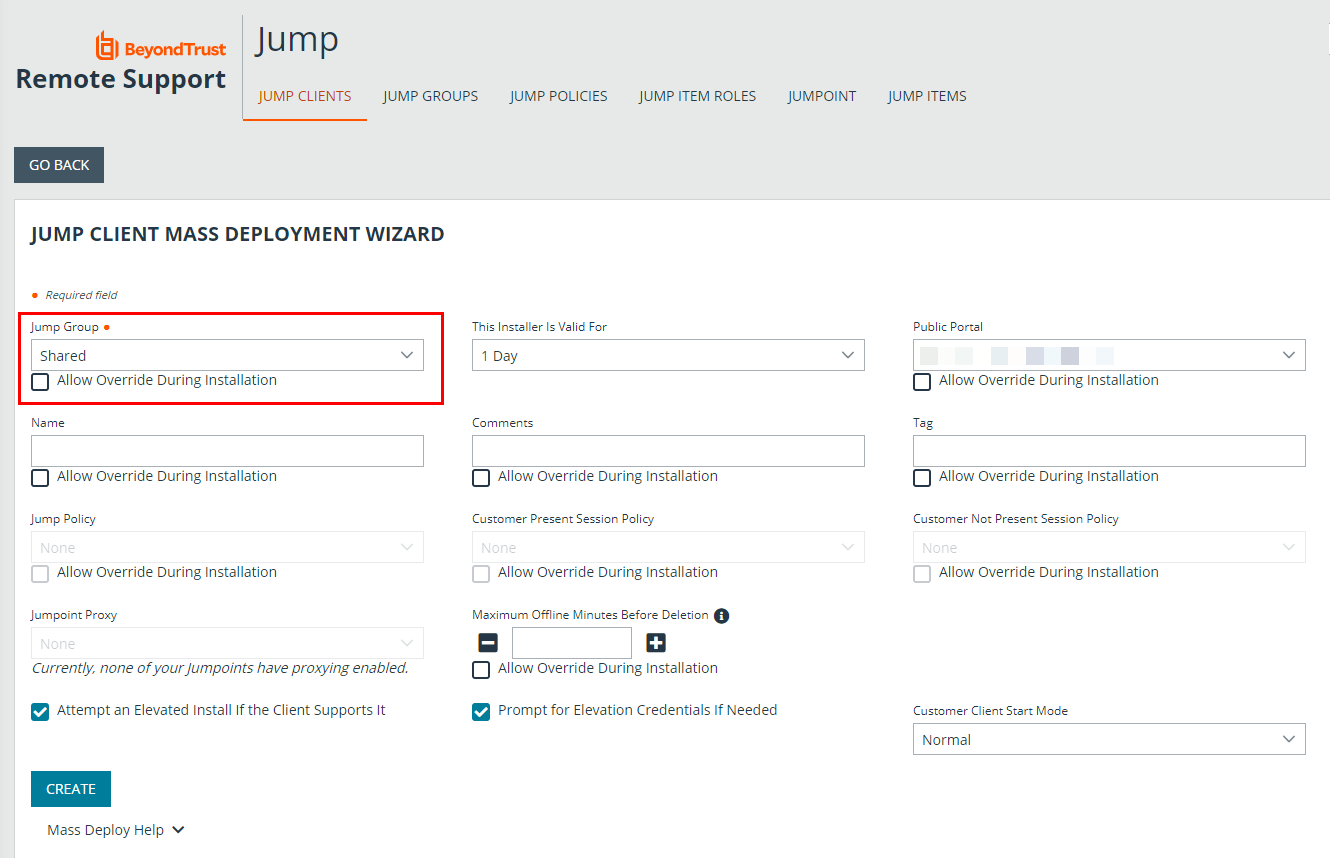
- Create a Shared Jump Group that will contain all shared Jump Items. Personal Jump Items can also be created.
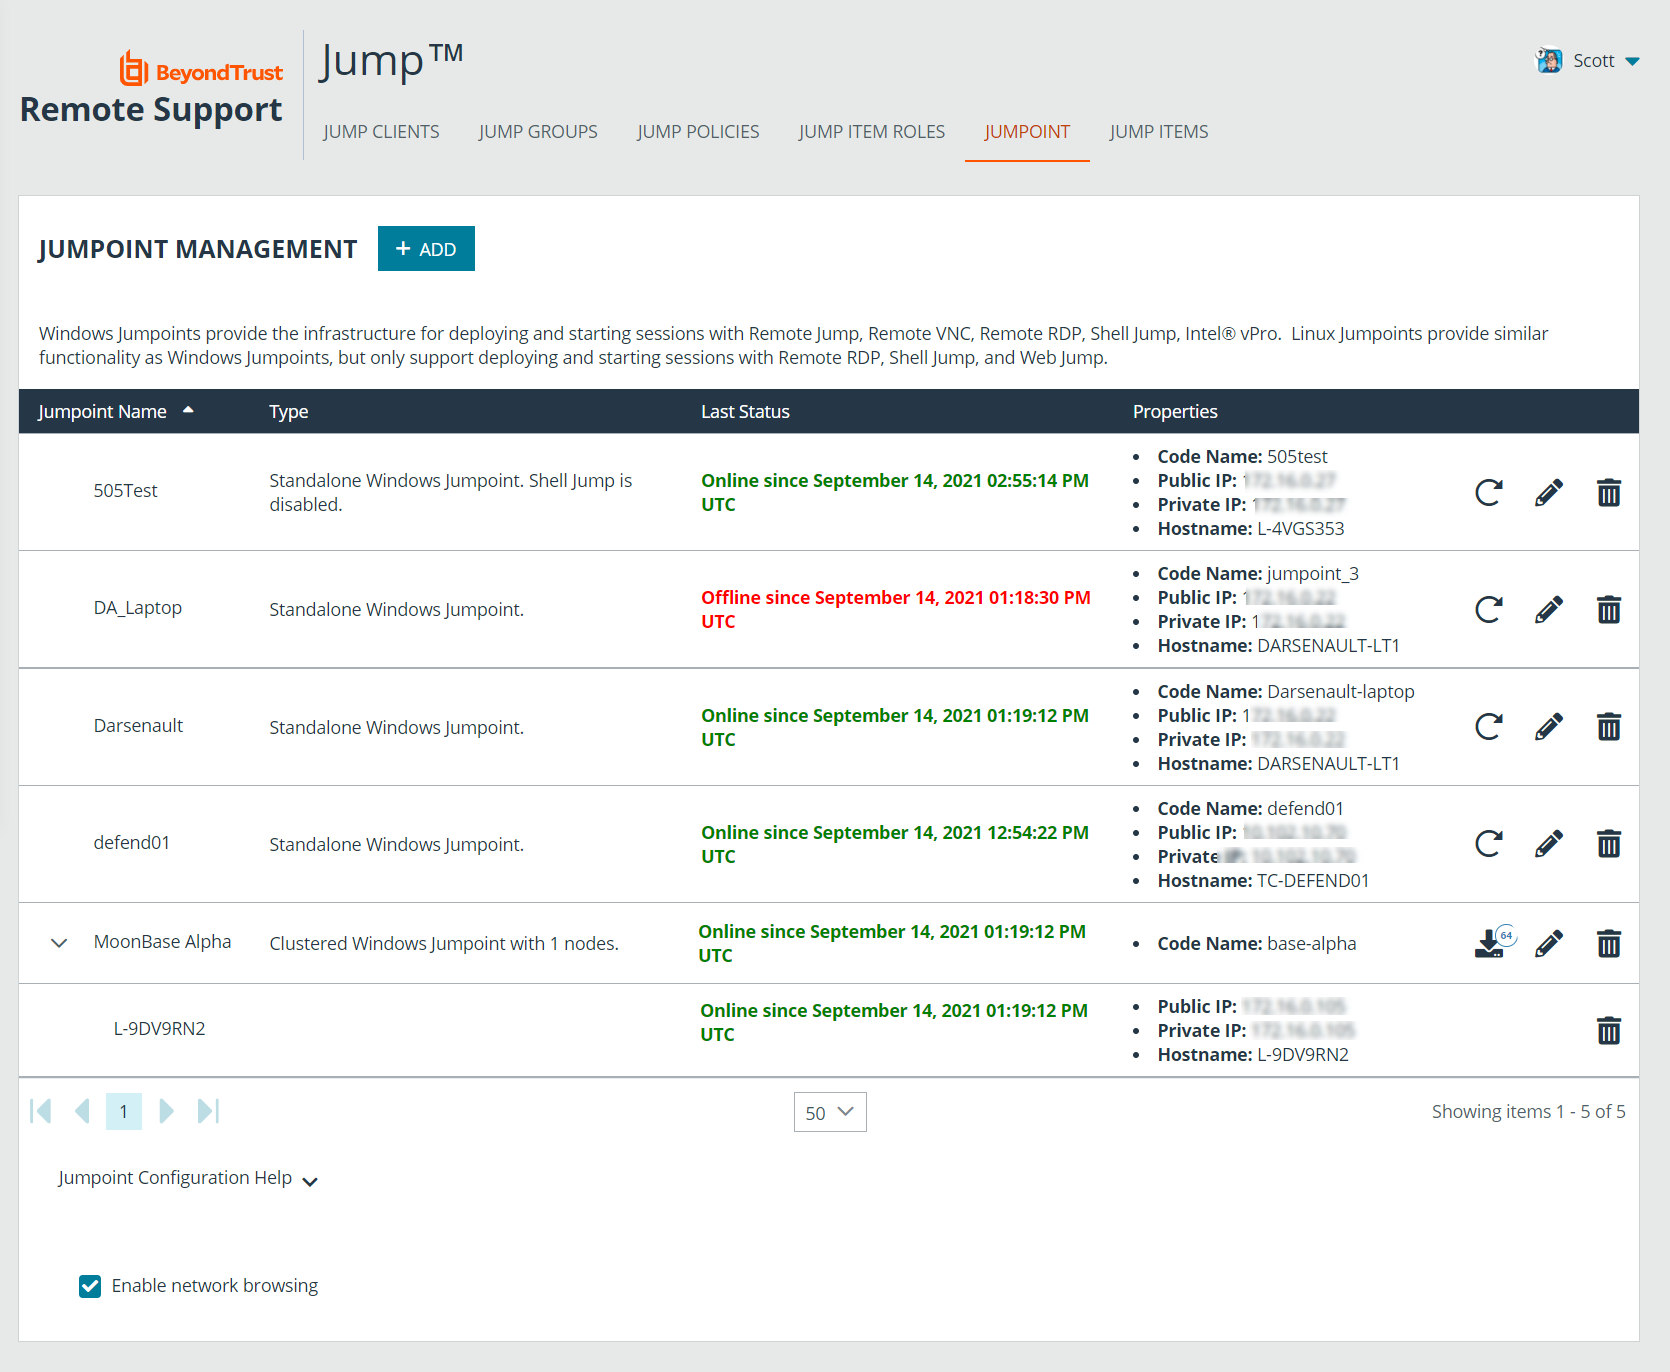
- Deploy a Jumpoint to each remote network segment where Jump Items will be deployed.
- Put users into two group policies, Admins and Users.
- In the Admins group, configure settings and permissions as appropriate. The permissions should include the following:
- Define Representative Permissions and enable Allowed to provide remote support.
- Under Jump Technology, check all Allowed Jump Methods that your organization will use.
- Under Jump Item Roles, set the Default and Personal roles to Administrator.
- Set the Teams and System roles to Start Sessions Only.
- Under Memberships, define Add Jumpoint Membership.
- In the Jumpoint field, search for and select each Jumpoint.
- Click Add to grant the members of this group policy access to the Jumpoint.
- Under Memberships, define Add Jump Group Memberships.
- In the Jump Group field, search for and select Shared.
- Set the Jump Item Role to Administrator.
- Click Add to assign the members of this group policy to the Jump Group.
- Save the group policy.
- In the Users group, configure settings and permissions as appropriate. The permissions should include the following:
- Define Representative Permissions and check Allowed to provide remote support.
- Under Jump Technology, check all Allowed Jump Methods that your organization will use.
- Under Jump Item Roles, set the Default to Start Sessions Only.
- Set the Personal Jump Item Role to Administrator.
- Set the Teams and System roles to No Access.
Under Memberships, define Add Jumpoint Membership.
- In the Jumpoint field, search for and select each Jumpoint these users will need to access.
- Click Add to grant the members of this group policy access to the Jumpoint.
Under Memberships, define Add Jump Group Memberships.
- In the Jump Group field, search for and select Shared.
- Set the Jump Item Role to Start Sessions Only.
- Click Add to assign the members of this group policy to the Jump Group.
- Save the group policy.
- Deploy Jump Items, assigning them to the Shared Jump Group.
- Now, administrators can deploy and start sessions with Jump Items in the Shared Jump Group. They can also manage their personal lists of Jump Items and start sessions with all other Jump Items.
Likewise, users can now start sessions with Jump Items in the Shared Jump Group. They can also manage their personal lists of Jump Items.
Advanced Use Case
You are a large organization with a lot of Jump Items to manage and with users to manage in three different departments. You want your administrators to manage all of the Jump Item setup steps and your users to only be able to Jump to those items. Some Jump Items should be accessible at all times, while others should be accessible only on weekdays.
- Create two Jump Item Roles, Administrator and Start Sessions Only.
- The Administrator role should have all permissions enabled.
- The Start Sessions Only role should have only Start Sessions enabled.
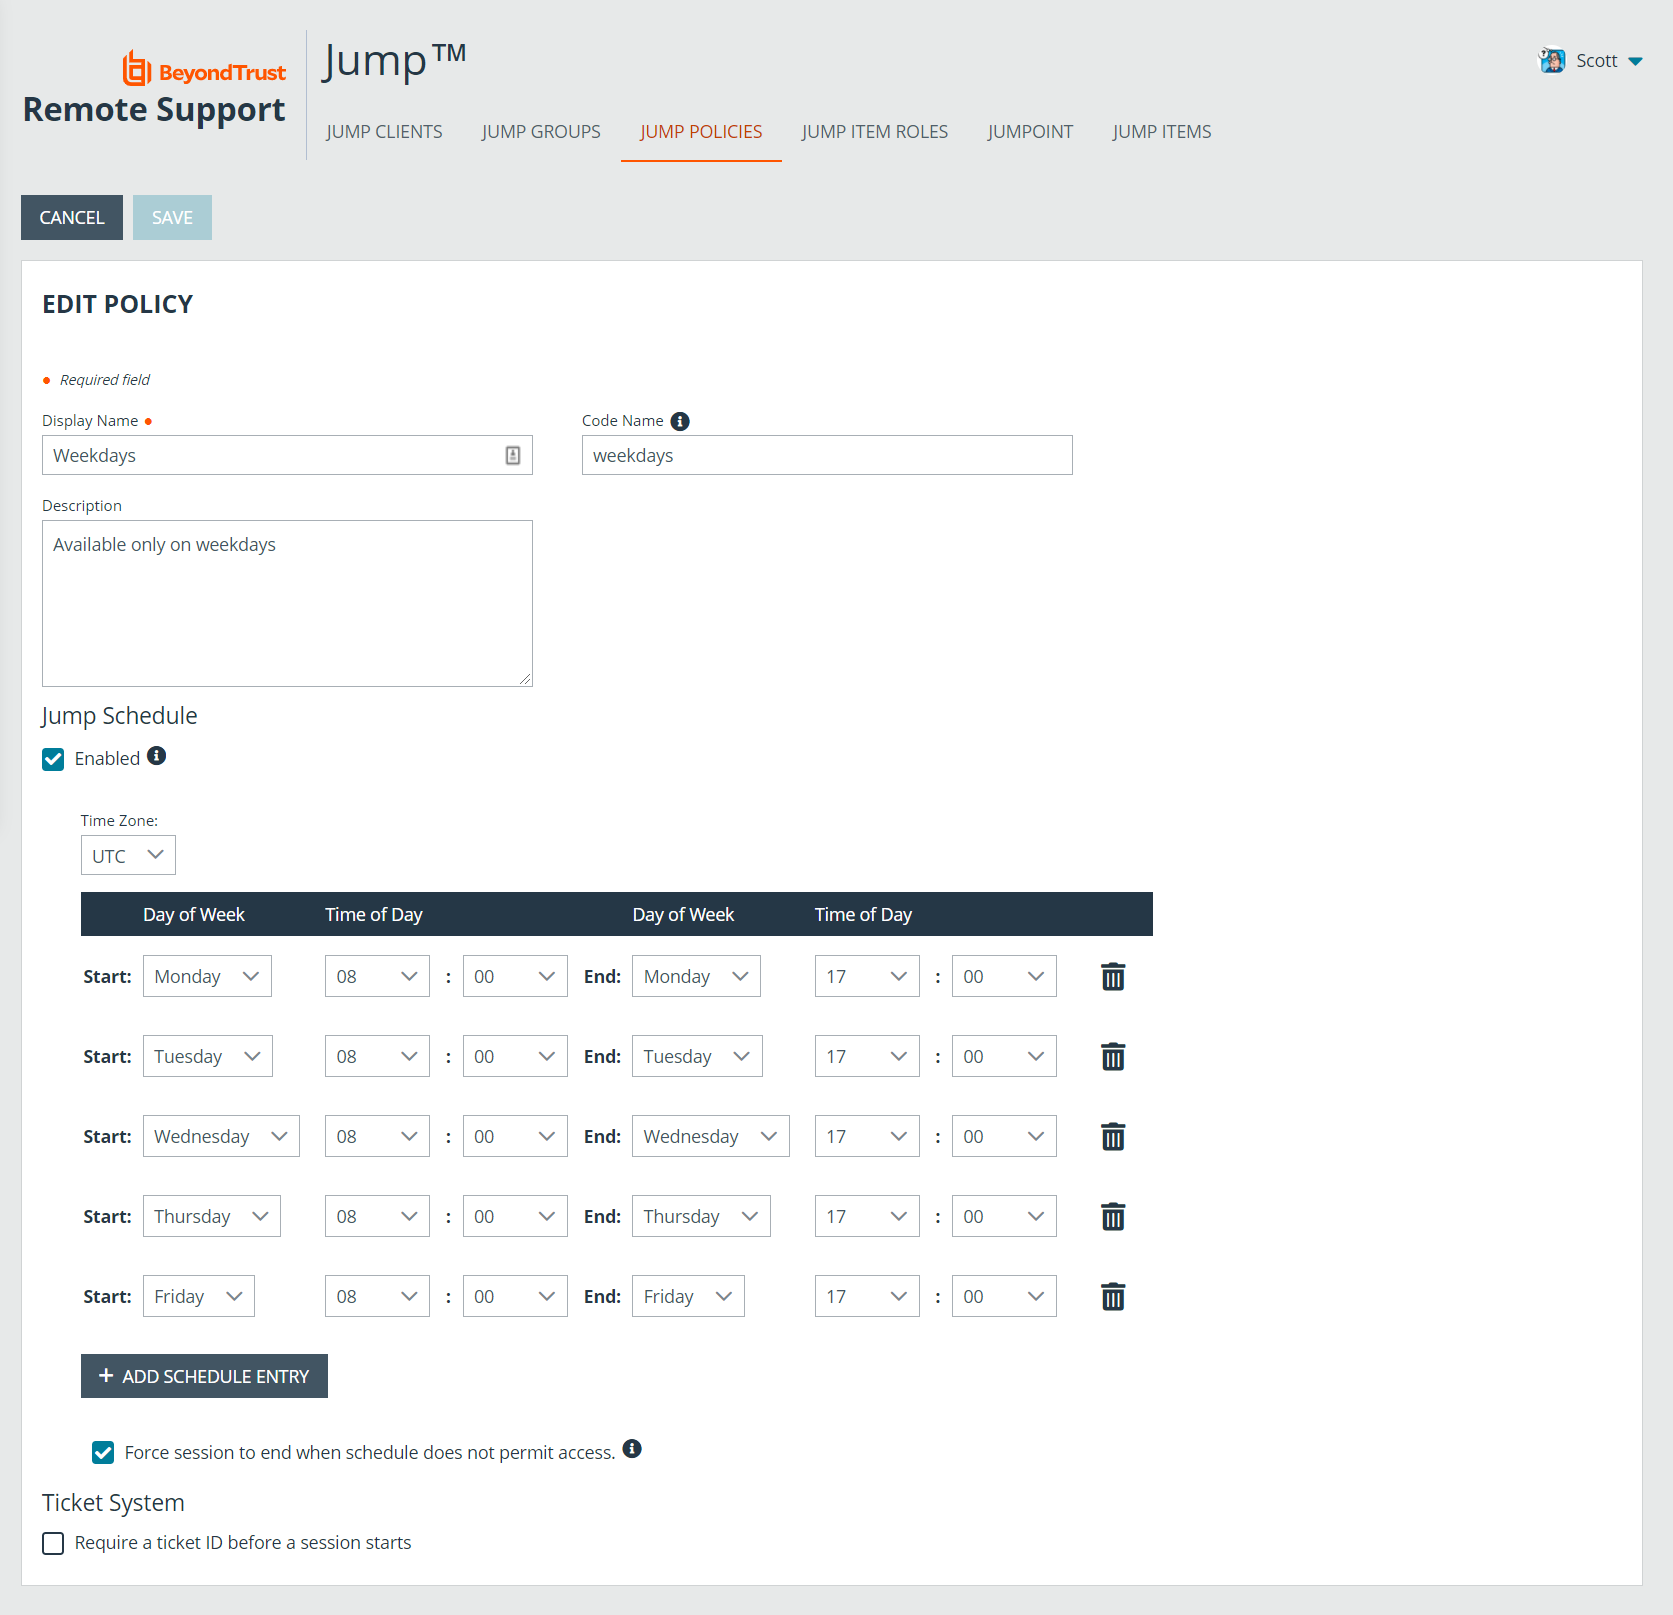
- Create a Jump Policy, Weekdays.
- In the Jump Policy, enable the Jump Schedule.
- Click Add Schedule Entry.
- Set the Start day and time to Monday 8:00 and the End day and time to Monday 17:00.
- Click Add Schedule Entry and repeat the process for the remaining weekdays.
- Save the Jump Policy.
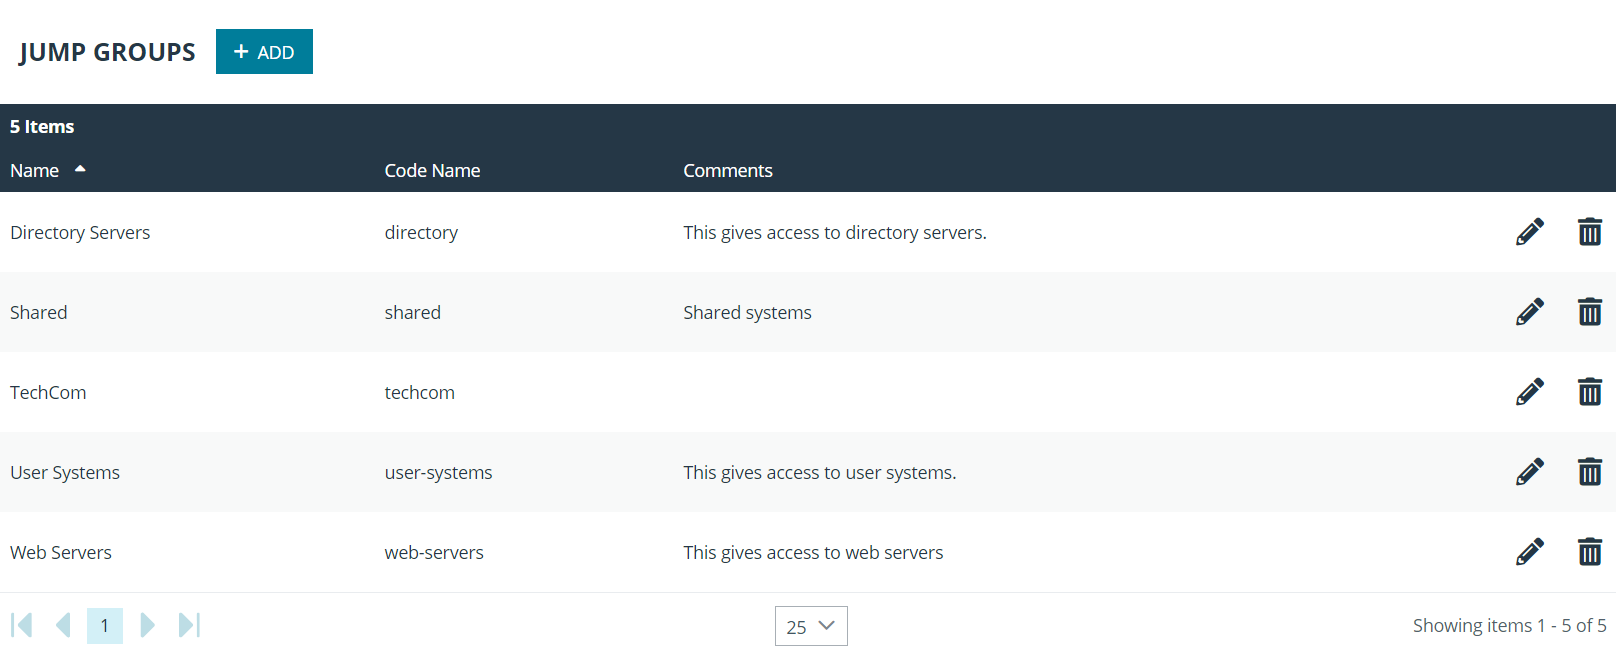
- Create three Jump Groups, Web Servers, Directory Servers, and User Systems. Personal Jump Items can also be created.
- Deploy a Jumpoint to each remote network segment where Jump Items will be deployed.
- Put users into two group policies, Admins and Users.
- In the Admins group, configure settings and permissions as appropriate. The permissions should include the following:
- Define Representative Permissions and enable Allowed to provide remote support.
- Under Jump Technology, check all Allowed Jump Methods that your organization will use.
- Under Jump Item Roles, set the Default and Personal roles to Administrator.
- Set the Teams and System roles to Start Sessions Only.
Under Memberships, define Add Jumpoint Membership.
- In the Jumpoint field, search for and select each Jumpoint.
- Click Add to grant the members of this group policy access to the Jumpoint.
- Under Memberships, define Add Jump Group Memberships.
- In the Jump Group field, search for and select Web Servers.
- Set the Jump Item Role to Administrator.
- Click Add to assign the members of this group policy to the Jump Group.
- In the Jump Group field, search for and select Directory Servers.
- Set the Jump Item Role to Administrator.
- Click Add to assign the members of this group policy to the Jump Group.
- In the Jump Group field, search for and select User Systems.
- Set the Jump Item Role to Administrator.
- Click Add to assign the members of this group policy to the Jump Group.
- Save the group policy.
- In the Users group, configure settings and permissions as appropriate. The permissions should include the following:
- Define Representative Permissions and check Allowed to provide remote support.
- Under Jump Technology, check all Allowed Jump Methods that your organization will use.
- Under Jump Item Roles, set the Default to Start Sessions Only.
- Set the Personal Jump Item Role to Administrator.
- Set the Teams and System roles to No Access.
Under Memberships, define Add Jumpoint Membership.
- In the Jumpoint field, search for and select each Jumpoint these users will need to access.
- Click Add to grant the members of this group policy access to the Jumpoint.
- Under Memberships, define Add Jump Group Memberships..
- In the Jump Group field, search for and select Web Servers.
- Set the Jump Item Role to Start Session Only.
- Click Add to assign the members of this group policy to the Jump Group.
- In the Jump Group field, search for and select Directory Servers.
- Set the Jump Item Role to Start Session Only.
- Click Add to assign the members of this group policy to the Jump Group.
- In the Jump Group field, search for and select User Systems.
- Set the Jump Item Role to Start Session Only.
- Click Add to assign the members of this group policy to the Jump Group.
- Set the Jump Item Role to Start Sessions Only.
- Click Add to assign the members of this group policy to the Jump Group.
- Save the group policy.
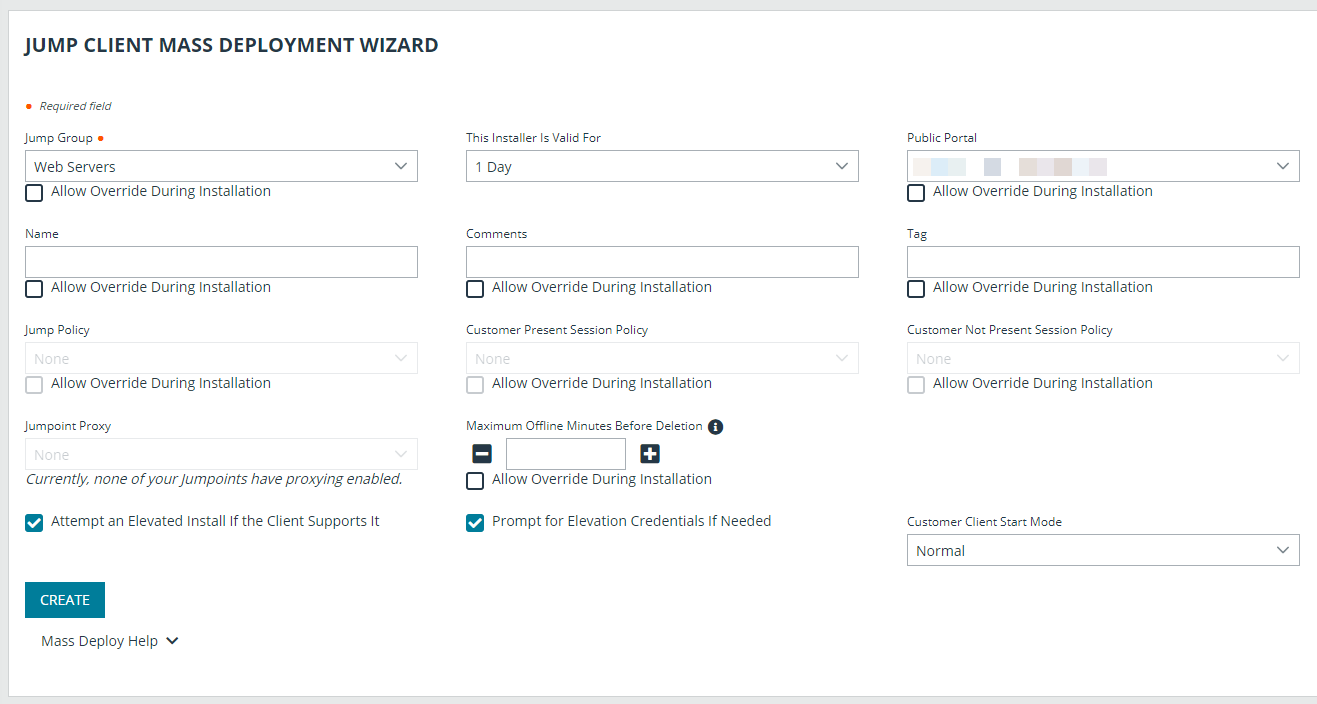
- Deploy Jump Items, assigning them to the three Jump Groups as appropriate. If any particular Jump Item requires a Jump Policy schedule to be enforced, assign that, as well.
- Now, administrators can deploy and start sessions with Jump Items in all three Jump Groups. They can also manage their personal lists of Jump Items and start sessions with all other Jump Items.
Likewise, local users can now start sessions with Jump Items in all three Jump Groups. They can also manage their personal lists of Jump Items.
Specified Jump Items can be accessed only on weekdays.
