Configure the SRA Virtual Appliance
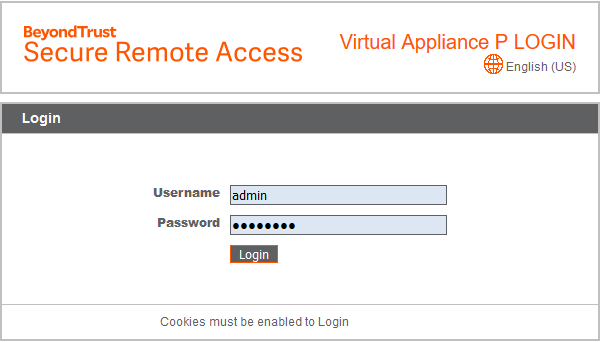
- From the /appliance interface of your BeyondTrust SRA Virtual Appliance, log in using admin as the username and password as the default password. You are prompted to change your password the first time you log in.

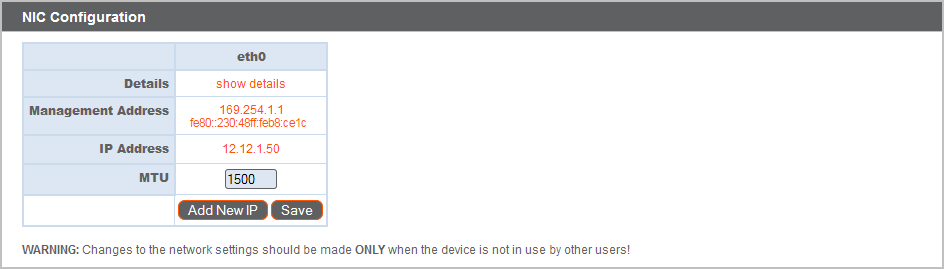
- Next, go to Networking > IP Configuration.
- Under the NIC Configuration section, click Add New IP.
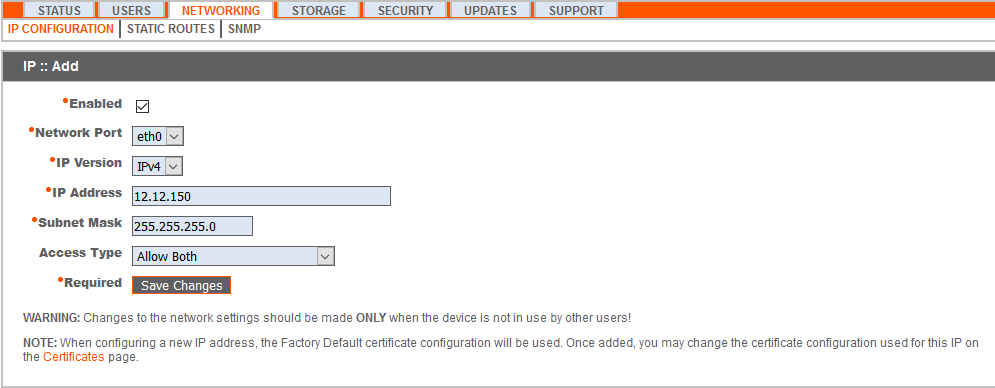
- Enter the static IP address and subnet mask for your BeyondTrust Appliance B Series. You can decide if this IP addresses session traffic, web traffic, or both. Then click Save Changes.
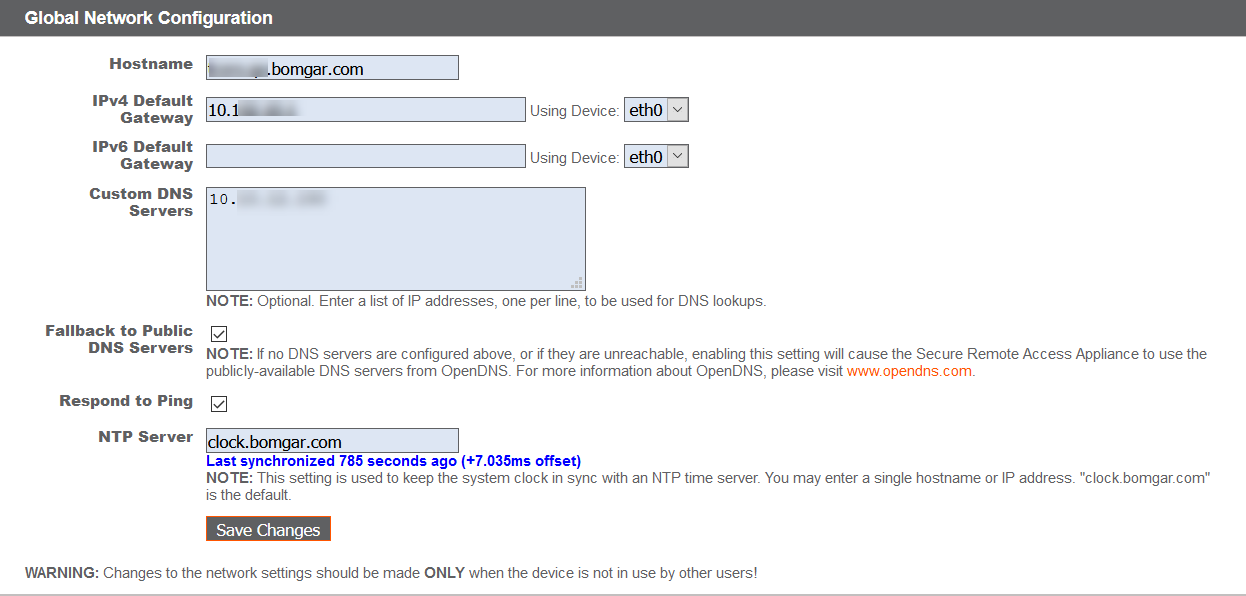
- Under the Global Network Configuration section, set your default gateway. Configuring DNS servers is not required but we highly recommend it. After entering the required information, click Save Changes.
Valid DNS settings are required for failover and automatic updates to function properly. To help determine the appropriate IP and DNS configuration for your network, see The BeyondTrust Appliance B Series in the Network.
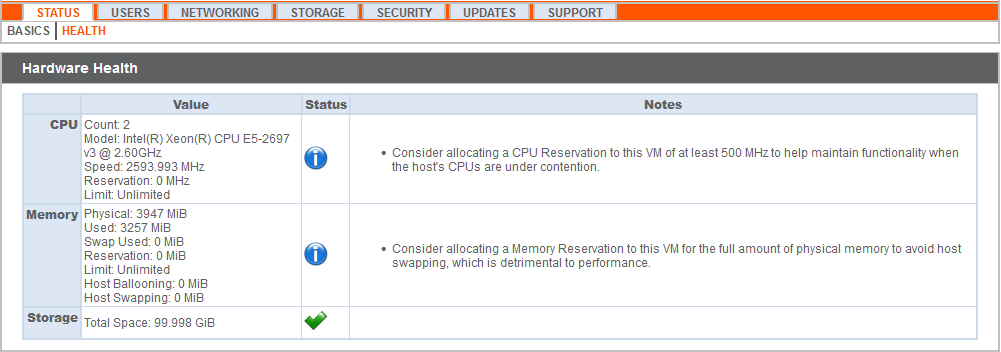
- Wait for the format to complete, and then go to Status > Health to verify that the needs of the SRA Virtual Appliance are being met.
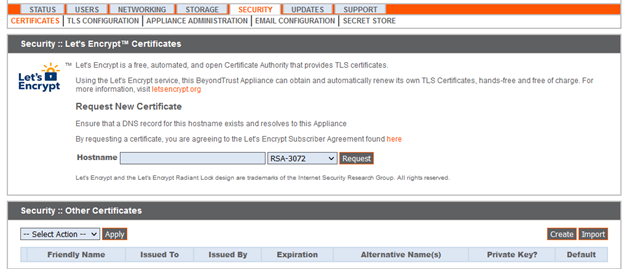
- Go to Security.
- Configure an SSL certificate, using one of the following four options. Follow the link for instructions for each option.
- Request a Let’s Encrypt certificate.
- Import a CA signed certificate, key, and chain.
- Create a CSR for a CA signed certificate and import the certificate and chain.
- Create a self-signed certificate. This option is not recommended, but may be used temporarily for testing.
For more information, please see View SRA Virtual Appliance Health.
URL reference
https://access.example.com/login - User Administration
https://access.example.com/appliance - Appliance Administration