Initial BeyondTrust Appliance B Series Network Configuration
The BeyondTrust Appliance B Series must be configured before being deployed on your network. The network configuration settings are available in the B Series Appliance administrative interface, accessible from a web browser on your computer.
The steps below walk you through network configuration. The process may vary depending upon your operating system.
DHCP-Enabled Network Locations
If the network location you have selected for your B Series Appliance has DHCP enabled, the B Series Appliance receives an IP address from the network and is immediately available.
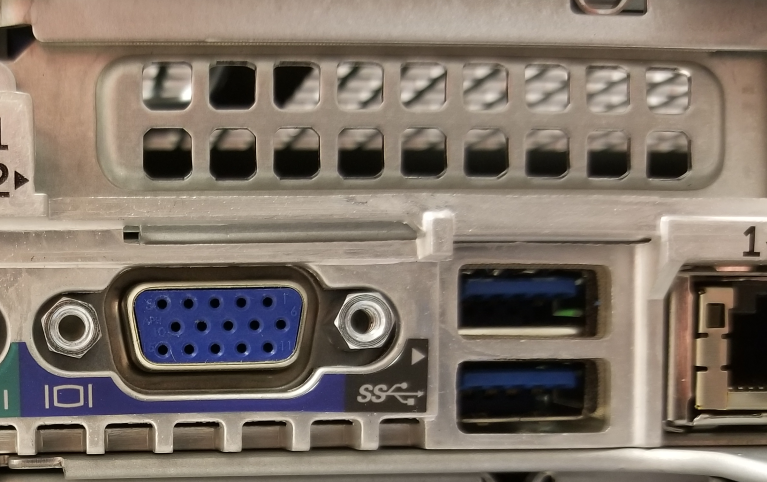
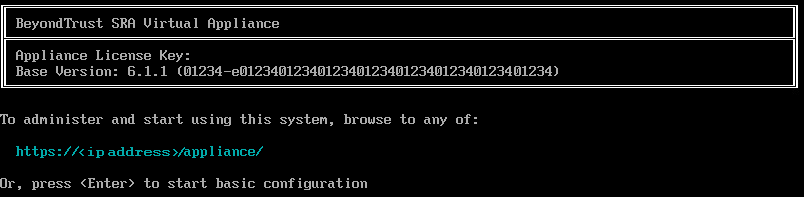
The IP appliance can be accessed at https://<ipaddress>/appliance. You can find this IP address via the console on the video port.
Use the default username and password to log in:
- Default Username: admin
- Default Password: password
Upon initial login, you are prompted to change your B Series Appliance administration password.
Static IP Configuration
If using DHCP, skip this Static IP Configuration section and go to the /appliance Configuration section.
If the network location selected for your appliance does not have DHCP enabled, the appliance must be configured with a static IP via the console port. A display and keyboard (using a USB port on front or back) must be connected to the appliance.
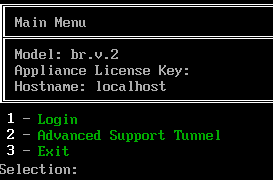
- Press Enter to log in to the console.
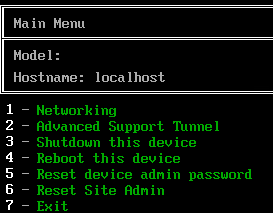
- Type 1 to select Login, and then press Enter.

- Default username: admin
- Default password: password
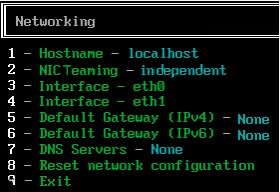
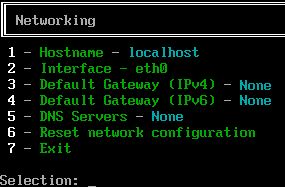
- Type 1 to select the Networking menu, and then press Enter.
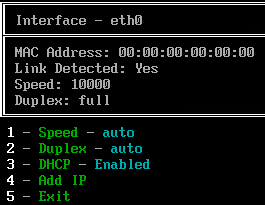
- Type 3 to select the Interface - eth0 menu, and then press Enter.
- Type 4 to select Add IP, and then press Enter.
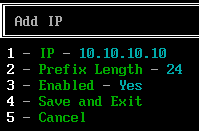
- Type 1 to select IP and enter the desired IP address. Press Enter.

- (Optional): Type 2 to select Prefix Length if a change is required, and then type 4 to select Save and Exit.
- (Optional): Type 3 to disable DHCP on this interface.
- Type 3 to select Default Gateway (IPv4), and then press Enter.

- Type 1 to select Gateway and enter the desired default gateway address. Press Enter.
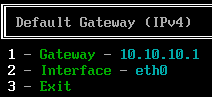
- Select Save and Exit, and then press Enter.
- Access your appliance at https://<ipaddress>/appliance.


/appliance Configuration


The Status > Basics Page
Once you are logged into the /appliance interface, the Status > Basics page is displayed. This page includes information such as the serial number, which BeyondTrust Technical Support requires to register the B Series Appliance with the BeyondTrust licensing servers.
- Take a screenshot of this page and send it to BeyondTrust Technical Support. The Support team uses this information to register your B Series Appliance.
IP Configuration
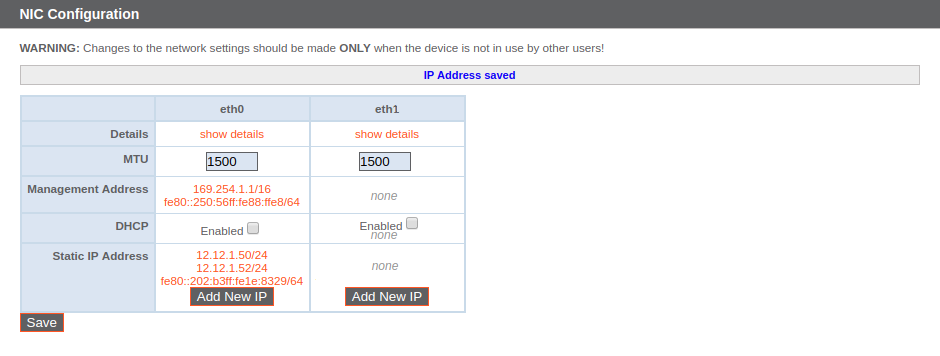
- Navigate to Networking > IP Configuration. Under the NIC Configuration section, click Add New IP.
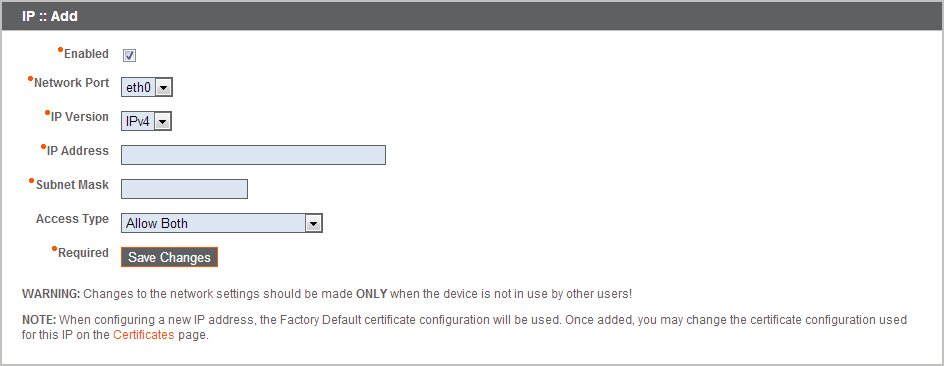
- Enter the static IP address and subnet mask for your B Series Appliance. Typically you should leave the default values for both fields. You can decide if this IP address will support session traffic, web traffic, or both.
- Click Save Changes.
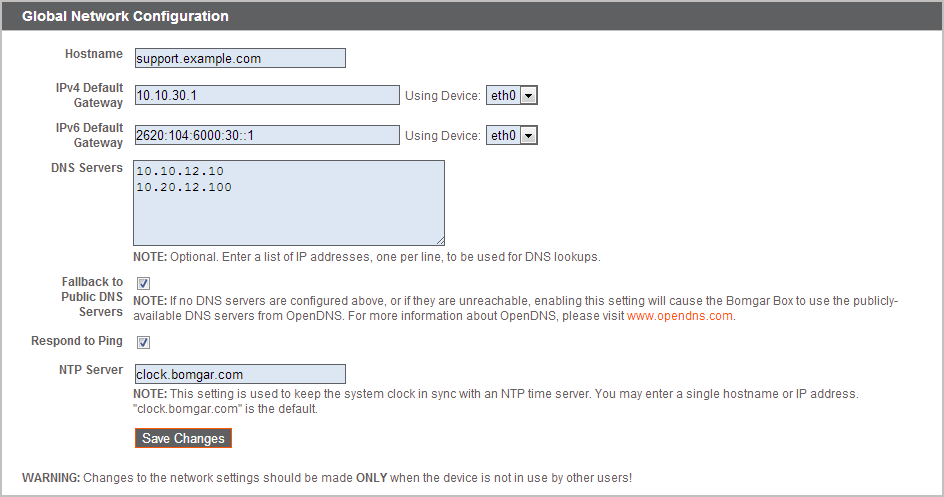
- Under the Global Network Configuration section, set your default gateway. Enter your default gateway and DNS server addresses.
- Click Save Changes.
Valid DNS settings are required for failover and automatic updates to function properly.
Administrative functions can also be performed by connecting a monitor and keyboard and accessing the machine console. For more information, see Secure Remote Access Console Administration.
For more about network configuration, see The BeyondTrust Appliance B Series in the Network.