Install Server Components
In this section, we'll detail how to install and configure required server components. Consider your network and determine where you would like which components of Privileged Identity to be installed. Then follow the steps below for each installation, including the components required to fulfill the server's purpose.
The installation routine initiates with a prerequisite checker to help you install the prerequisites. Following these directions allow you to install the prerequisites without going through the checker.
To enable Remote COM access, please follow the instructions below as well as Further Steps to Enable Remote COM Access.
Use PowerShell to Install Required Server Components on Windows Server 2016 or 2012
To enable Remote IIS Management using the PowerShell command line interface, enter the following line:
Install-WindowsFeature Web-Mgmt-Console
In the command above, Web-Mgmt is the component required to manage Windows Server.
To enable Remote COM Access using PowerShell, enter:
Install-WindowsFeature AS-Ent-Services
To enable IIS 6 Metabase Compatibility using PowerShell, enter:
import-module servermanager
install-windowsfeature web-metabase
To enable Web App Hosting using PowerShell, enter:
Install-WindowsFeature Web-Default-Doc,Web-Static-Content,Web-Http-Redirect,Web-Http-Logging,Web-Stat-Compression,Web-Windows-Auth,Web-Mgmt-Console
In the command above, Web-Windows-Auth is an optional parameter which enables the web service to support Integrated Windows Authentication.
To enable Web Service Hosting using PowerShell, enter:
Install-WindowsFeature AS-Http-Activation,Web-Windows-Auth
In the command above, Web-Windows-Auth is an optional parameter which enables the web service to support Integrated Windows Authentication.
Install-WindowsFeature Web-Mgmt-Console,AS-Ent-Services,AS-Http-Activation,Web-Windows-Auth
Use the GUI to Install Required Server Components on Windows Server 2016 or 2012
To install server requirements using the user interface:

- On each host server, open Server Manager.
- From the dashboard, click Add roles and features.
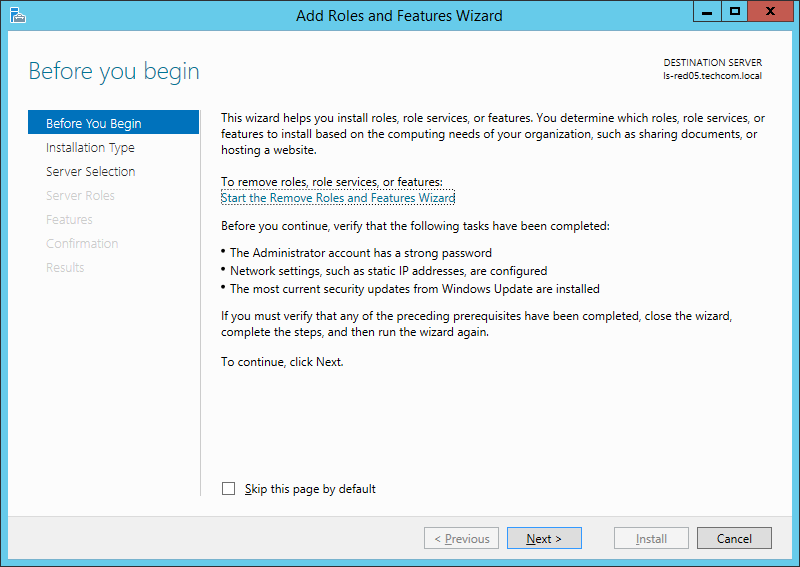
- On the Before You Begin screen, click Next.
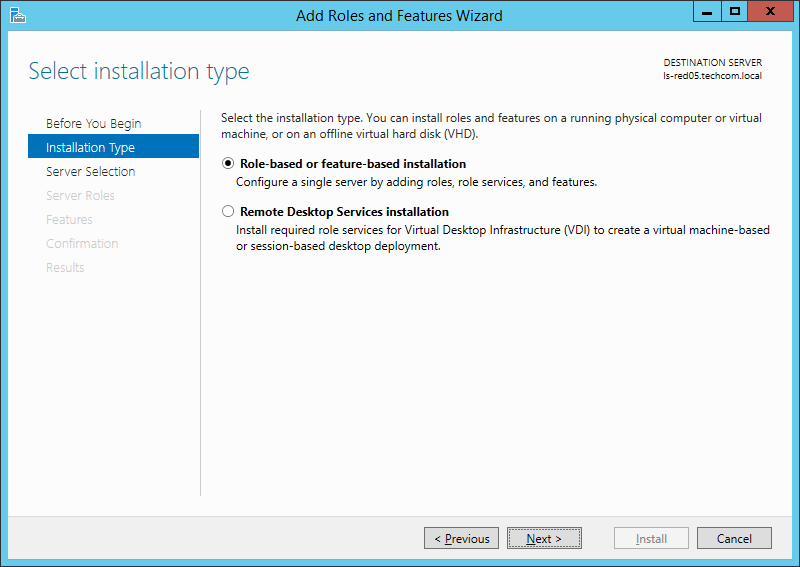
- On the Installation Type screen, select Role-based or feature-based installation. Click Next.
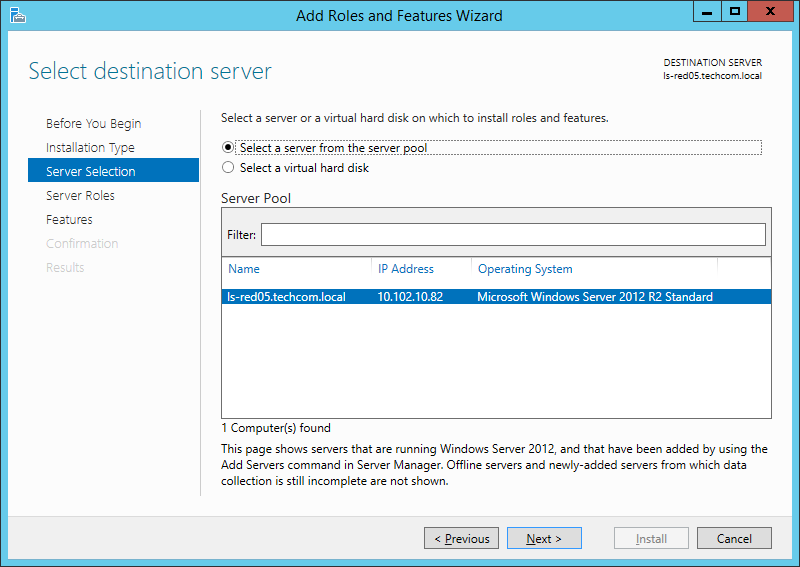
- On the Server Selection screen, select your host server (or remote host server if managing a core installation), and then click Next.
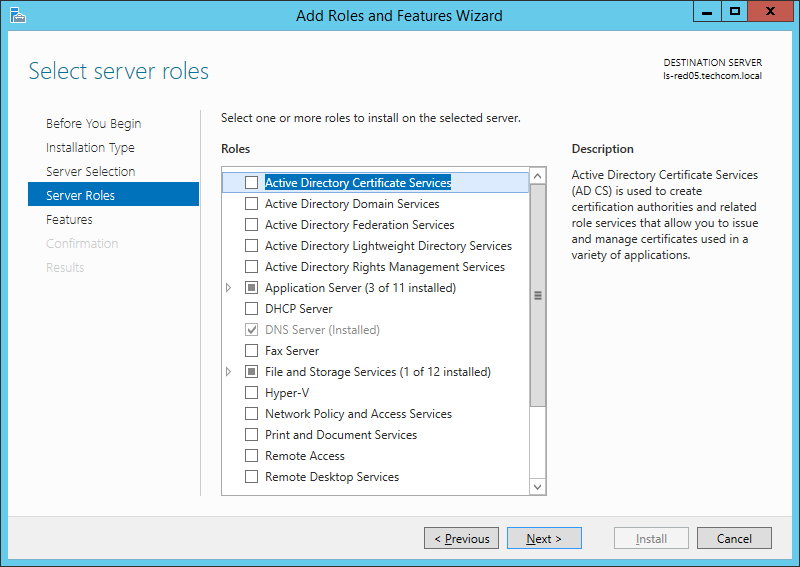
- On the Server Roles screen, select components to install based on how this server will be used.
- To enable Remote IIS Management and Web App Hosting, select Web Server (IIS).
- To enable Remote COM Access and Web Service Hosting, select Application Server.
If any of the above selections prompts you to add required features or services, do so.
- Click Next.
- On the Features screen, click Next.
- On the Web Server Role (IIS) screen, click Next.
- On the Role Services screen, select components to install based on how this server will be used.
- For Remote IIS Management, select Management Tools > IIS Management Console to manage IIS.
- For Web Service Hosting, select Web Server > Security > Windows Authentication to support Integrated Windows Authentication.
- For Web App Hosting, select:
- Common HTTP Features
- Default Document
- Static Content
- Health and Diagnostics > HTTP Logging: (Optional) Used for troubleshooting
- Performance > Static Content Compression
- Security: Items are optional unless needed for your use case
- Request Filtering: Allows you to restrict clients from making certain requests of the web server, such as limiting the size of requests or prohibiting access to certain URLs.
- Client Certificate Mapping Authentication: Install if users are provisioned user certificates via Active Directory and if user-certificate-based authentication is required. This requires additional IIS configuration.
- IIS Client Certificate Mapping Authentication: Install if users are provisioned user certificates and if mapping and certificate authentication should be performed in IIS rather than Active Directory. This requires additional IIS configuration.
- IP and Domain Restrictions: Allows you to restrict source IP addresses and domain names from making requests of the web server.
- URL Authorization: Allows you to restrict URLs and HTTP methods. This can increase security when used in conjunction with Integrated Windows Authentication.
- Windows Authentication: Allows you to use Integrated Windows Authentication. This may require additional IIS configuration.
- Management Tools > IIS Management Console
- Management Tools > IIS Management Compatibility > IIS 6 Metabase Compatibility
- Common HTTP Features
If any of the above selections prompts you to add required features or services, do so.
- Click Next.
- On the Application Server screen, click Next.
- On the Role Services screen, select components to install based on how this server will be used.
- For Remote COM Access, select COM Network Access.
- For Web Service Hosting, select Windows Process Activation Service Support > HTTP Activation.
If any of the above selections prompts you to add required features or services, do so.
- Click Next.
- On the Confirmation screen, validate your selections, and then optionally check Restart the destination server automatically if required.
- Click Install.
- After installation, you must restart any management consoles, deferred processors, and zone processors which were running when this process began. In Server Manager, also restart any stopped services.
For more information, please see Configure SSL on IIS.
Further Steps to Enable Remote COM Access
Privileged Identity requires Remote COM to discover and manage COM applications on remote systems, as well as to push the web app and the web service to remote systems.
In each of these cases, if Remote COM access is disabled on the target system, Privileged Identity will fail to perform the requested function and will log an error message.
In addition to enabling Remote COM access, you must ensure that your firewall permits the required traffic from the management console host system and zone processor host systems, or a similar error will occur.
| Rule | Program to Allow | Local Address | Remote Address | Protocol | Local Port | Remote Port |
|---|---|---|---|---|---|---|
| COM In | %systemroot%\system32\dllhost.exe | Any | Host IP | Any | Any | Any |
| COM Port Mapper In | Any | Any | Host IP | TCP | 135 | Any |
| IIS In | %windir%\system32\inetsrv\inetinfo.exe | Any | Host IP | Any | Ephemeral Ports | Any |
| COM Port Mapper In | Any | Any | Host IP | TCP | 135 | Any |
Unless otherwise configured, communication begins on port 135 (RPC Port Mapper), which then negotiates a target ephemeral port through which Privileged Identity performs the requested work. Ephemeral port ranges are initially determined by Microsoft and are specific to the target Windows system. However, administrators may change these ports.
- Run regedit.exe.
- Select the subkey HKEY_LOCAL_MACHINE\SOFTWARE\Microsoft\COM3.
- Right-click the key Remote Access Enabled, and then select Modify.
- In the Edit DWORD Value dialog, type 1, and then click OK.