Install Privileged Identity Software
In this section, we'll cover how to install Privileged Identity and its components.
- Install the Management Console
- Configure the Program Database
- Register the Privileged Identity Instance
- Install the Web Application
- Install the Web Service
Install the Management Console
Before you install the management console, make sure your server meets the prerequisites as defined in Management Console and Deferred Processing Host Requirements.
- Launch the Privileged Identity installer. You should have received this from BeyondTrust Support or from the Support Portal.
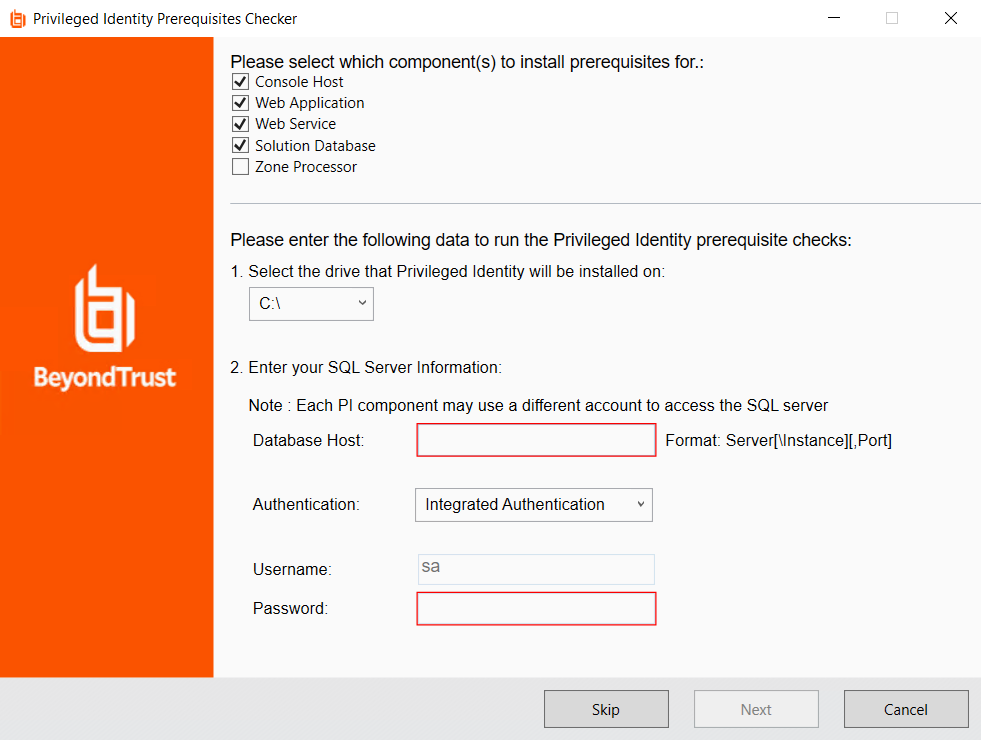
- In the prerequisites checker, select the components that will be installed on this machine.
- From the dropdown, select the drive where Privileged Identity will be installed.
- Enter the information you will use to connect to the SQL server.
- DataSource String: Enter the string used to connect to the data source in the form of Server\Instance.Port.
- Authentication: Select whether to use integrated authentication or SQL Authentication.
- Username and Password: Enter the credentials used to connect to the SQL server.
- Click Next.
Each component may use a different account to access the SQL server.
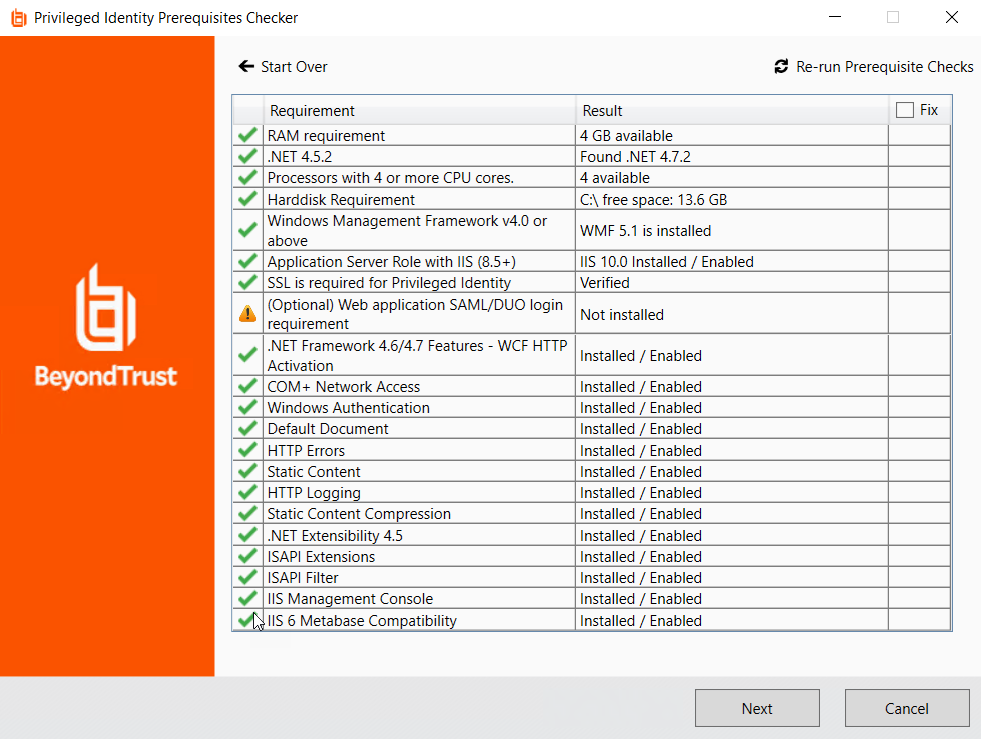
- The checker runs a series of tests to let you know of any inadequate resources before beginning the installation process.
- You can resolve any issues and then click Re-run Prerequisite Checks.
- When ready, click Next.
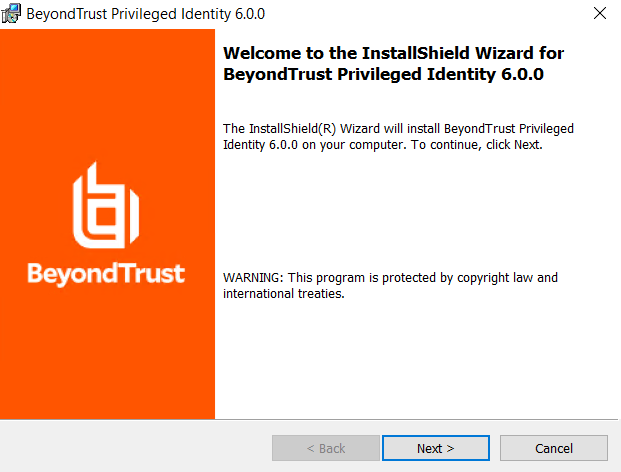
- On the welcome screen click Next.
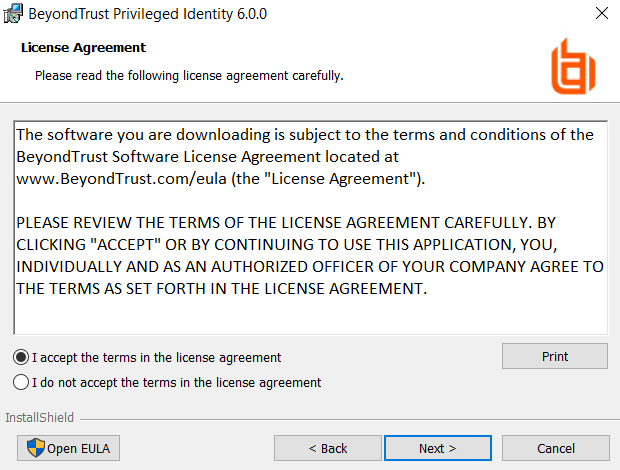
- Read the license agreement. If you agree, accept it, and then click Next.
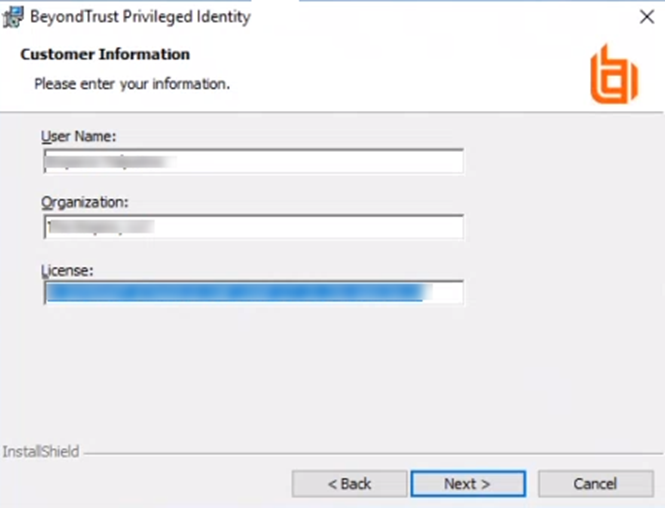
- Enter your name, organization name, and license key, and then click Next.
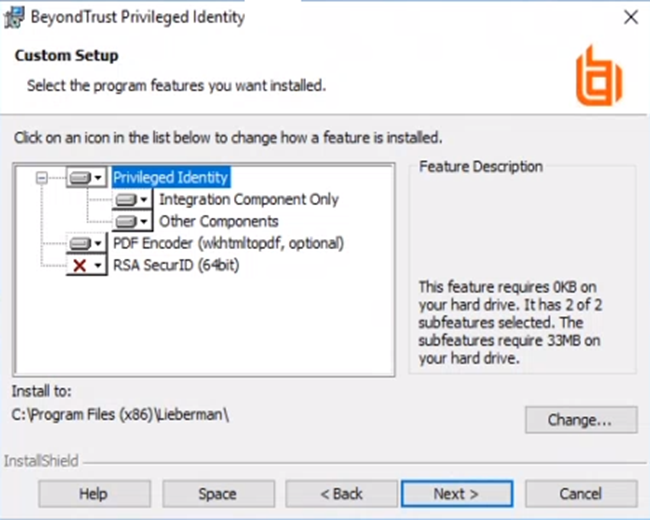
- Select which features to install:
- BeyondTrust Privileged Identity: (required) Installs the Privileged Identity software.
- PDF Encoder: (recommended) Allows you to turn compliance reports into PDF documents.
- RSA SecurID:
- If RSA multi-factor authentication is required to access the management console but this machine will NOT host the web application, install this option.
- If this machine will host the web application, leave this option unchecked. The RSA agent is installed automatically when the web application is installed.
- To change the installation location, click Change.
- To make sure you don't exceed your available disk space, click Space.
- Click Next.
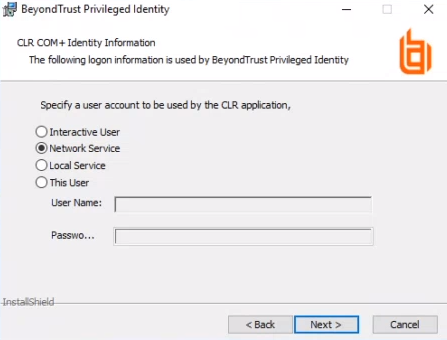
- Choose which identity should run the Common Language Runtime (CLR) application. The default is Network Service.
The CLR COM identity provides Privileged Identity with network and local system access to various cloud services. Individual account stores (Azure, AWS, ESX, etc.) are configured with specific connection credentials when they are enrolled.
Options for the identity are:
- Interactive User: Use the same login information as the calling identity. This is an administrator-level account, as the calling identity will be either the admin running the console or the deferred processor service account. This option requires the least configuration but provides far more privileges than are required.
- Network Service: (Recommended) Use the system's NetworkService account. This does not require you to manage a password or grant additional rights, although in some cloud management cases, you may need to grant additional permissions on the file system.
- Local Service: Use the system's LocalService account. This does not require you to manage a password or grant additional rights, although in some cloud management cases, you may need to grant additional permissions on the file system. The LocalService account has many more rights than NetworkService.
- This User: Use a specified username and password. This user could be a local account that is configured to never authenticate to any other machine in the network (unlike NetworkService or LocalService), but it is another account whose credential you'll need to manage. You must grant this account Logon as a batch rights. In some cloud management cases, you may need to grant it additional permissions on the file system.
- Click Next.
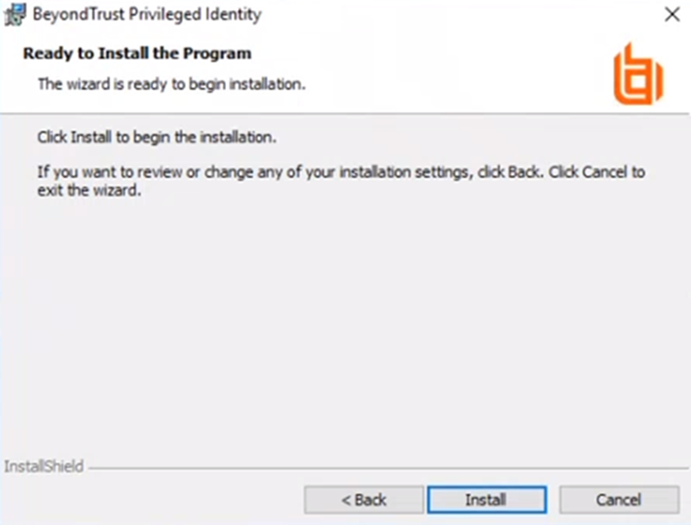
- On the Ready to Install the Program screen, click Back to make any needed changes or Install to begin the installation.
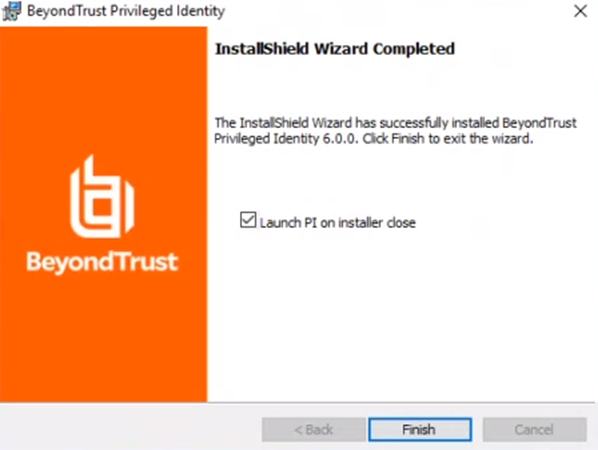
- When you receive confirmation that the application has been successfully installed, click Back to make any needed changes or Finish to complete the installation.
The first time Privileged Identity launches, the program database setup wizard begins.
For more information, please see Configure the Program Database.