Insert Windows Store Applications
The Windows Store application type can be used to elevate or block Windows Store applications.
Keep the following in mind when elevating Windows Store apps:
- Elevation of Store apps is only supported for Application Rules, not On-Demand Application Rules.
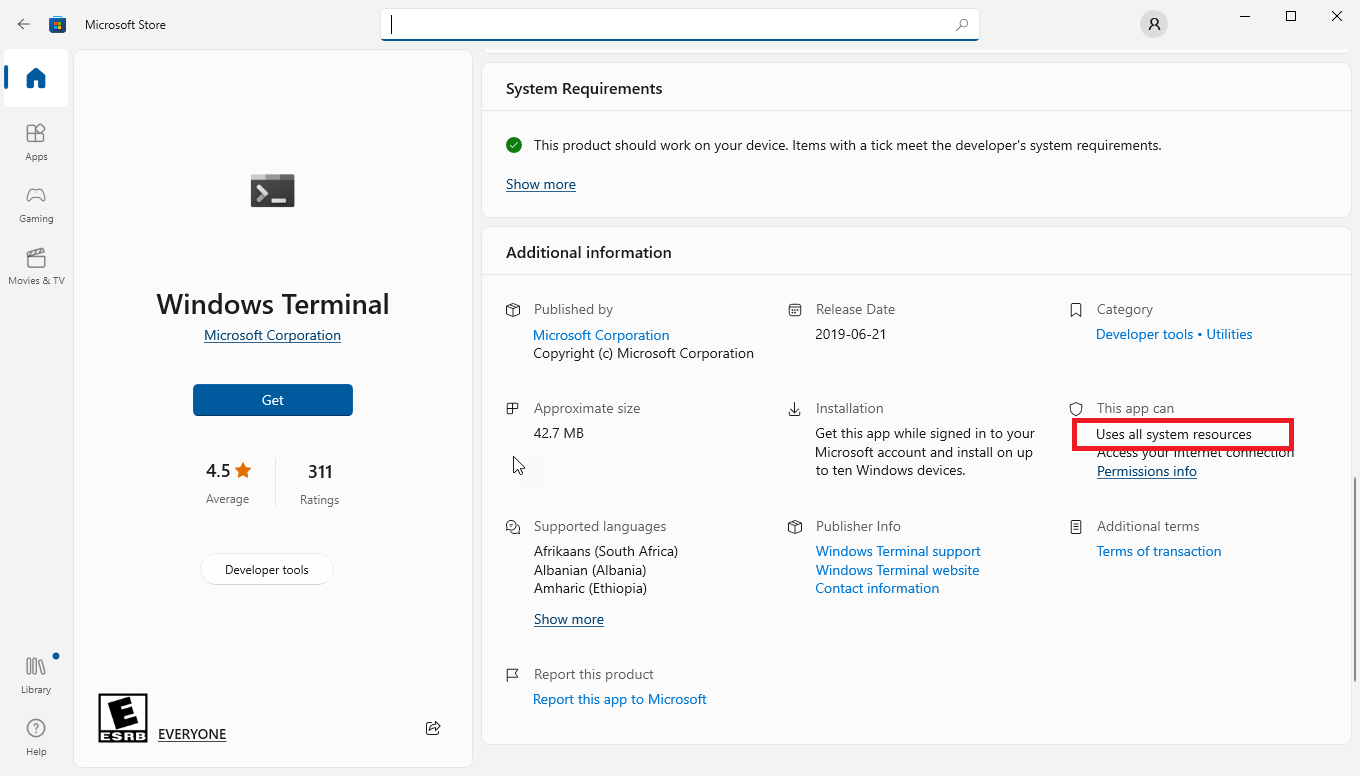
- Only Centennial Windows apps can be elevated. In the Microsoft Store, identity a Centennial app by checking for the following permission: Uses all system resources.
When you use Endpoint Privilege Management for Windows to block a Windows Store application from launching and assign a block message to the Application Rule, the native Windows block message overrides the Endpoint Privilege Management for Windows block message, meaning it is not displayed. Event number 116 is still triggered if you have events set up in the Application Rule.
- Select the Application Group you want to add the application to.
- Right-click and select Insert Application > Windows Store Application.
- Select the app to match on and click Next. You can specify an app by typing in a name or path manually, or by clicking Browse File, Browse Folder, or Template. Alternatively, you can leave the text box containing the File or Folder name blank to match on all applications of this type.
- Enter a description, if required, and then click Next. By default, this is the name of the application you're inserting.
- Select the Application Definition criteria you want to use for this app. The default is Package name, and you can also specify Publisher, Application Version, or Drive.
- Select any Child Process options required for the app.
- To add the application to the Application Group, click Finish.
For more information, see Insert Applications from Templates.