Launch the Endpoint Privilege Management Policy Editor
The Endpoint Privilege Management Policy Editor is accessed as a snap-in to the Microsoft Management Console.
From your administrator account, launch the Microsoft Management Console (MMC.exe). Type MMC into the Search Box from the Start Menu and press the Enter key.
You cannot edit policy in the Endpoint Privilege Management Policy Editor and Endpoint Privilege Management Policy Editor at the same time.
To add Endpoint Privilege Management for Windows as a snap-in to the console:
- Select File from the menu bar and select Add/Remove Snap-in.
- Scroll down the list and select the Endpoint Privilege Management Settings snap-in. Click Add and then click OK.
- Optionally, select File > Save as and save a shortcut for the snap-in to the desktop as Endpoint Privilege Management.
- Select the Endpoint Privilege Management Settings node in the left pane and select the operating system node to display the main screen in the details pane.
Navigate the Policy Editor
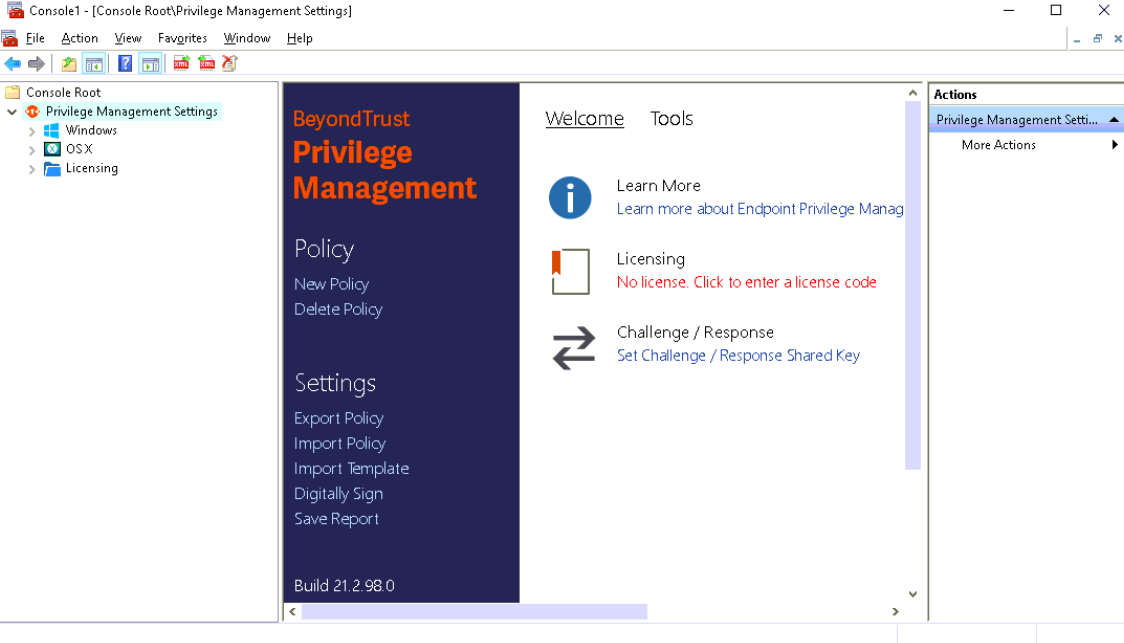
The left pane containing the Endpoint Privilege Management Settings item is referred to as the Tree pane. The folders beneath Endpoint Privilege Management Settings in the tree pane are referred to as Nodes. The middle pane, which displays content relevant to the selected node, is referred to as the Details pane.
When you expand the Endpoint Privilege Management Settings node, three nodes display:
- Windows: Create Endpoint Privilege Management policy for Windows endpoints.
- OS X: Create Endpoint Privilege Management policy for macOS endpoints.
- Licensing: Manage Endpoint Privilege Management licenses.
When you expand the Windows node, you see five nodes:
- Workstyles: Assign privileges to applications.
- Application Groups: Define logical groupings of applications.
- Content Groups: Define specific file content.
- Messages: Define end user messages.
- Custom Tokens: Define custom access tokens.
Once a Workstyle is created and selected in the tree pane, the Workstyle tabs are displayed in the details pane.
Automatic Save
By default, the Endpoint Privilege Management Settings editor automatically saves any changes back to the appropriate GPO (or local XML file, if you are using the standalone console).
Automatic saving can be disabled, by deselecting the Auto Commit Settings menu option on the Endpoint Privilege Management Settings node, but we do not recommend it unless you have performance issues. If you deselect the Auto Commit Settings option, then you must select the Commit Settings menu option to manually save any changes back to the GPO. The Auto Commit Settings option is persisted to your user profile, so it is set for all future editing of Endpoint Privilege Management for Windows settings.