Configure Client Registration Profiles
In a Registry Name Service (RNS) deployment, Client Registration Profiles (CRP) are always retrieved from the Primary Registry group. Because of this, create the profiles there.
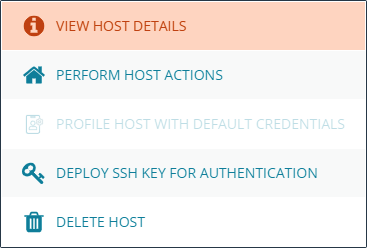
After installation, navigate back to the Hosts landing page and click Hosts Inventory. Click the vertical ellipsis icon on the Primary Registry host to reveal a dropdown menu. Select View Host Details.
Choose Client Registration Profiles to enter the editor.

Make three new Registration Profiles:
- rns_primaries: Assigned to Group Primaries
- rns_secondaries: Assigned to Group Secondaries
- rns_clients: Assigned to Clients
To do this, follow the same action three times by cloning the default profile for each new Registration Profile.
Rather than starting a new profile from scratch, clone the default profile for all three profiles. This allows you to take advantage of its existing capabilities.
Clone Each Profile
To clone each profile:
- Select the default profile and choose Clone. Give the profile a meaningful name, such as rns_primaries, rns_secondaries, or rns_clients.
- With one of the three profiles selected, expand Role Registrations. You should see two registrations already configured using two of the default services groups.
- Change the Role field for each of these to match the desired type. For example, primary for the rns_primaries group.
- Change the group name of the policy service group from dflt_policy_service to the one defined in the previous step. In this case, it is custom_policy_group.
For more information, see Create an RNS Custom Policy Group.