Run Discovery Scans
Run a discovery scan to locate network assets, such as workstations, routers, laptops, and printers. A discovery scan also determines if an IP address is active. You can periodically repeat discovery scans to verify the status of devices, programs, and the delta between the current and previous scans.
Discovered assets do not count toward your license.
- The TCP discovery ports are 22, 80, 110, 139, 389, 443, 445, 1025, 1433, 1521, 3306, 3389, 5000, 5432, and 27017.
- Use more than one scanner to distribute the coverage across the network.
Use the Scan Wizard to Create a Discovery Scan
- From the left menu, click Run a New Discovery Scan.
- Select Scan Type: There are three types of scans to choose from. Select one and click Next.
- Discover Local Accounts: This scan requires credentials and deploys a local scan service to the scan targets. This scan discovers systems as well as the local user accounts located on them.
- Detailed Discovery Scan: This scan requires credentials and it deploys a local scan agent to the scan targets, which can be disabled if required. Besides systems, this scan provides associated information on services, scheduled tasks, users, and databases. This scan is customizable. Click Customized Detailed Discovery to select the type of data to collect.
- IP Discovery: This scan does not use credentials for the scanning process and does not deploy any services to the scan targets. This scan discovers only the IP addresses for detected systems.
Any assets discovered using the IP Discovery scan, if subsequently rescanned with another scan type, are listed in BeyondInsight as duplicates. This type of scan can only identify assets by IP address, while credentialed scans rely on a mix of hostname, DNS name, and workgroup to identify assets.
- Select Scan Targets: Enter scan targets in the field provided. You can enter single IP addresses, IP ranges, addresses in CIDR notation, or named hosts. Items must be separated by commas.
- Choose Scan Agent: Select which agents are used to execute the scan. If more than one agent is selected, the scan targets are split between the selected agents. If you have a large number of agents, you can use the filter dropdown to specify filter criteria. Click Next to continue.
Click Dismiss to hide the warning banner until your next login. Dismissing the warning banner here does not hide it on the dashboard, and dismissing the warning banner on the dashboard does not hide it on this screen.
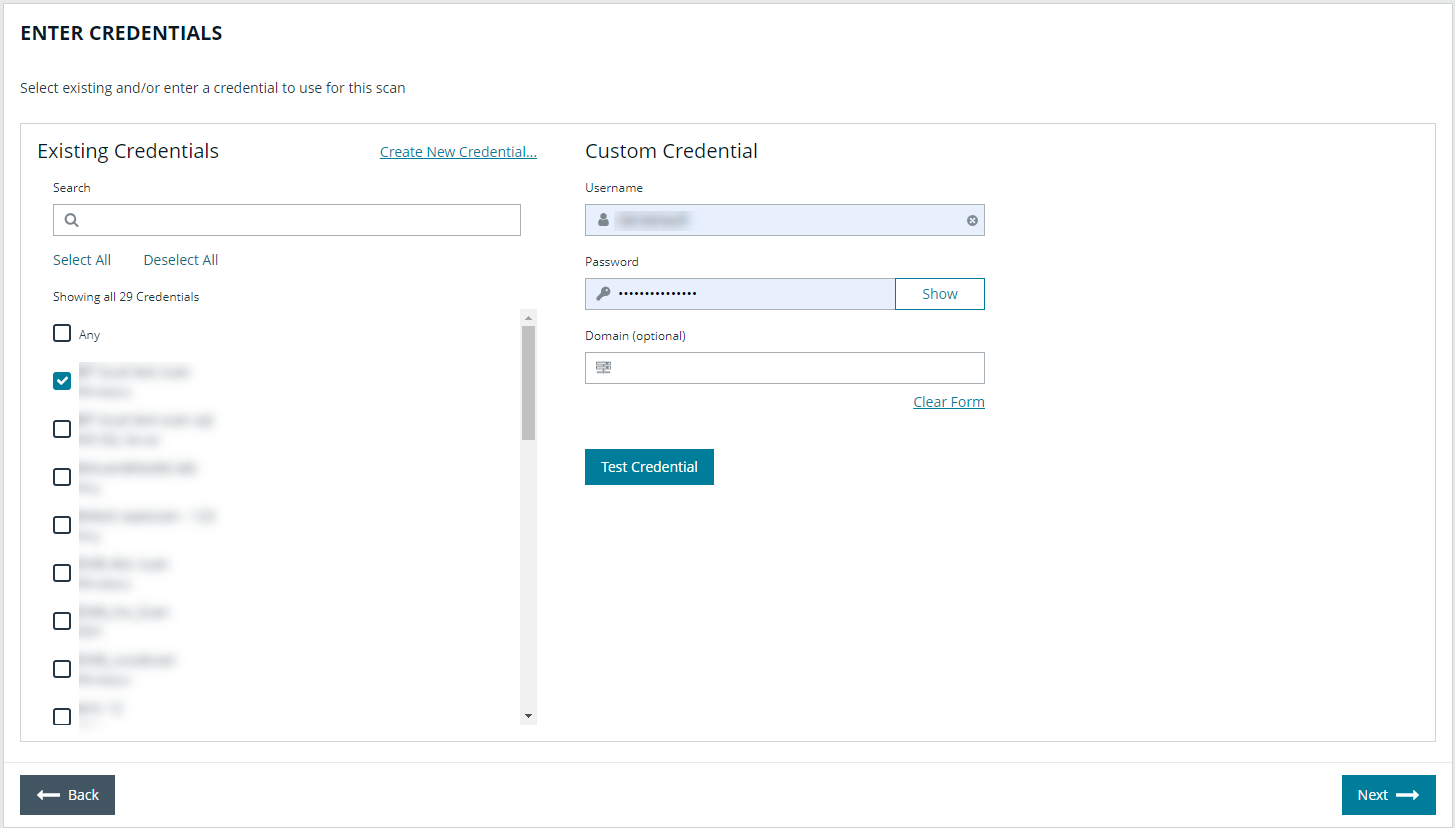
- Enter Credentials: If the type of scan you select requires credentials, you can select a credential from the Credential List, and/or use the Custom Credential section to provide a credential to use for this scan.
- If you enter a Custom Credential, click Test Credential to verify its functionality.
- If using the Credential List, select one or more credentials from a list of available credentials.
- If keys are required for discovery credentials in your environment, either provide a key for each credential or enable the Use the same key for all selected credentials option to provide a Universal Configuration Key used for all selected credentials.
Configuration keys are not used or validated for Password Safe credentials.
Use the Search Credentials box to filter the list of available credentials.
If you require a credential that isn't listed, click the Create New Credential link at the top of the list of credentials to open the Create New Credential form and create a new credential. The new credential is added to the list of existing credentials.
- Once credentials have been selected for the scan, click Next.
- Name the Scan: Provide a unique name for this scan. The scan name cannot be longer than 58 characters and cannot contain any of the following characters: [ ] ' $ & < + ? > * | " : ; \ /. You can also set the following options:
- Apply job restrictions that allow you to abort the scan if it runs longer than a set number of minutes (max 48 hours).
- Set a schedule, which can be Immediate, One Time, or Recurring.
- Click Finish to complete the Scan Wizard.
Run Scans from a List of Assets
If you want to run a scan but would prefer to select targets from a list of assets rather than type them, click Assets from the left menu.
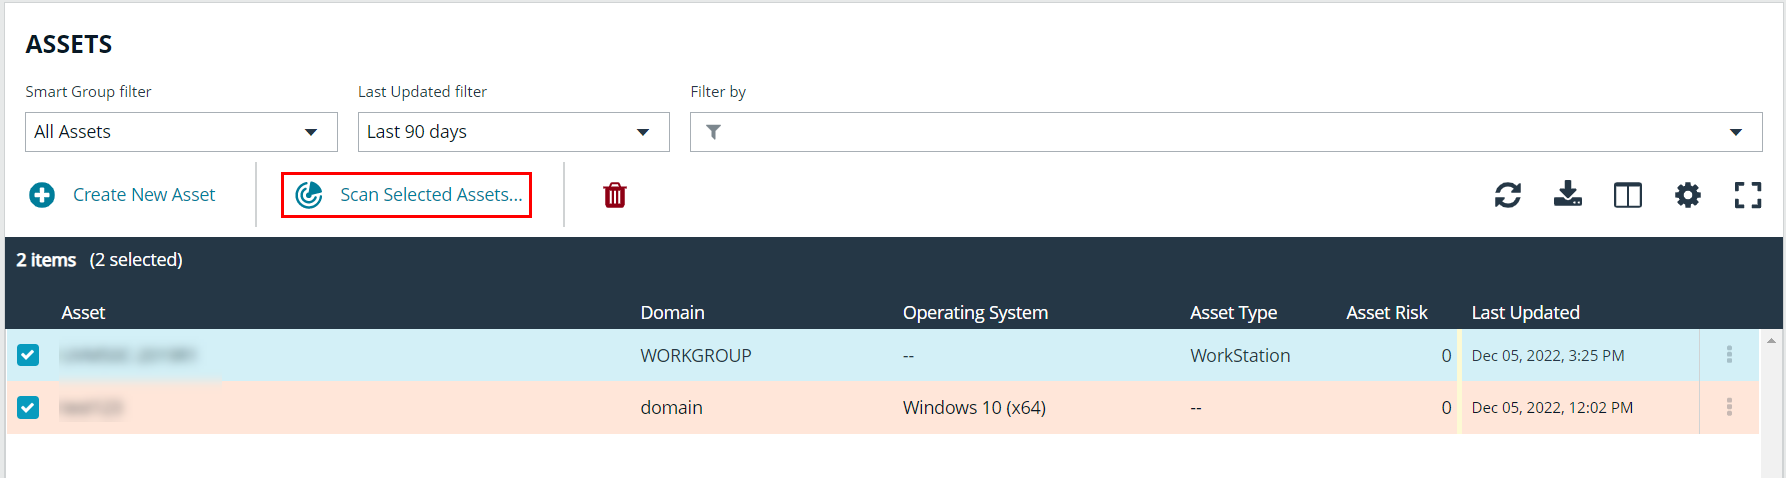
From the Assets grid, select the assets you want to scan, and then click Scan Selected Assets.
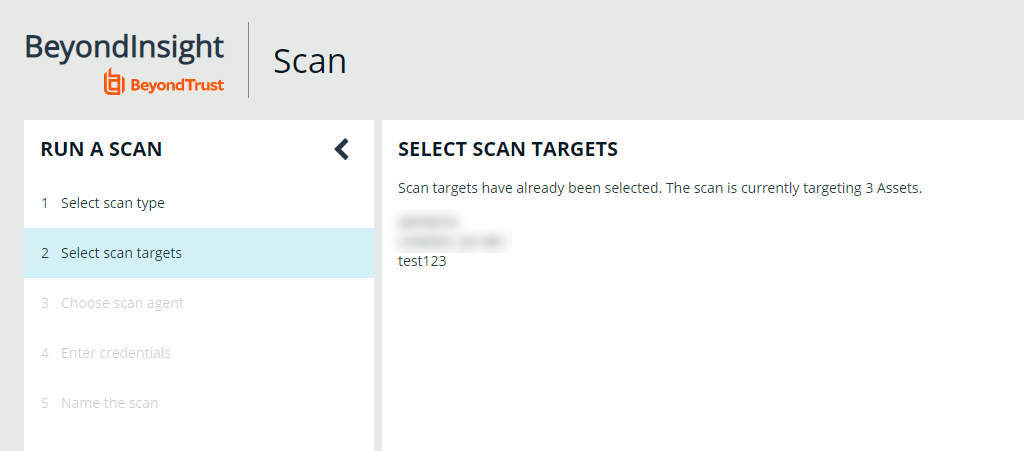
The Scan Wizard screen appears. Here you can select the type of scan to run. The difference is that when you click Next and go to the Select Scan Targets page, you will find the targets already selected. The next steps in the Scan Wizard are the same as those outlined above.
Use Smart Rules as Targets for Scans
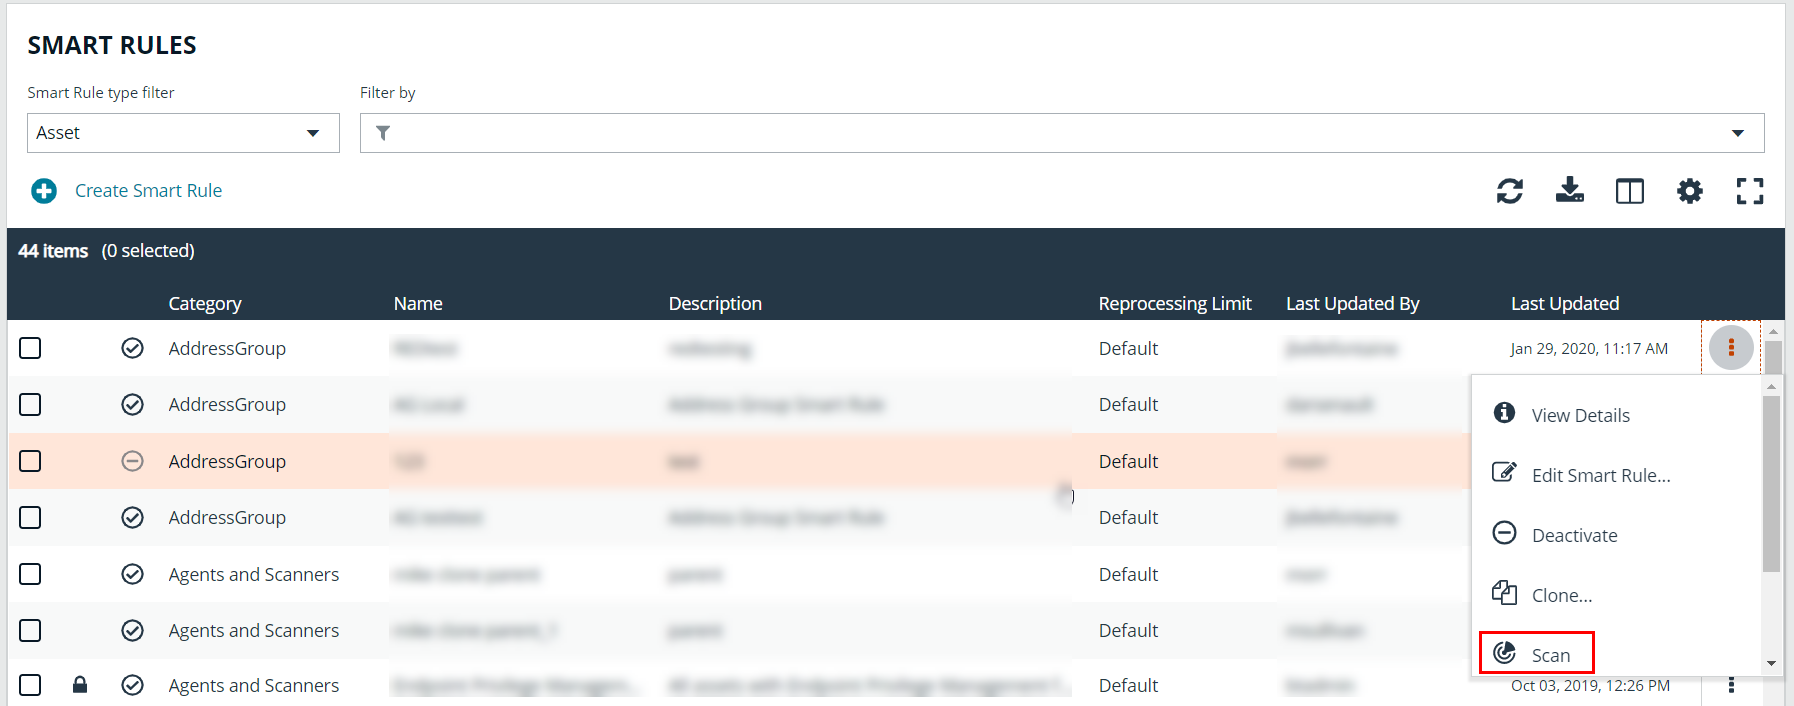
You can also run a scan on Smart Rules. From the Smart Rules grid, select a rule, click the vertical ellipsis for the rule, and then select Scan. You are taken to the Scan Wizard, for which the targets are preselected, and if the Smart Rule is configured to use specific scanners, the scan agents are also preselected. The next steps in the Scan Wizard are the same as those outlined above.
Check Completed and Scheduled Scans
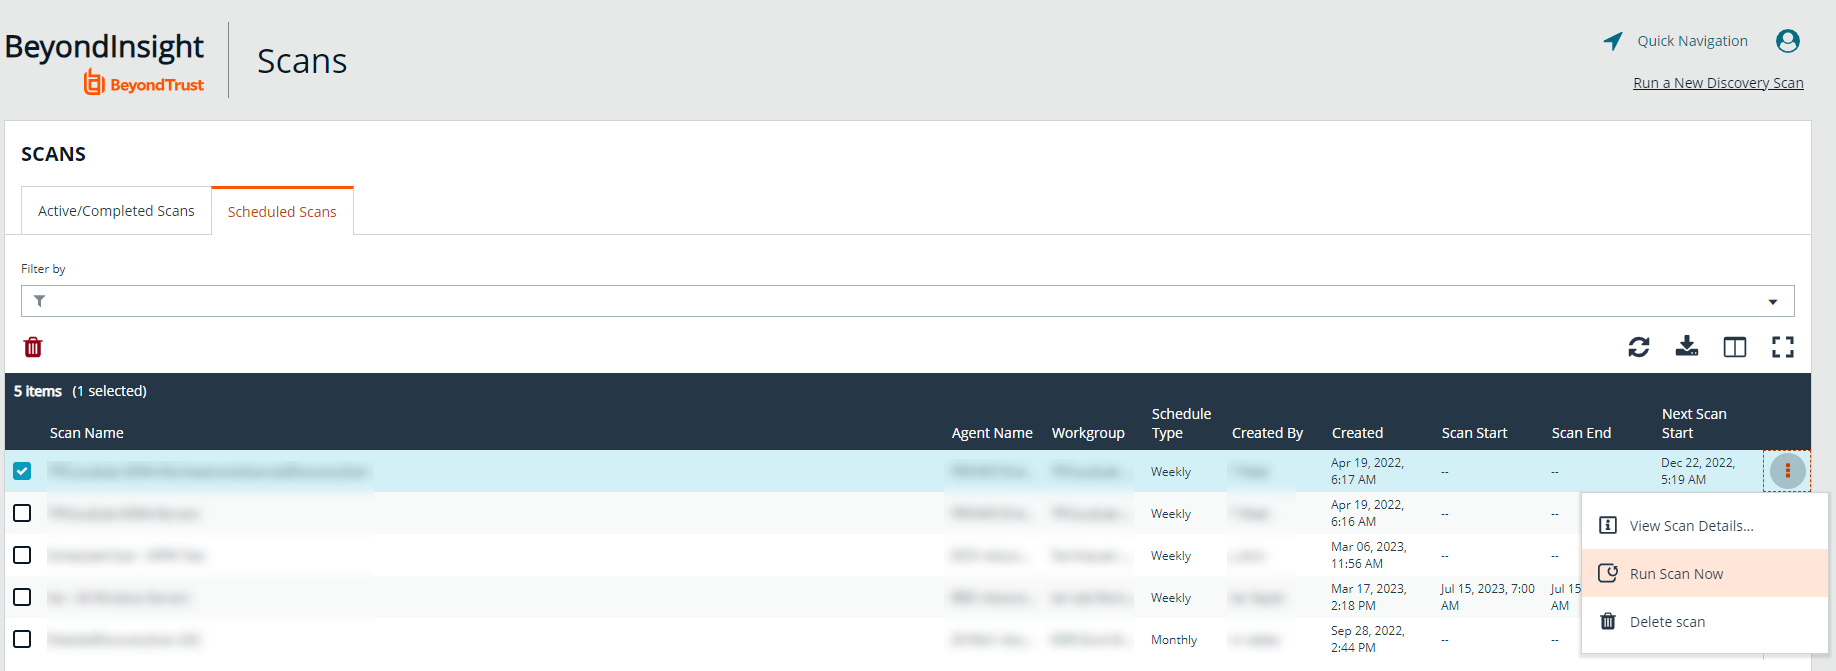
To check information on scans, click Active/Completed Scans or Scheduled Scans from the left menu in the console. From the Scans page you can see active, completed, and scheduled scans, and you can delete a scan. You can also see the scan status for each active or completed scan. For each active and completed scan you can click the vertical ellipsis for the scan, and then select Run Scan Now or Delete scan. For each scheduled scan you can click the vertical ellipsis for the scan, and then select View Scan Details, Run Scan Now, or Delete scan.
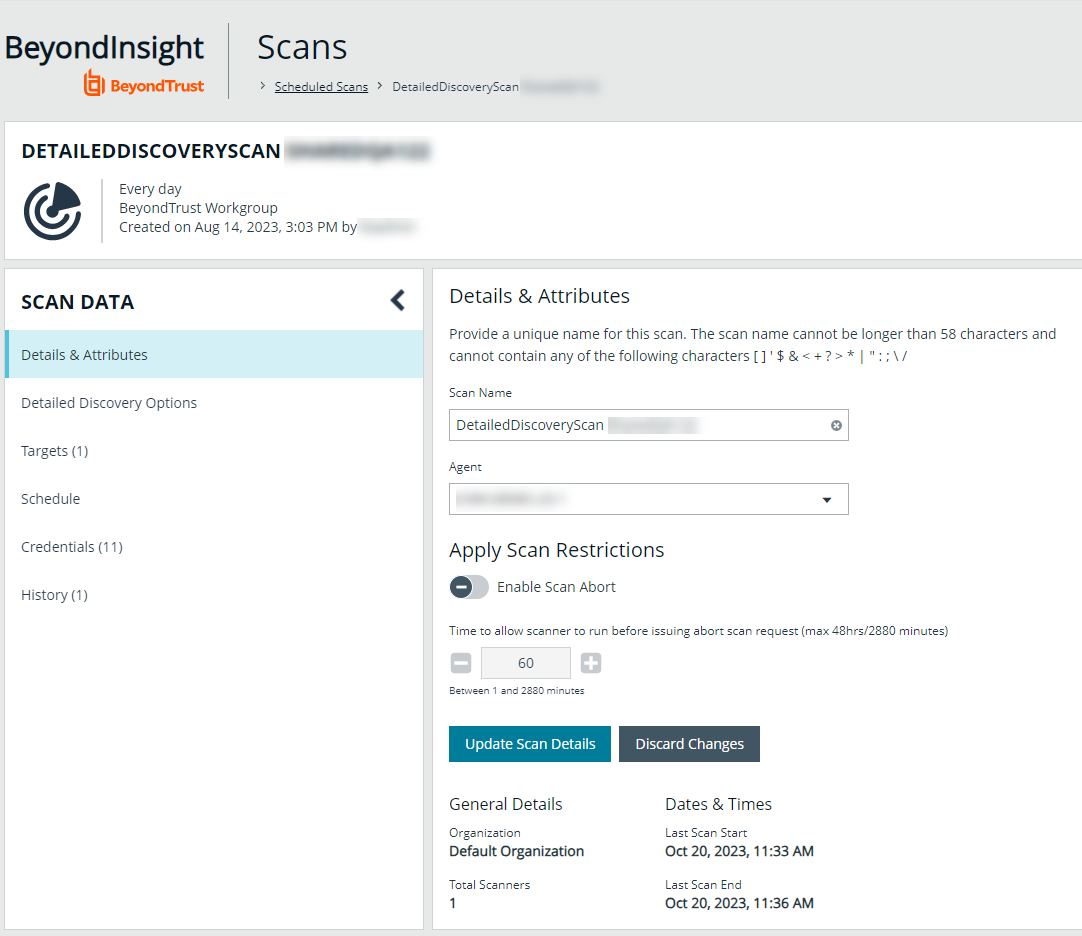
When viewing the Scan Data, you can:
- Change the name of the scan.
- Change the scanner agent associated with a scheduled scan job.
- Apply job restrictions that allow you to abort the scan if it runs longer than a set number of minutes (max 48 hours).
- Change the scan details, such as the accounts, services, databases, and software selected for discovery.
- View the scan targets and modify the target Smart Rule if one is selected.
- Change the schedule type and frequency for the job.
- Change the credentials used to run the scan.
- View the history of the scan, if any exists.
Discover Assets Using a Smart Group
When the Smart Group filter is an address group, Active Directory query, or cloud connector, you can discover assets. When the Use to discover new box is checked, any assets online since the Smart Group was last processed are detected . The scan results on the Assets page reflect the number of assets found.
If you create an address group that includes the /19 CIDR block, the range possesses 8190 potential assets. The Discovery Scan always tries to discover those assets. Keep this in mind when you are reviewing scan results.
Key Steps
To create a Smart Group, go to Configuration > General > Smart Rules > Create Smart Rule.
- Create an address group or Active Directory query that includes the IP address range or domain.
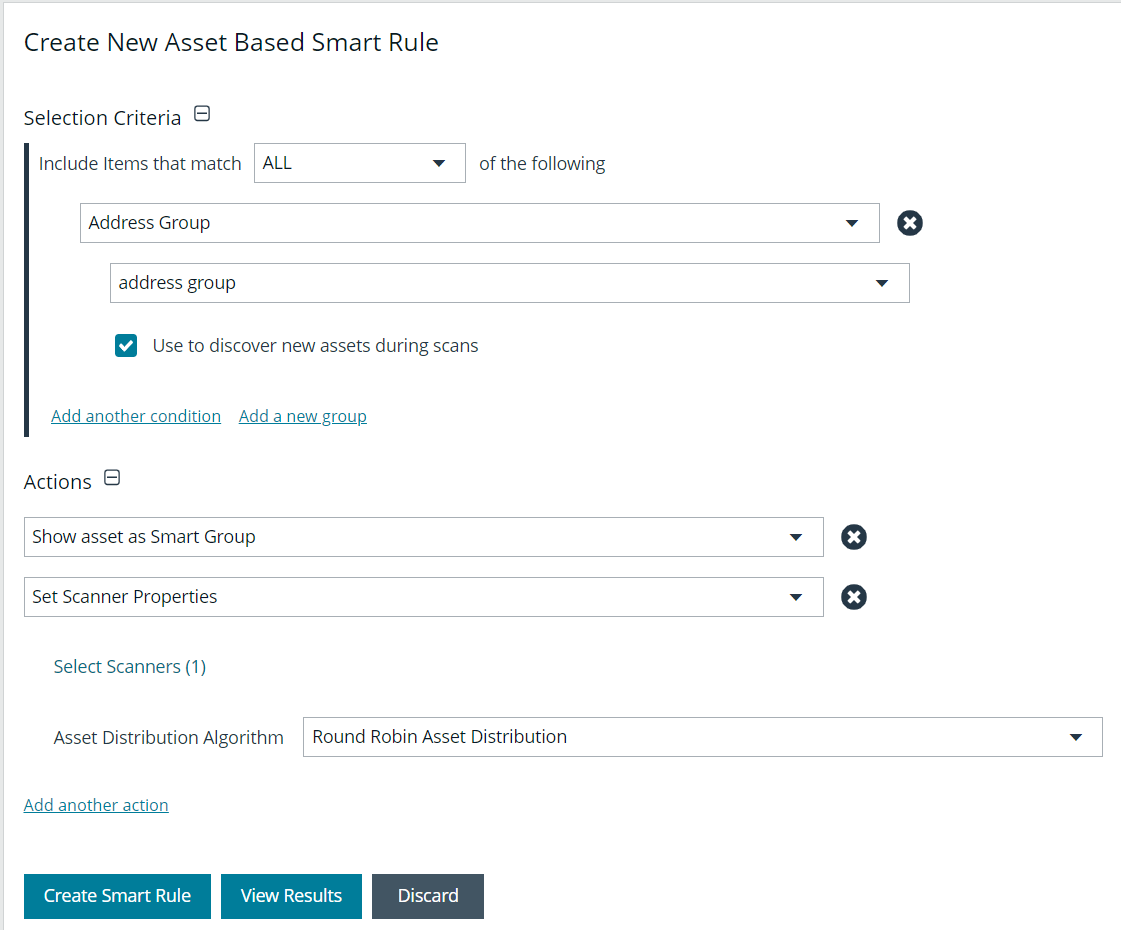
- Create a Smart Group that includes the address group or query as the filter. Enable the Use to discover new assets during scans option.
- You can also configure the Smart Rule to use specific scanners by selecting the Set Scanner Properties action, and then selecting specific scan agents from the list.
We recommend you run a discovery scan at a regular interval. You can discover assets manually by entering a host name, IP address, or address range.