Create an Address Group
When creating a Smart Rule, you can create an address group to use as an IP address filter. An address group can contain included or excluded IP addresses. IP addresses are entered as a
- Single IP address
- IP range
- CIDR Notation
- Named host
- The BeyondInsight user must be a member of the Administrators group or be assigned the Full Control permission on the Asset Management and the applicable Smart Rule Management feature(s) to be able to create and edit Smart Rules.
- Users assigned Read Only permissions on these features may only view the details of Smart Rules.
For more information, please see Create and Configure Groups.
Create an Always Address Group
You can create an address group and name it Always. The Discovery Scanner is designed to recognize this address group name and includes the group in every scan, regardless if the group is selected in the scan job. The address group can include and exclude IP addresses.
The next time a scan runs, the address group is synchronized with the Discovery Scanner. The IP addresses, whether they are included or omitted, are considered part of the running scan.
If the Always address group is configured with 10.10.10.60 and buffett-laptop (omitted), it scans 10.10.10.50 and buffett-laptop. The results are as follows:
- The scan includes 10.10.10.60 since this IP address was added to the Always address group.
- The scan excludes buffett-laptop since this asset was explicitly omitted in the Always address group.
- 10.10.10.50 is scanned as usual.
If an asset was scanned and later added to the Always address group as Omit, the asset is not scanned but might be displayed in the report. This only occurs with some reports.
-
Go to Configuration > Discovery Management > Address Groups.
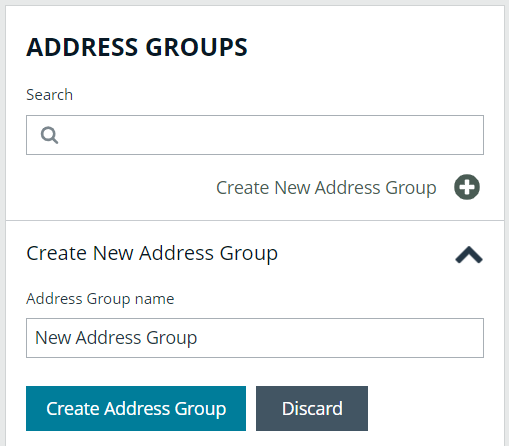
- Click Create New Address Group.
- Enter a name for the address group, and then click Create Address Group.
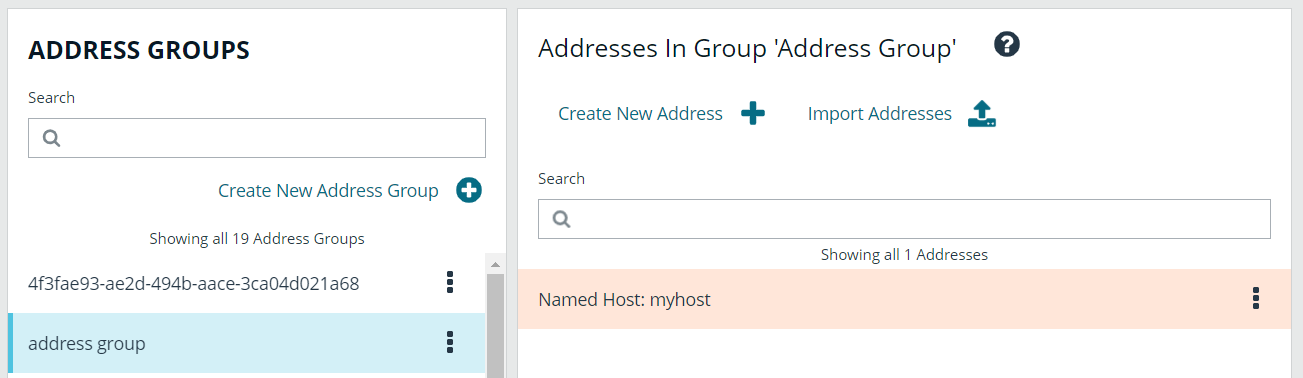
- Select the address group, and then from the right pane, click Create New Address to manually add the IP addresses. Or, click Import Addresses to import them into the group using a file.
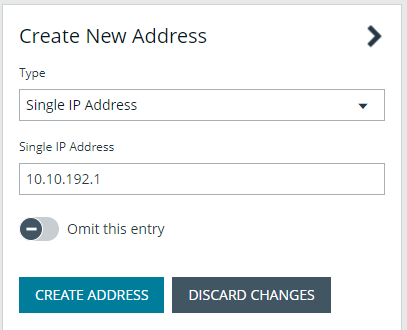
- If manually adding the addresses:
- Select the type from the list: Single IP Address, IP Range, CIDR Notation, or Named Host.
- Enter the IP addresses, CIDR Notation, or host name, depending on which type you selected.
- Enable Omit this entry to excluded addresses.
- Click Create Address.
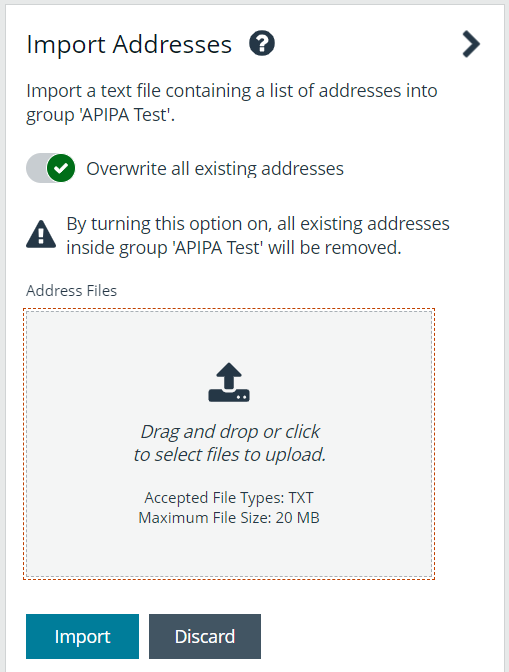
- If importing the addresses:
- Enable the Overwrite all existing addresses option, if desired.
- Click Drop File to upload the import file.
- Click Upload File.
The list in your import file depends on your particular needs. The list can contain all IP addresses that you wish to exclude. To exclude IP addresses, use the format: 192.x.x.x (1).
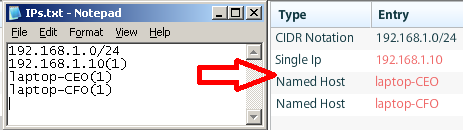
The image shows an example of how a CIDR Notation, an excluded IP address, and excluded named hosts are displayed after importing.
Create a Smart Rule Based on an Address Group
When configuring an address group, you can choose to create a Smart Rule based on the address group.
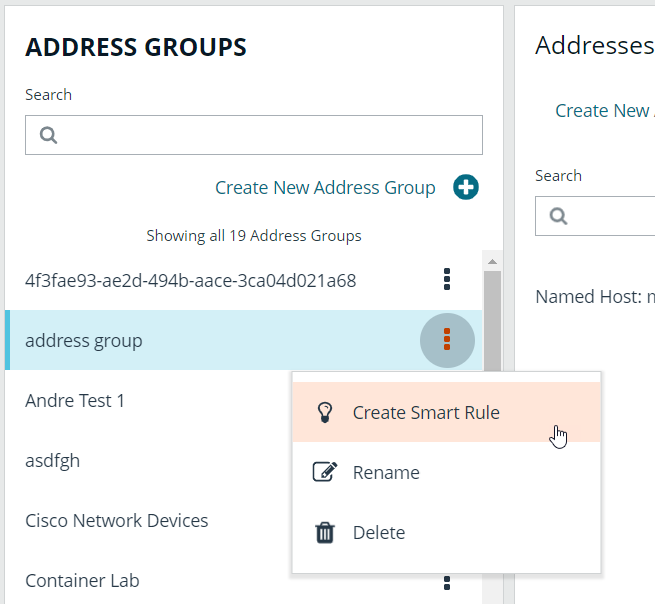
- From the Address Groups pane, click the vertical ellipsis for the address group.
- Select Create Smart Rule.
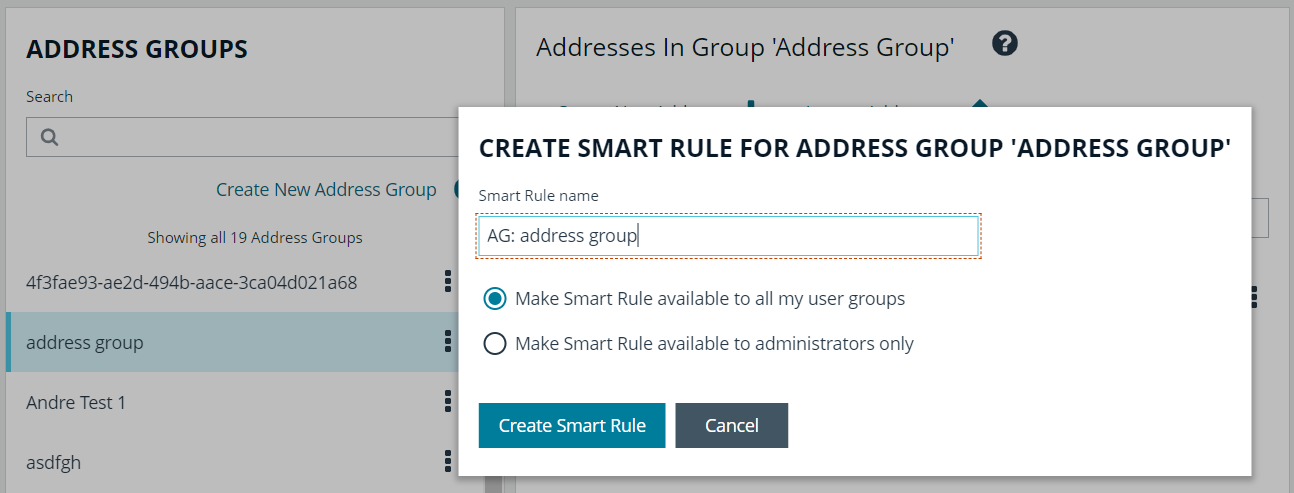
- Leave the default name, or name the Smart Rule as desired.
- Select the option to make the Smart Rule available to all user groups or the option to make the Smart Rule available to administrators only.
- Click Create Smart Rule.
- A message stating Smart Rule has been created for this Address Group appears.
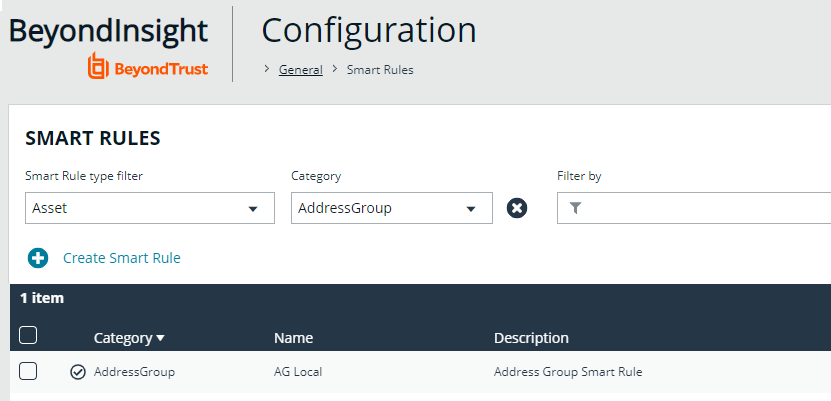
- The group is displayed on the Configuration > Smart Rules page.