Configure Smart Card Authentication for BeyondInsight and Password Safe
Smart cards can be used for authentication when logging into BeyondInsight and Password Safe. Your network must already be configured to use smart card technology to use this feature.
This section is written with the understanding that you have a working knowledge of PKI, certificate-based authentication, and IIS.
In BeyondInsight, you must first enable smart card two-factor authentication configuration settings, and then enable the Override Smart Card User Principal Name authentication option for the user accounts, as detailed below.
Enable Smart Card Two-Factor Authentication in BeyondInsight
- Navigate to Configuration > Authentication Management > Smart Card two-factor authentication.
- Click the toggle to Enable Smart Cards.
- Click the toggle to enable the Allow UPN Override On User option. This enables a BeyondInsight user with a smart card that has a different Subject Alternative Name to log into BeyondInsight and maps the smart card to the user.
- Click Update Smart Card Authentication.
Enable Override Smart Card User Principal Name on User Accounts
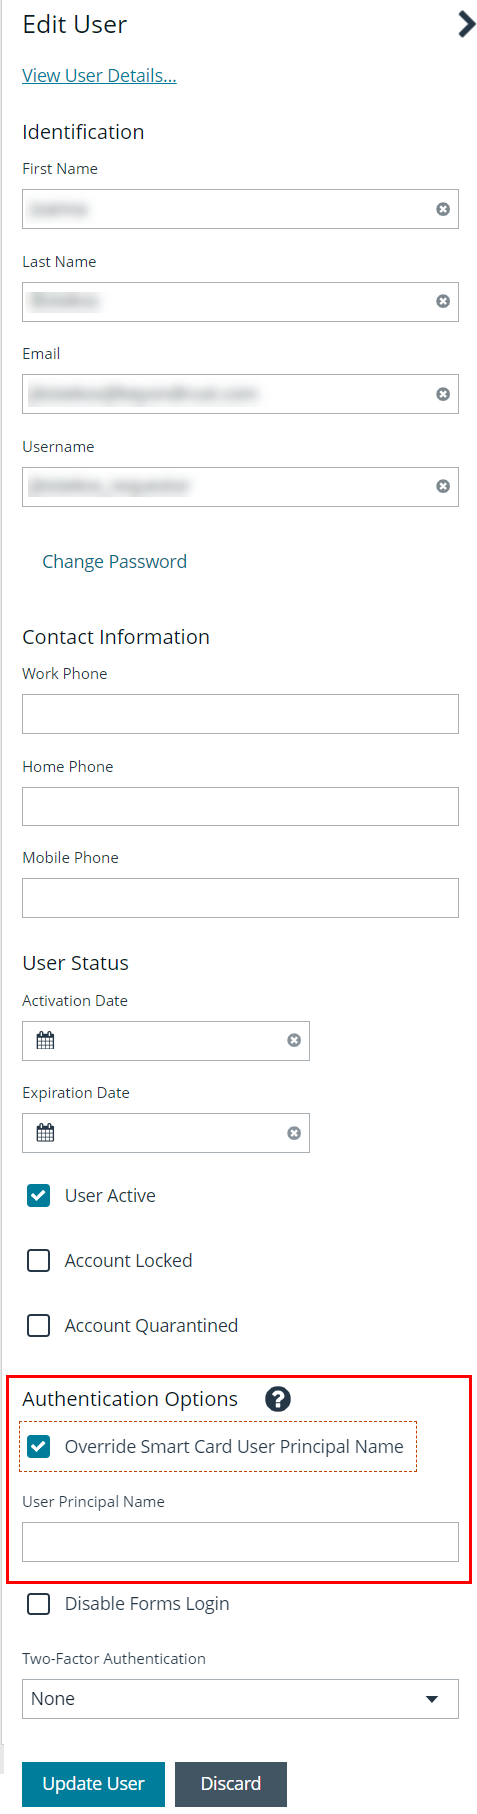
You must enable the Override Smart Card User Principal Name setting for the user accounts that use smart cards to authenticate and provide the User Principal Name. This authentication option allows a BeyondInsight user with a smart card that has a different Subject Alternative Name to log into BeyondInsight, and maps the smart card to the user. When creating a new user or editing an existing one, set this option under Authentication Options.
Disable Forms Login
In environments where SAML, smart card, or claims-aware is configured, we recommend enabling the Disable Forms Login authentication option to disallow users from using the standard login form in BeyondInsight.
To disable forms login for existing users, enable this option directly on a user account as follows:
- Click the vertical ellipsis for the user account, and then click Edit User Details.
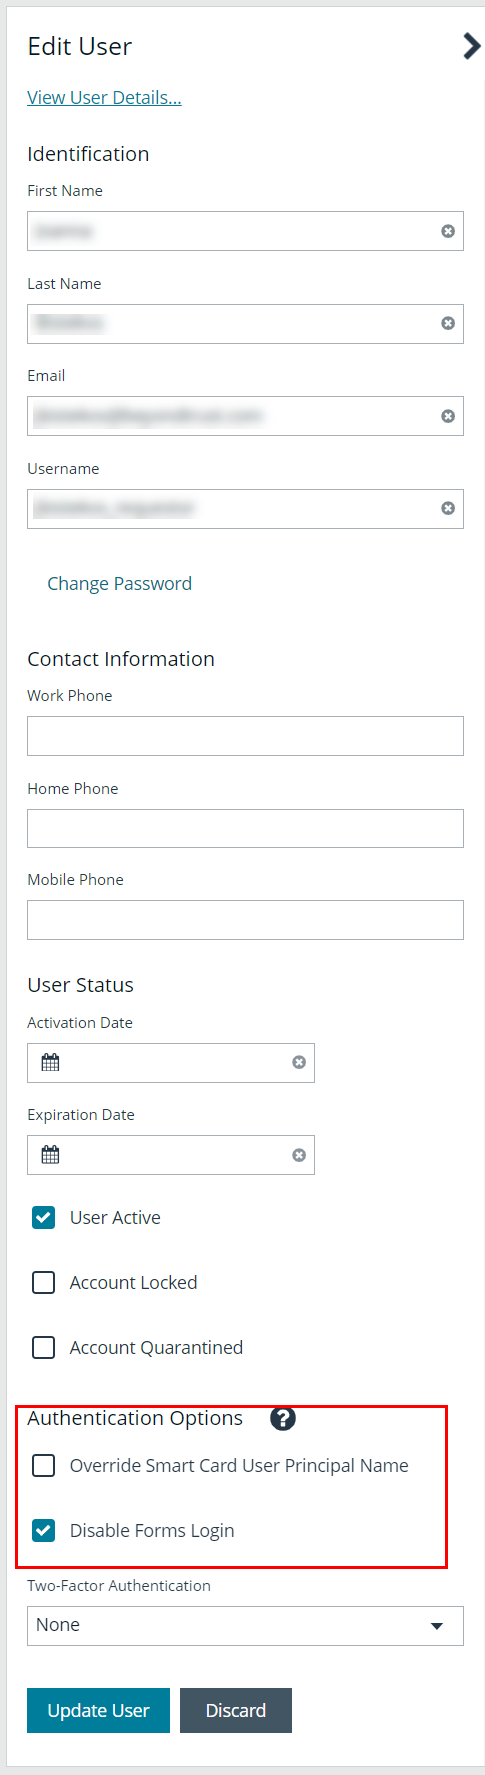
- Under Authentication Options, check Disable Forms Login to enable the option.
Please contact BeyondTrust Support for assistance if you need to bulk-apply this setting to existing accounts.
To disable forms login globally for newly created directory accounts:
- Navigate to Configuration > Authentication Management > Authentication Options.
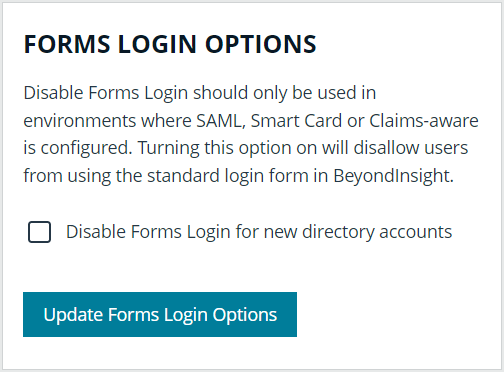
- Under Forms Login Options, check the Disable Forms Login for new directory accounts option to enable it.
Verify the BeyondInsight Server Certificate
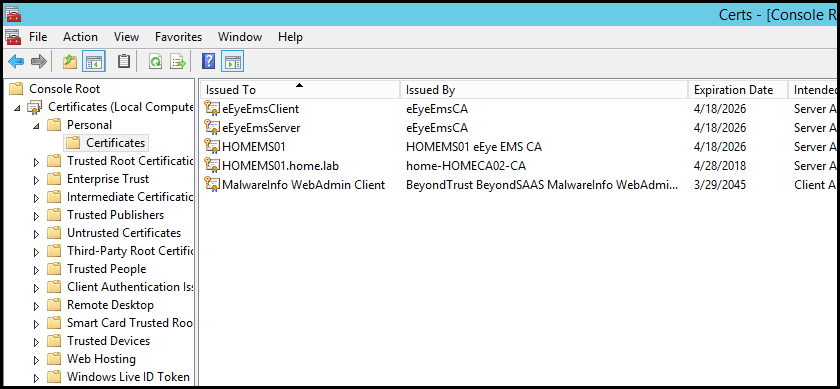
During the BeyondInsight installation, self-signed certificates are created for client and server authentication. These certificates are placed in your Personal > Certificates store and show as Issued By eEyeEmsCA.
To authenticate using smart cards, the server where BeyondInsight is running also requires a certificate issued and signed by a certificate authority (CA). Verify that your BeyondInsight server has the correct certificates issued before continuing.
Verify the Web Server Certificate
During the BeyondInsight installation, a self-signed web server certificate is created. This certificate must be replaced with a CA-issued certificate.
To verify you have a CA-signed certificate issued to the web server:
- Open IIS.
- Select your web server.

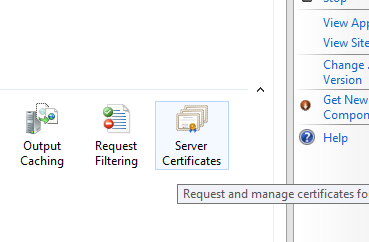
- Select Server Certificates.
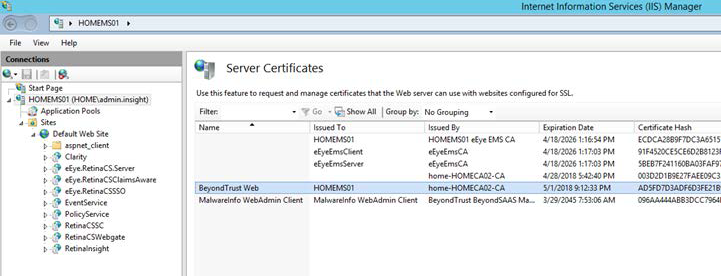
- Verify you have a CA-issued certificate. If you do not see one listed, request one from your certificate authority.
Update Default Web Site Bindings with CA-Issued Certificate
Once you have a CA-issued certificate in place, you must edit the bindings of the Default Web Site, replacing the self-signed certificate.
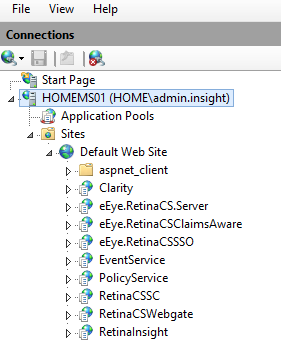
- Open IIS.
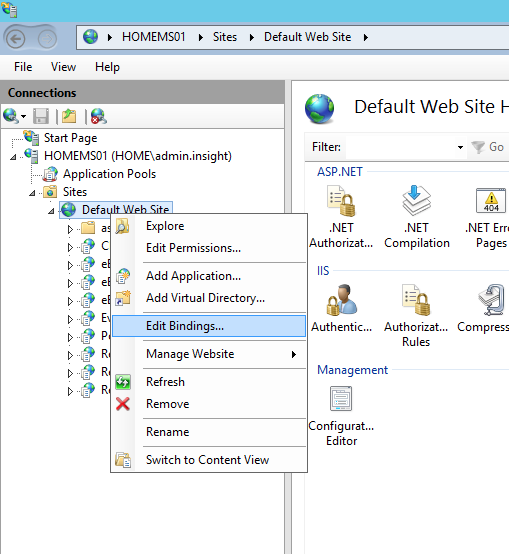
- Expand Sites, and then select Default Web Site.

- Right-click Default Web Site, and then select Edit Bindings.
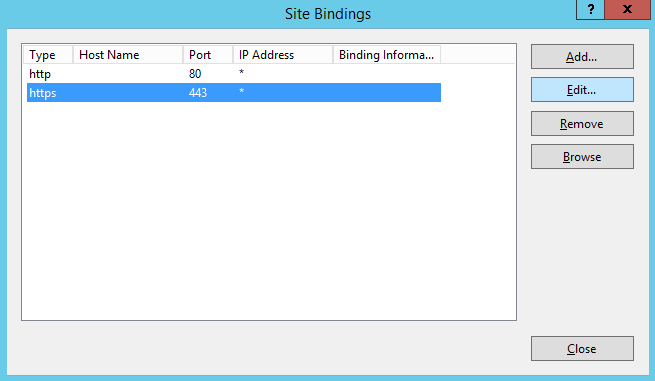
- Select https, and then click Edit.
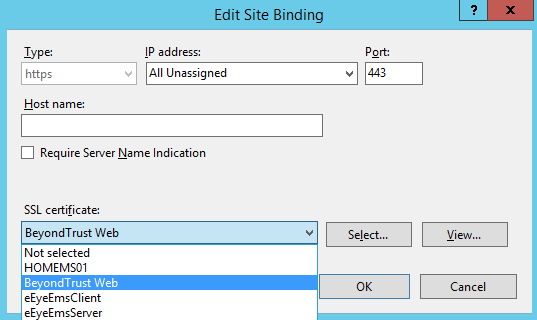
- Select the issued domain certificate in the SSL certificate list, and then click OK.
Update SSL Certificate in BeyondInsight Configuration Tool
The next step is to change the domain issued certificate in the BeyondInsight Configuration tool.
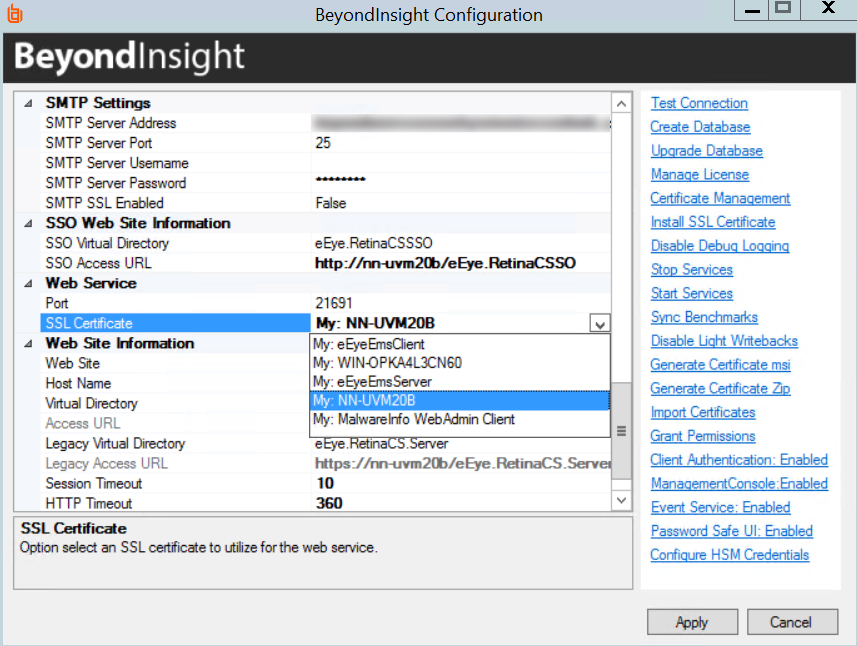
- Open theBeyondInsight Configuration tool. The default path is: C:\Program Files (x86)\eEye Digital Security\Retina CS\REMEMConfig.exe.
- Scroll to Web Service.
- From the SSL Certificate menu, select the Domain Issued certificate.
- Click Apply.
Log In to BeyondInsight and Password Safe Using a Smart Card
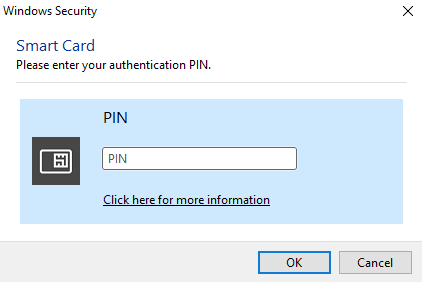
With the correct certificates now applied, you can now open the BeyondInsight Console or go to https://<servername>/RetinaCSSC, where you are prompted to select your certificate and enter your pin. You are logged in using a secure encrypted connection.
Configure Two-Factor Authentication Settings for User Accounts
Two-factor authentication can be configured for Local, Active Directory, and LDAP user accounts as follows:
- Navigate to Configuration > Role Based Access > User Management.
- Select the Users tab.
- Click the vertical ellipsis for the user account.
- Select Edit User Details.
- On the Edit User page, select RADIUS from the Two Factor Authentication list.
- From the Map Two Factor User list, select one of the options listed. The user type selected maps to a user on the RADIUS server. The options displayed in the list change depending on the user logging in.
- Local BeyondInsight Users options:
- As Logged in: Use the BeyondInsight user account login.
- Manually Specified: Enter the username the user enters when logging in.
Active Directory and LDAP Users options:
- SAM Account Name: This is the default value.
- Manually Specified: This is the username the user enters when logging in.
- Alternate Directory Attribute: This is the Active Directory or LDAP attribute that you set above when configuring the RADIUS server.
- Distinguished Name: This is a combination of common name and domain component.
- User Principal Name: This is a combination of user account name (prefix) and DNS domain name (suffix), joined using the @ symbol.
- Local BeyondInsight Users options:
The information for Active Directory and LDAP user settings is retrieved from the corresponding setting in the directory for the user account logging in.
- Click Update User.