Create and Configure Groups in BeyondInsight
BeyondInsight offers a role-based delegation model so that you can explicitly assign permissions to groups on specific product features based on their role. Users are provisioned based on the permissions of their assigned groups. A user must always belong to at least one group in BeyondInsight that has permissions assigned to be able to log in to BeyondInsight and Password Safe.
By default, an Administrators group is created. The permissions assigned to the Administrators group cannot be changed. The user account you created when you configured BeyondInsight is a member of the group.
You can create BeyondInsight local groups, as well as add Active Directory, Microsoft Entra ID, and LDAP groups into BeyondInsight.
You can filter the groups displayed in the grid by type of group, name of the group, group description, and the date the group was last synchronized.
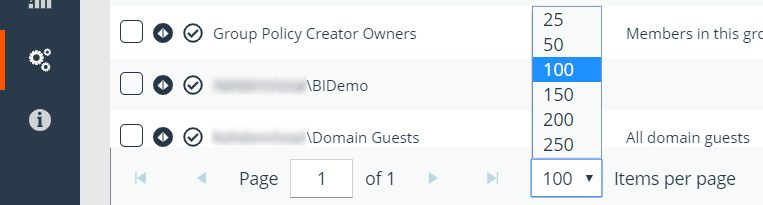
By default, the first 100 groups are displayed per page. You can change this by selecting a different number from the Items per page dropdown at the bottom of the grid.
Create a BeyondInsight Local Group
To create a local group in BeyondInsight, follow the below steps:
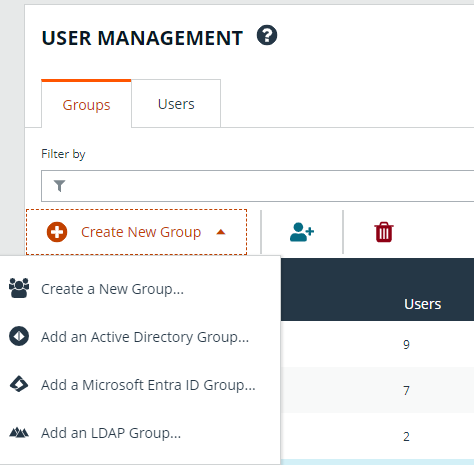
- Navigate to Configuration > Role Based Access > User Management.
- From the Groups tab, click + Create New Group.
- Select Create a New Group.

- Enter a Group Name and Description for the group.
- The group is set to Active by default. Check the box to deactivate it, if you prefer to activate it later.
- Click Create Group.
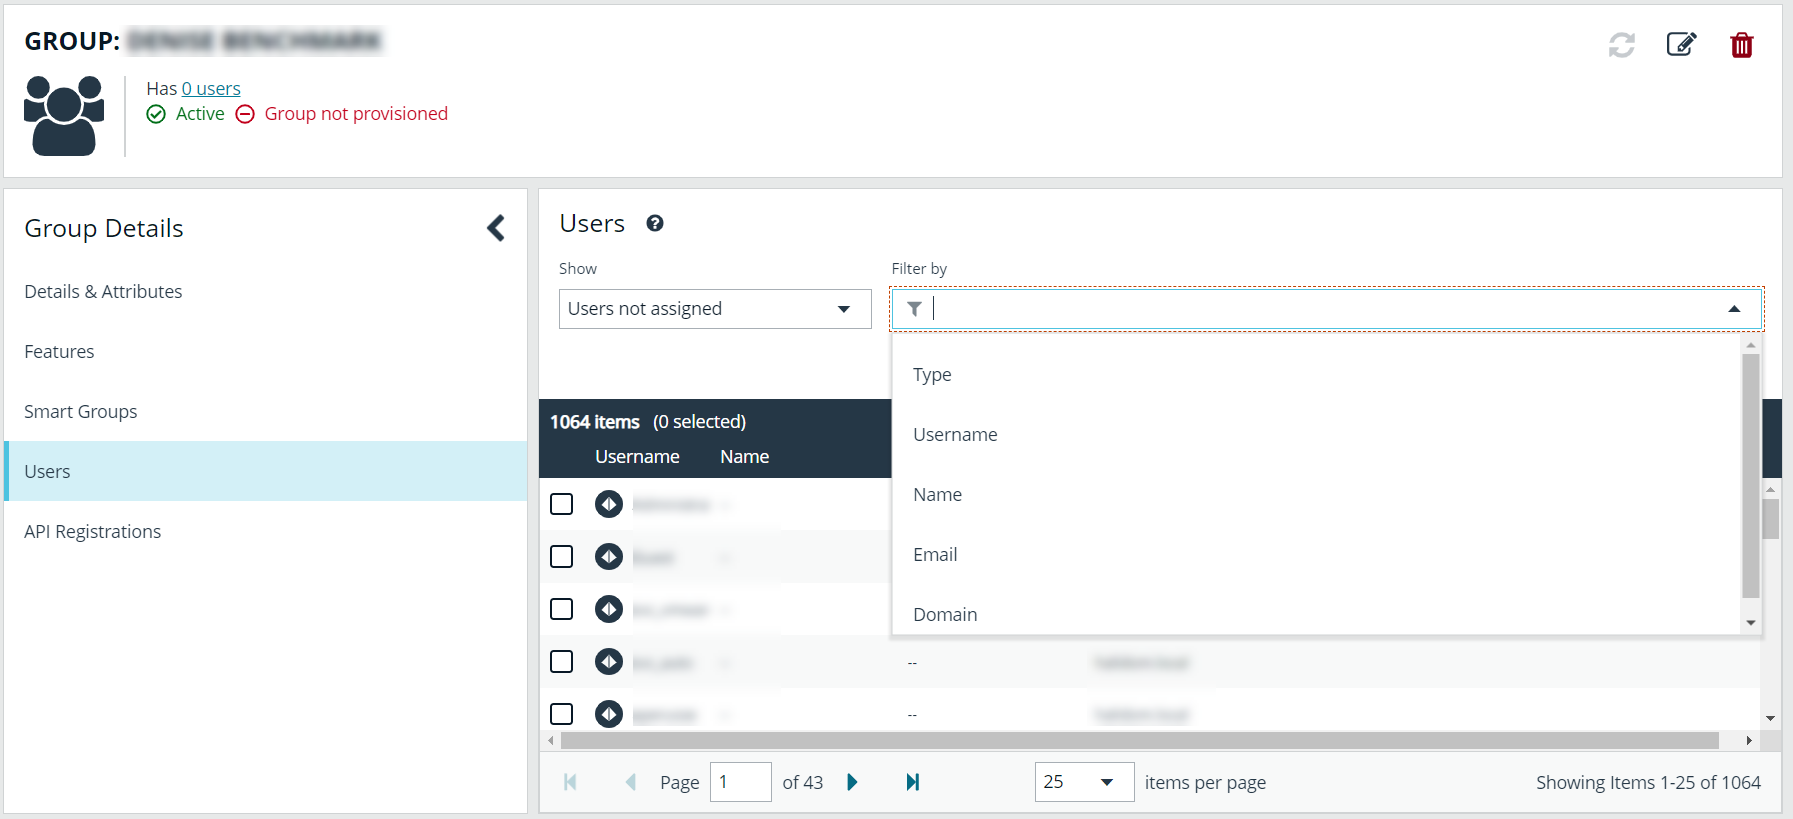
- Assign users to the group:
- Under Group Details, select Users.
- From the Show dropdown list, select Users not assigned.
- Filter the list of users displayed in the grid by Type, Username, Name, Email, and Domain, if desired.
- Select the users you wish to add to the group, and then click Assign User above the grid.
By default, new groups are not assigned any permissions. You must assign permissions on features and smart groups after creating a new group. For more information on permissions and how to assign them, please see Assign Permissions to Groups in BeyondInsight.
For releases prior to 21.3, and for upgrades to the 21.3 release, if the user account's group membership has changed (in the SAML claims provided) upon subsequent logins, BeyondInsight does not deprovision the user by removing them from the groups that were initially mapped to their account. Instead, BeyondInsight maps the user to any newly assigned groups, in addition to the groups their account is already mapped to.
You can configure BeyondInsight to synchronize group membership each time a local user logs in using SAML, as follows:
- Navigate to Configuration > Authentication Management > Authentication Options.
- Under SAML Logon for Local Users, toggle the Enable Group Resync option to enable it.
For new installs of release 21.3 and later releases, this option is enabled by default.
Adding Active Directory, Entra ID, and LDAP groups into BeyondInsight is documented in subsequent chapters. Before you can add directory groups into BeyondInsight you must first create credentials that have permissions to query the directories.
For more information on creating and editing directory credentials, please see Create and Edit Directory Credentials.