Configure AD FS Authentication Using SAML for BeyondInsight and Password Safe
Active Directory Federation Services (AD FS) is Microsoft’s claim based single sign-on (SSO) solution. It allows users access to integrated applications and systems using their Active Directory (AD) credentials. AD FS uses trust relationships to allow AD to issue authentication claims for transferring user identities to the requesting application. The instructions below provide detailed steps on how to configure the trust relationship in the AD FS management console and how to configure the SAML identity provider and service provider in BeyondInsight.
Configure AD FS on the Identity Provider Server
Configuring AD FS on the identity provider server involves creating a relying party trust in AD FS for the BeyondInsight SAML service URL, creating a rule to send the AD group membership as a claim to the relying party, and creating a rule that selects attributes from an LDAP attribute store, such as Active Directory, to send as claims to the relying party. The sections below provide detailed steps to configure each of these in AD FS.
Add a Relying Party Trust in AD FS Management
To add a relying party trust manually in AD FS on your identity provider server, follow the below steps:
- Log in to the identify provider server as an administrator and open Server Manager.
- In Server Manager, click Tools, and then select AD FS Management.

- From the Actions pane, click Add Relying Party Trust.
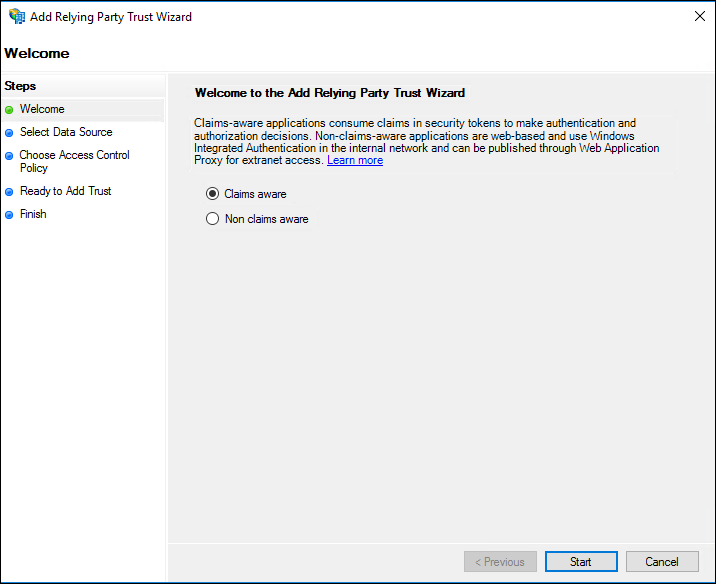
- On the Welcome screen, select Claims aware, and then click Start.
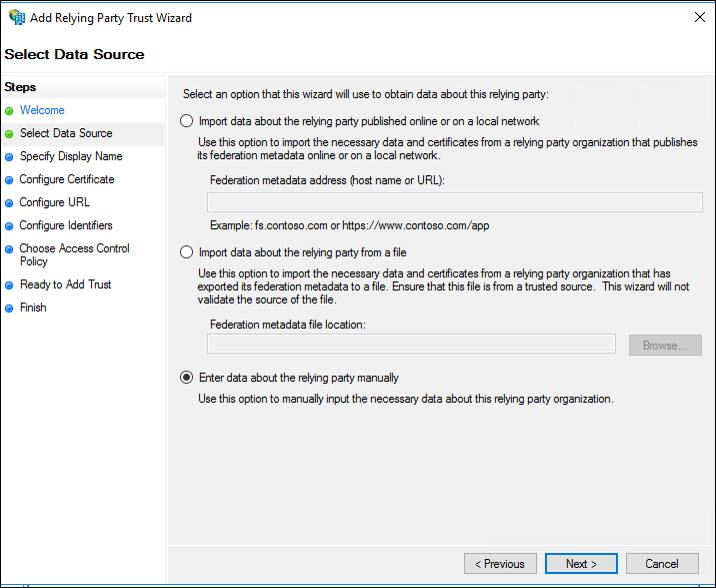
- On the Select Data Source screen, select Enter data about the relying party manually, and then click Next.
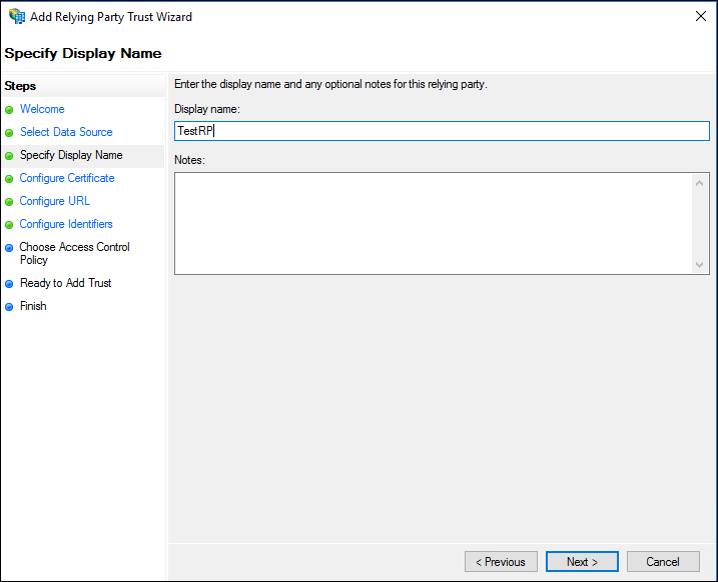
- On the Specify Display Name screen, enter a name in the Display name field. Below that, under Notes, provide a description for this relying party trust, and then click Next.
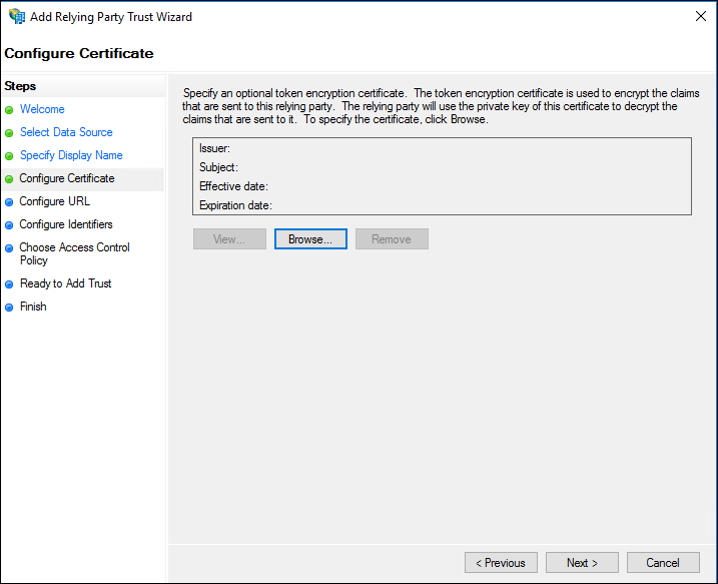
- On the Configure Certificate screen, click Browse to locate and import the service provider public certificate file, and then click Next.
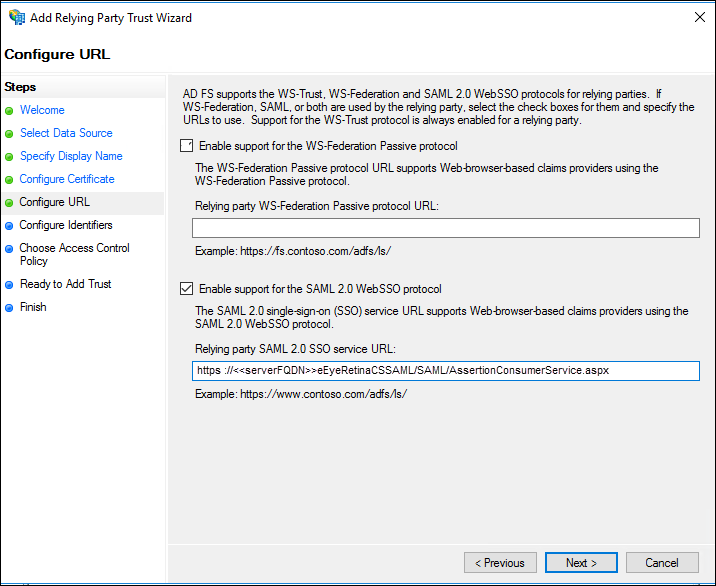
- On the Configure URL screen, check Enable support for the SAML 2.0 WebSSO protocol, enter the Relying party SAML 2.0 SSO service URL, and then click Next.
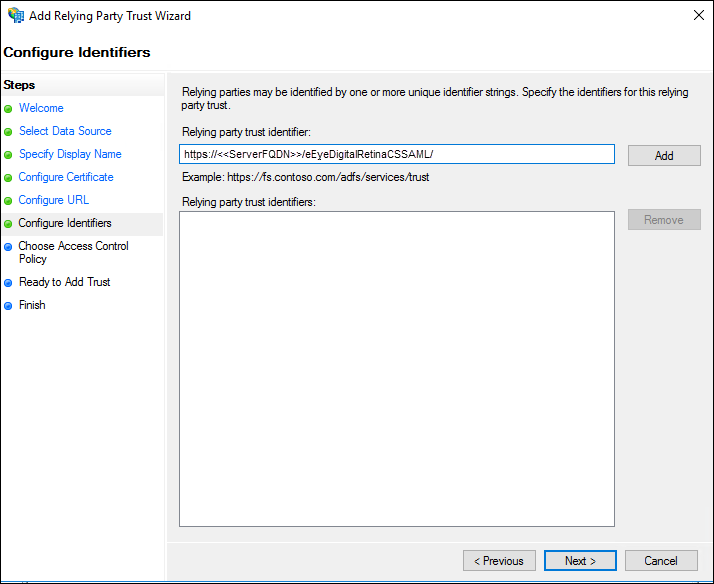
- On the Configure Identifiers screen, enter the Relying party trust identifier, click Add, and then click Next.

- On the Choose Access Control Policy screen, select a policy, and then click Next.
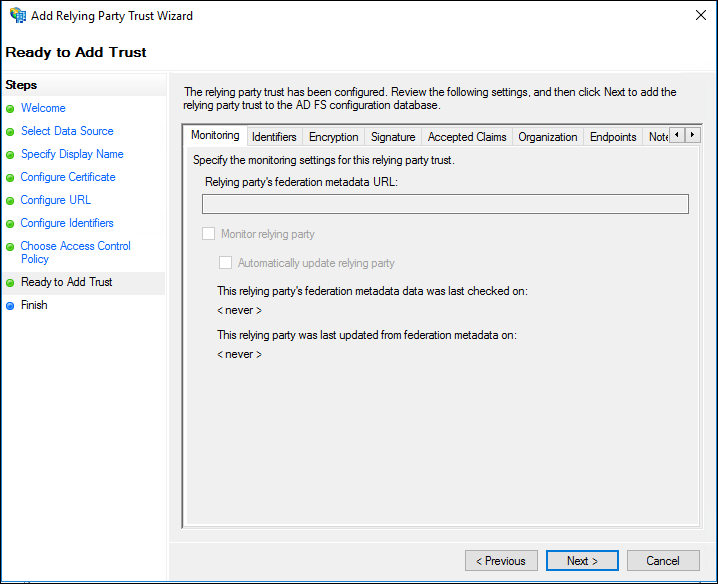
- On the Ready to Add Trust screen, review the settings, and then click Next to save your relying party trust information.
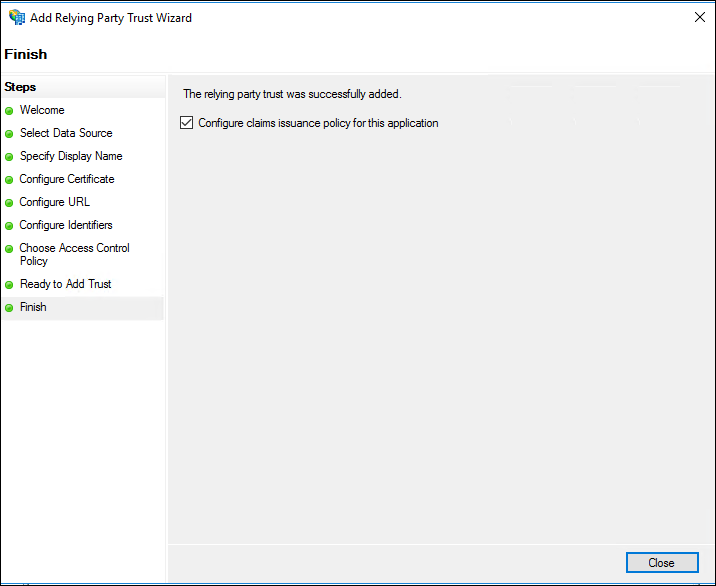
- On the Finish screen, click Close. The Edit Claim Rules dialog box displays.
Send LDAP Attributes as Claims
Using the Send Claims as a Custom Rule template in AD FS, you can create a rule to add the SID attribute to claims. Using the Send LDAP Attributes as Claims template allows you to select attributes from an LDAP attribute store, such as Active Directory, to send as claims to the relying party. Configuring these rules allows you to send all of the SIDs for groups as part of the claim, as well as other attributes, such as User-Principle Name. The steps for configuring each of these rule types is outlined in the sections below.
Create Rule to Add SID Attribute
To create a custom rule to add the SID attribute to claims, follow these steps:
- In Server Manager, click Tools, and then select AD FS Management.
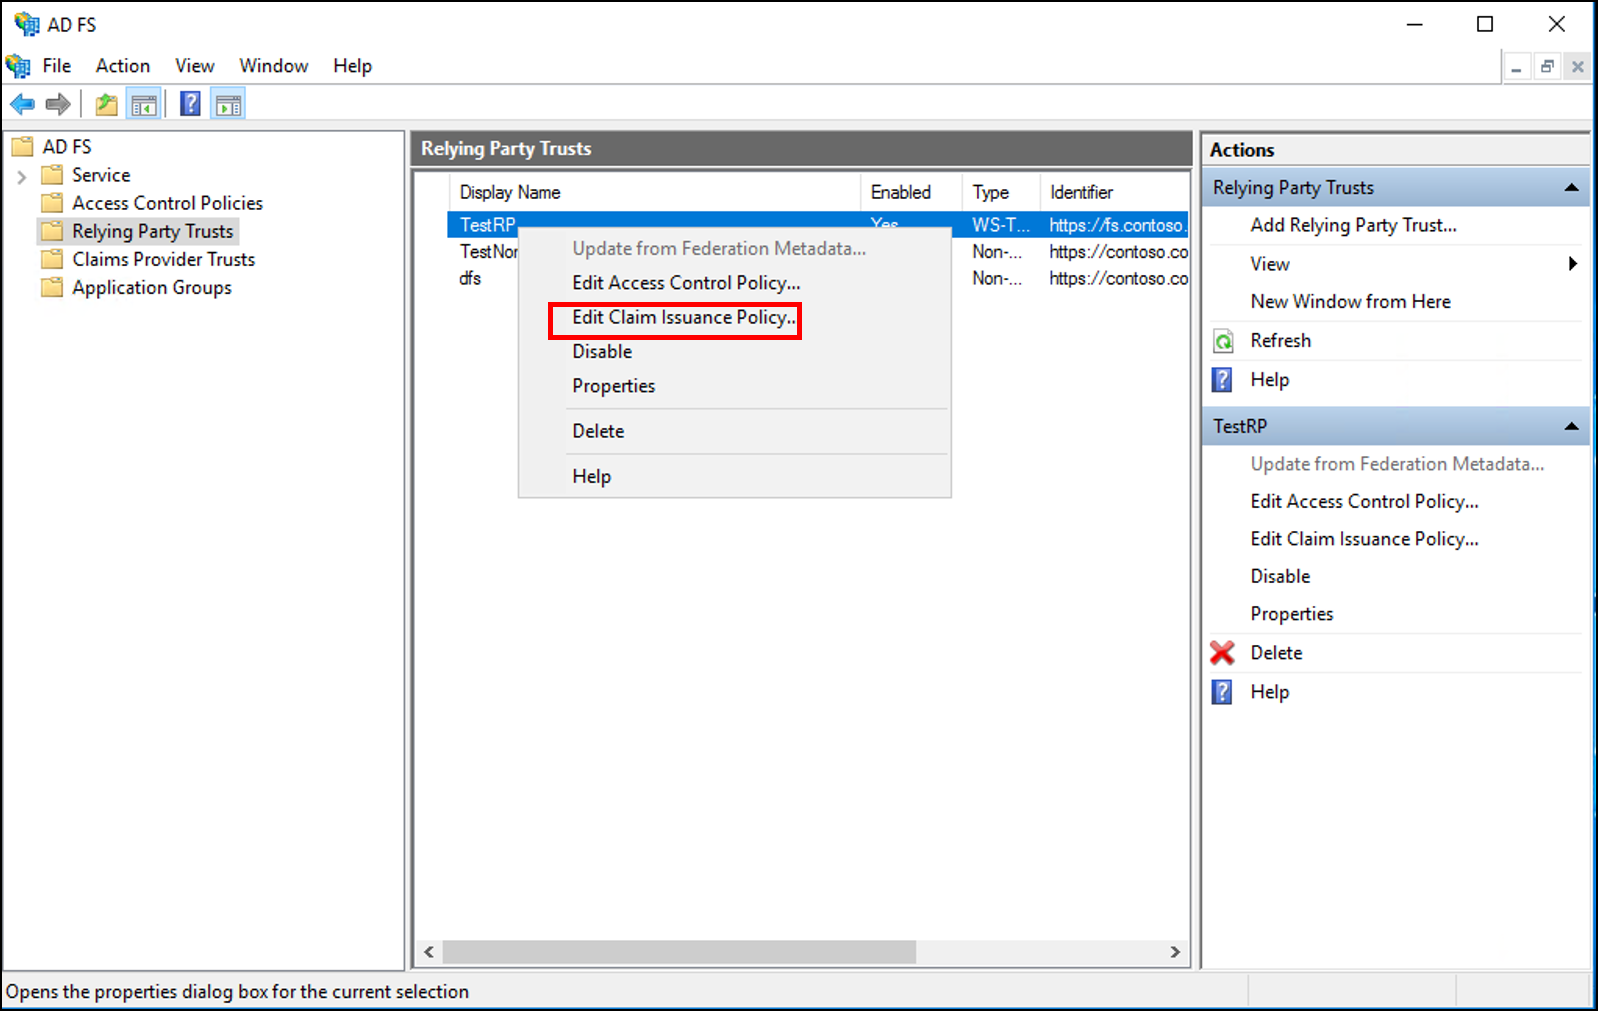
- In the AD FS navigation tree on the left, click Relying Party Trusts.
- Right-click the selected trust, and then click Edit Claim Issuance Policy.
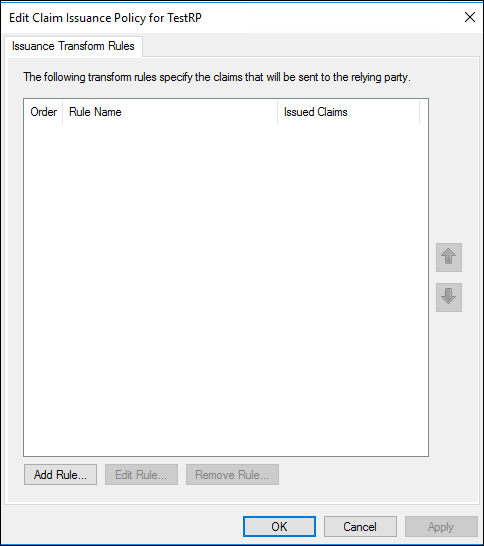
- In the Edit Claim Issuance Policy dialog box, under Issuance Transform Rules click Add Rule to start the Add Transform Claim Rule wizard.
- On the Select Rule Template screen, select Send Claims as a Custom Rule from the Claim rule template list, and then click Next.
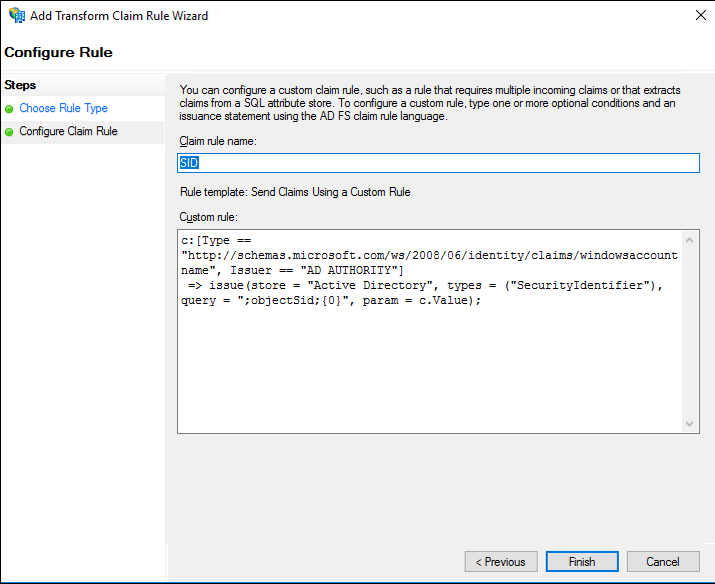
- On the Configure Rule screen, type the display name for this rule and type the following for the Custom rule:
c:[Type==
http://schemas.microsoft.com//ws/2008/06/identity/
claims/windowsaccountname, Issuer == "AD AUTHORITY"]
=> issue(store = "Active Directory", types =
("SecurityIdentifier"), query = ";objectSid;{0}",
param = c.Value);
- Click Finish, and then click OK in the Edit Claim Issuance Policy dialog to close it and save the rule.
Create Rule to Send LDAP Attributes Claims
To create a rule to send attributes from Active Directory as claims, follow these steps:
- In Server Manager, click Tools, and then select AD FS Management.
- In the AD FS navigation tree on the left, click Relying Party Trusts.
- Right-click the selected trust, and then click Edit Claim Issuance Policy.
- In the Edit Claim Issuance Policy dialog box, under Issuance Transform Rules click Add Rule to start the Add Transform Claim Rule wizard.
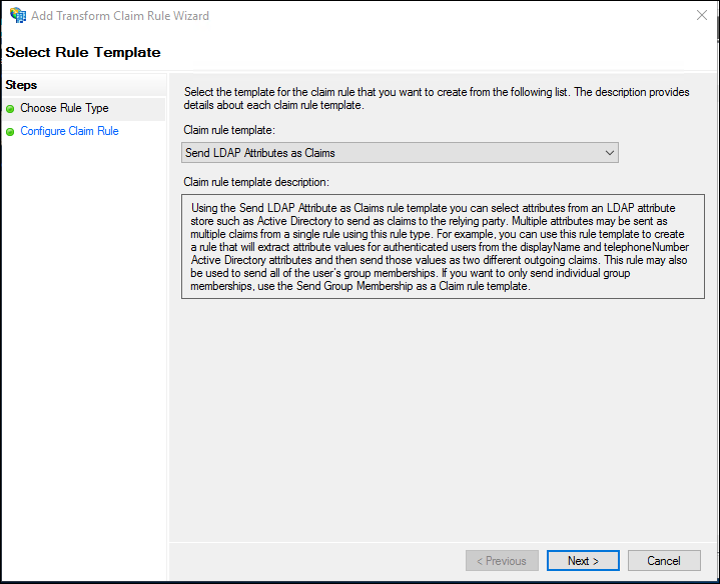
- On the Select Rule Template screen, select Send LDAP Attributes as Claims from the Claim rule template list, and then click Next.
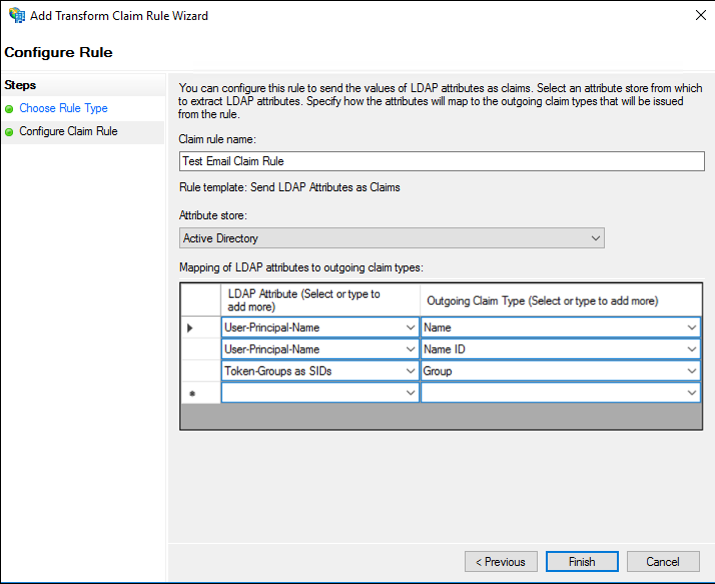
- On the Configure Rule screen:
- In the Claim rule name box, type the display name for this rule
- For Attribute Store, select Active Directory from the list.
- Select User-Principal-Name for the LDAP Attribute and Name as the Outgoing Claim Type.
- Select User-Principal-Name for the LDAP Attribute and Name ID as the Outgoing Claim Type.
- Select Token-Groups as SIDs for the LDAP Attribute and Group as the Outgoing Claim Type
- Click Finish.
- Click OK in the Edit Claim Issuance Policy dialog to close it and save the rule.
- On the Relying Party Trusts page, right-click the relying party trust you had added for BeyondInsight, and then select Properties.
- Click the Signature tab.
- Click Add, and then enter the service provider public certificate.
Configure SAML on the Service Provider Server (U-Series Appliance)
As an administrator, log in to BeyondInsight on the U-Series Appliance and follow the below instructions to configure SAML:
- Navigate to Configuration > Authentication Management > SAML Configuration.
- From the SAML Identity Providers pane, click Create New SAML Identity Provider.
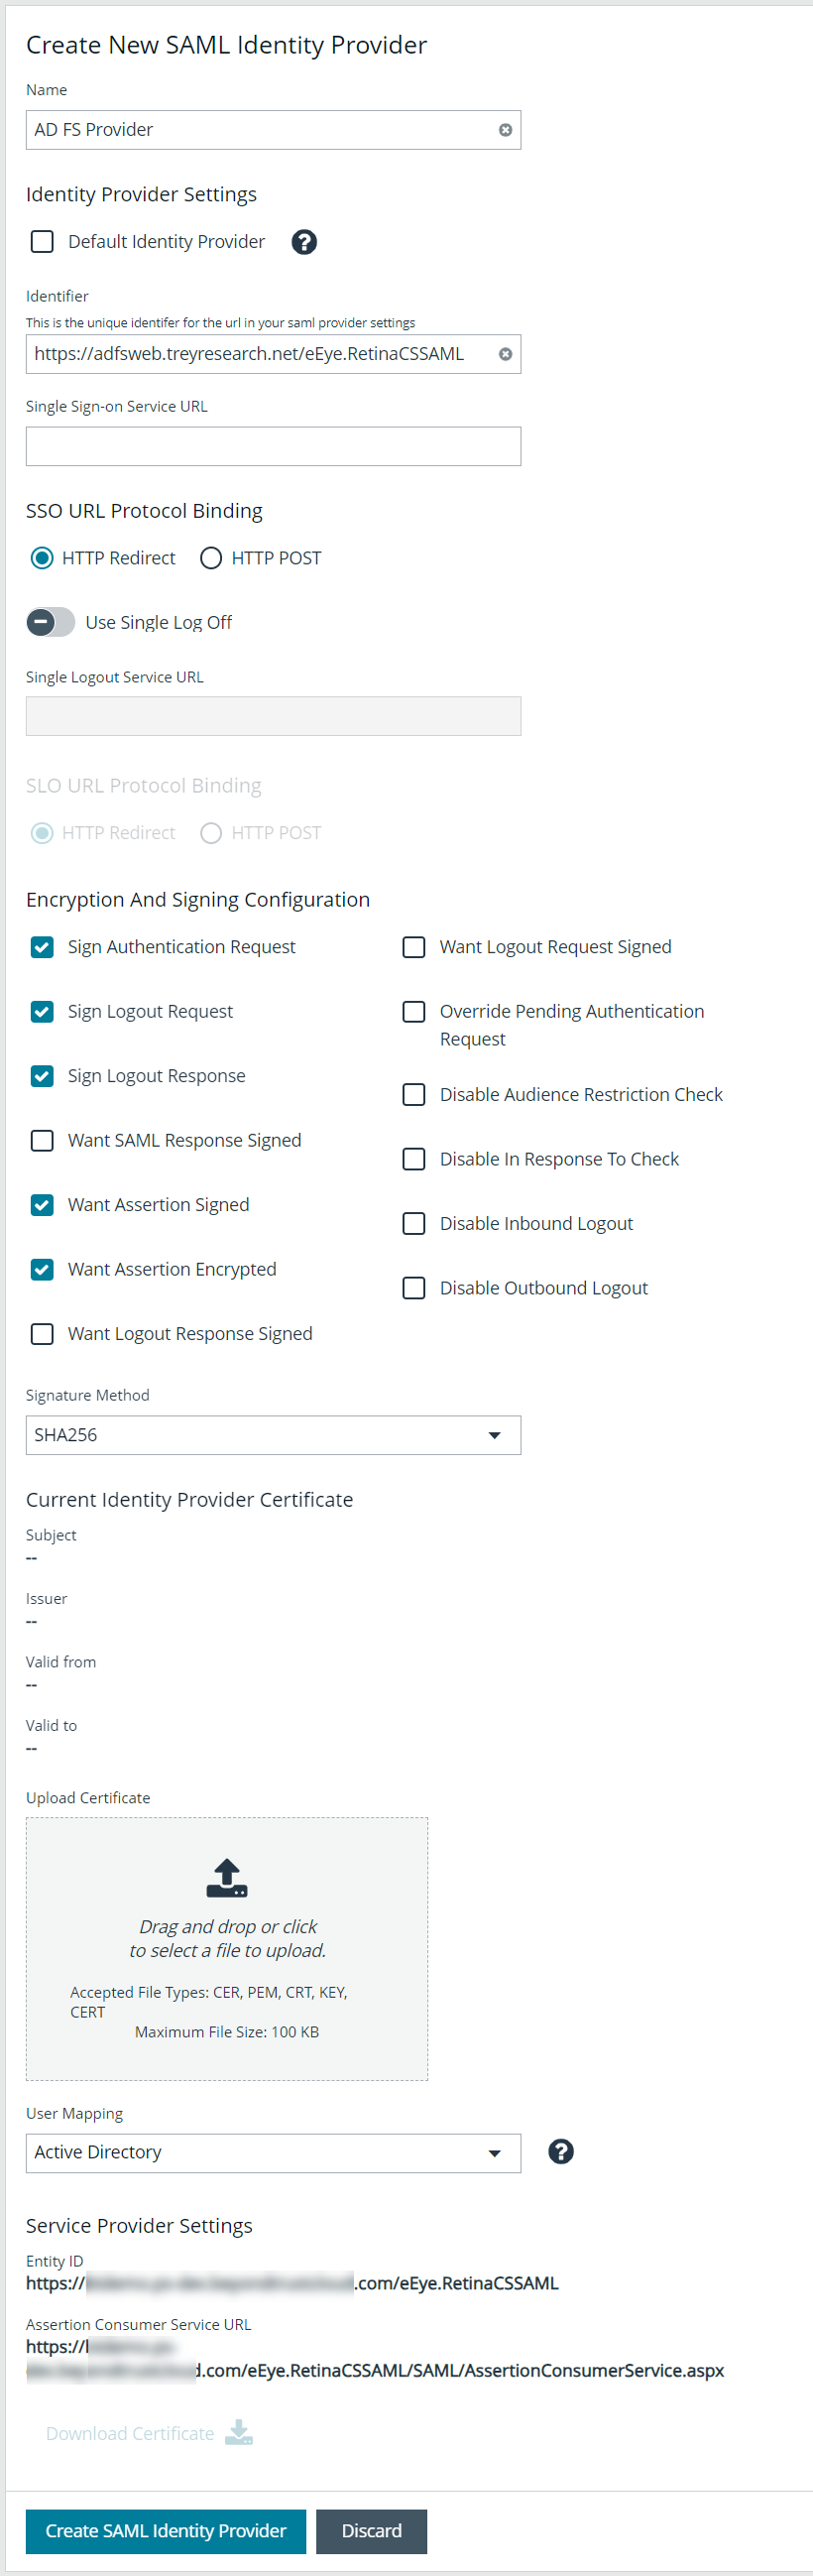
- Provide a name for the new SAML identity provider (IdP).
- Complete the Identity Provider Settings as follows:
- Check the Default Identity Provider option if you have more than one IdP for the same service provider (SP), and would like this IdP to be used as default for SP initiated logins. This is useful in the case where a user accesses the SAML site access URL without providing an IdP. Also, when a user clicks the Use SAML Authentication link from the BeyondInsight login page, they are redirected to the default IdP's site for authentication.
- Identifier: Enter the name of the identity provider entry, normally supplied by the provider.
- Single Sign-on Service URL: Provide the SSO URL, from the provider.
- SSO URL Protocol Binding: Select either HTTP Redirect or HTTP Post as the type.
- Single Logout Service URL: Enter the SLO URL, from the provider.
- SLO URL Protocol Binding: Select either HTTP Redirect or HTTP Post as the type.
- Encryption and Signing Configuration:
- Depending on IdP configuration, check any of the first three settings:
- Sign Authentication Request
- Sign Logout Request
- Sign Logout Response
- Check the appropriate service provider signing settings:
- Want SAML Response Signed
- Want Assertion Signed
- Want Assertion Encrypted
- Want Logout Response Signed
- Want Logout Request Signed
- Check any of the remaining miscellaneous settings as required.
- Depending on IdP configuration, check any of the first three settings:
- Signature Method: Select the method, as is required by your IdP, from the dropdown.
- Current Identity Provider Certificate: Upload the identity provider certificate.
- User Mapping: Select Active Directory from the dropdown. This indicates how user claims from the SAML provider are mapped in the BeyondInsight User database.
- The following Service Provider Settings are auto-generated by BeyondInsight:
- Entity ID: This is the fully qualified domain name, followed by the file name: https://<serverURL>/eEye.RetinaCSSAML/. This is used for audience restriction.
- Assertion Consumer Service URL: The HTTPS endpoint on the service provider where the identity provider redirects to with its authentication response. .
- Click Create SAML Identity Provider.
Once the SAML configuration is saved, a public service provider certificate is available to download. It can be uploaded to the IdP, if required.